In This Article
- Introduction
- Ticket Details and Status
- Customer
- Equipment
- Shop Instructions
- Job Site
- Estimate
- Related
- Comment
- Other
- Customer Commitment
- Contact
- Symptom
- Popsicle Sticks
- Communication
- Completing the Ticket
Introduction
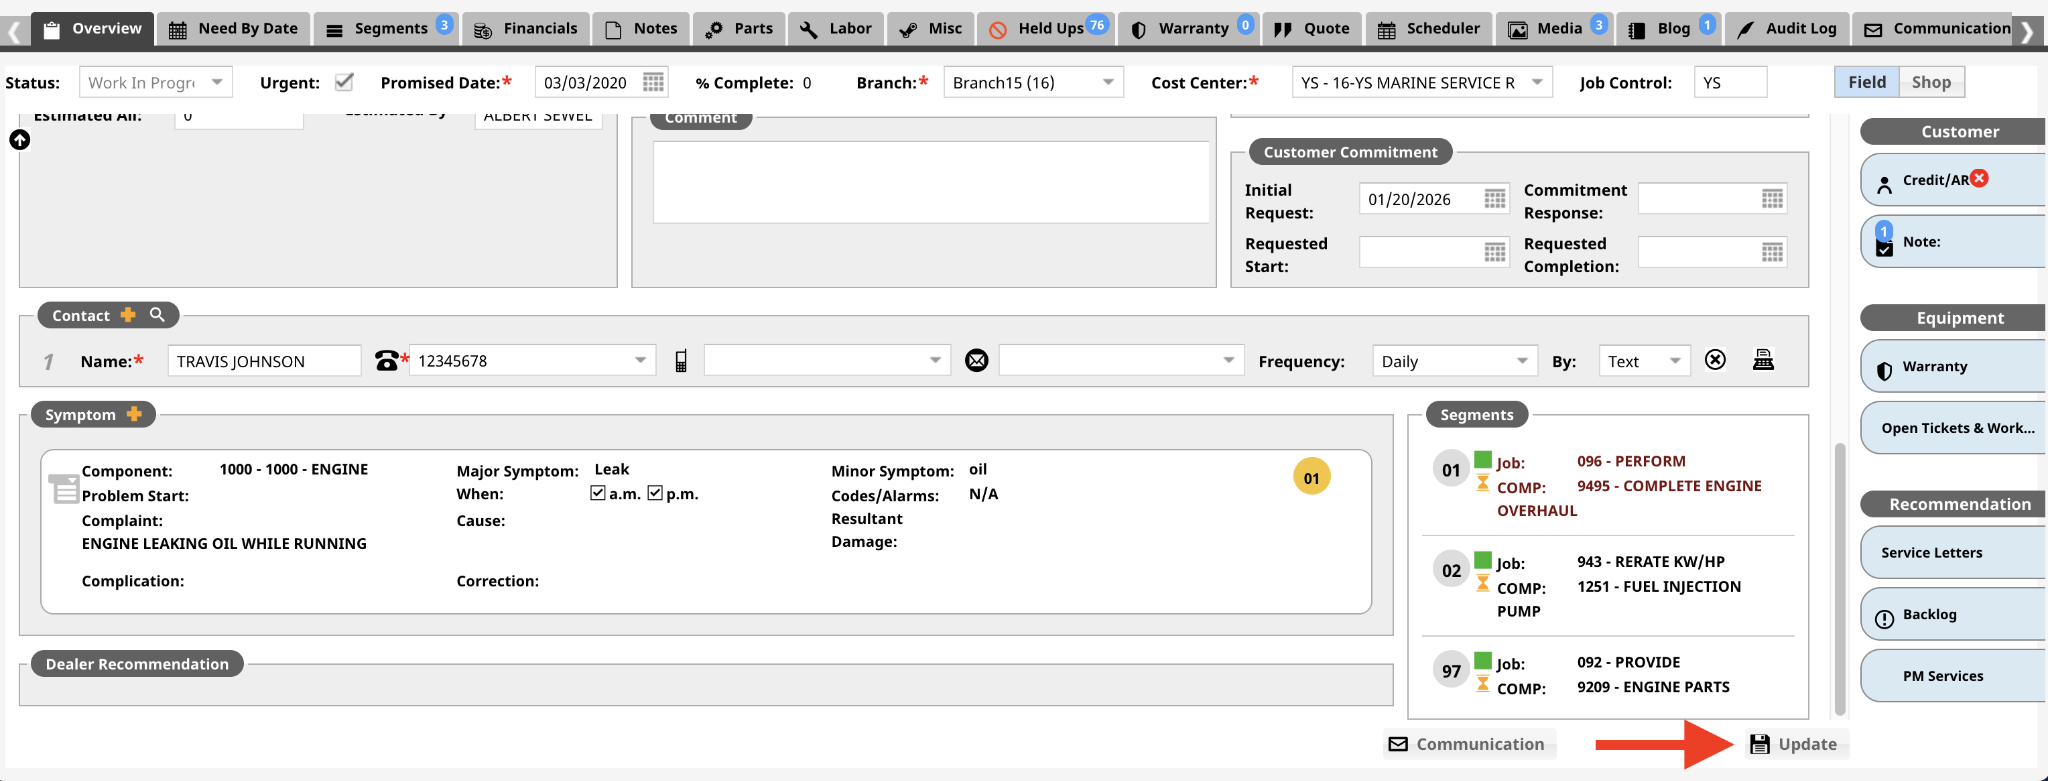
This screen is organized into multiple sections to display and collect specific job information.
Ticket Details and Status
- Status: Validated, Invalidated, or Cancelled indicates the readiness of the Ticket.
- Invalidated: Automatically generated Tickets start in this status. They remain invalidated until you change their status to Validated. Manually created Tickets can be set directly to Validated.
- Validated: These are Tickets that have been reviewed and may have a Work Order attached, but are not yet in the Estimated or Open status. A work order cannot be opened unless the Ticket is in the Validated status.
- Cancelled: These are Tickets that end up getting cancelled.
- Work In Progress: These are Tickets that have a work order attached.
- Urgent: This is used to indicate whether a Ticket is Urgent or not. On the scheduling section there is a filter to sort by Urgent or Non-Urgent Tickets to schedule. If selected, it will also show on the Ticket.
- Promised Date: The desired promise date for the completion of the work.
- Branch / Cost Center / Job Control: This is the header information for the Ticket. It is also how the filter on the Service Pipeline sorts the Tickets.
- Field / Shop: This indicates whether the job is a field job or shop job. This will also change the Shop Instructions section to Job Site.

Customer
This section shows information specific to the account. Most of this is auto-populated from your ERP.
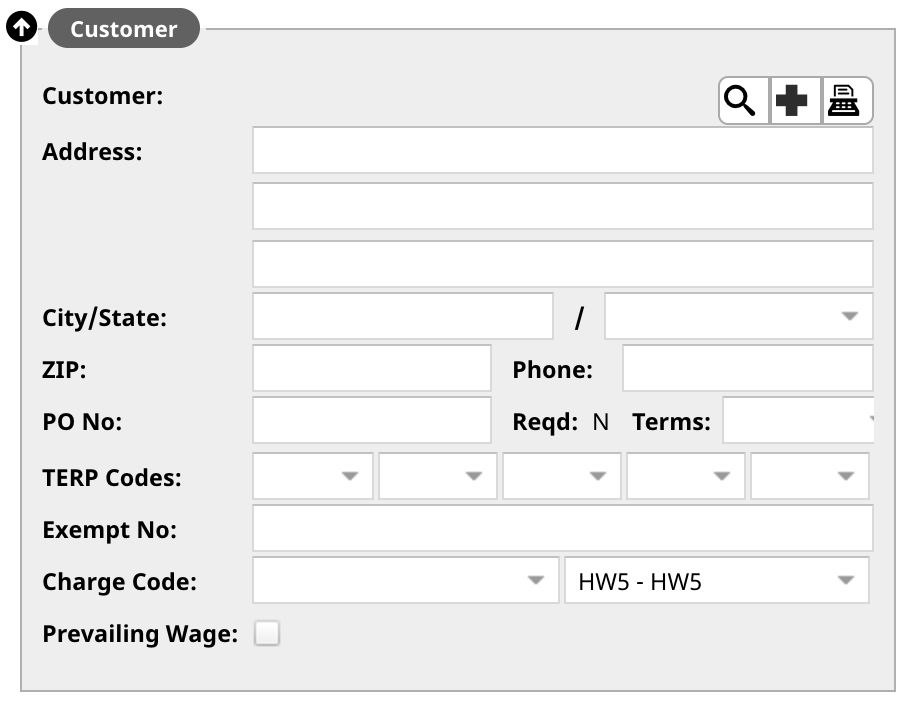
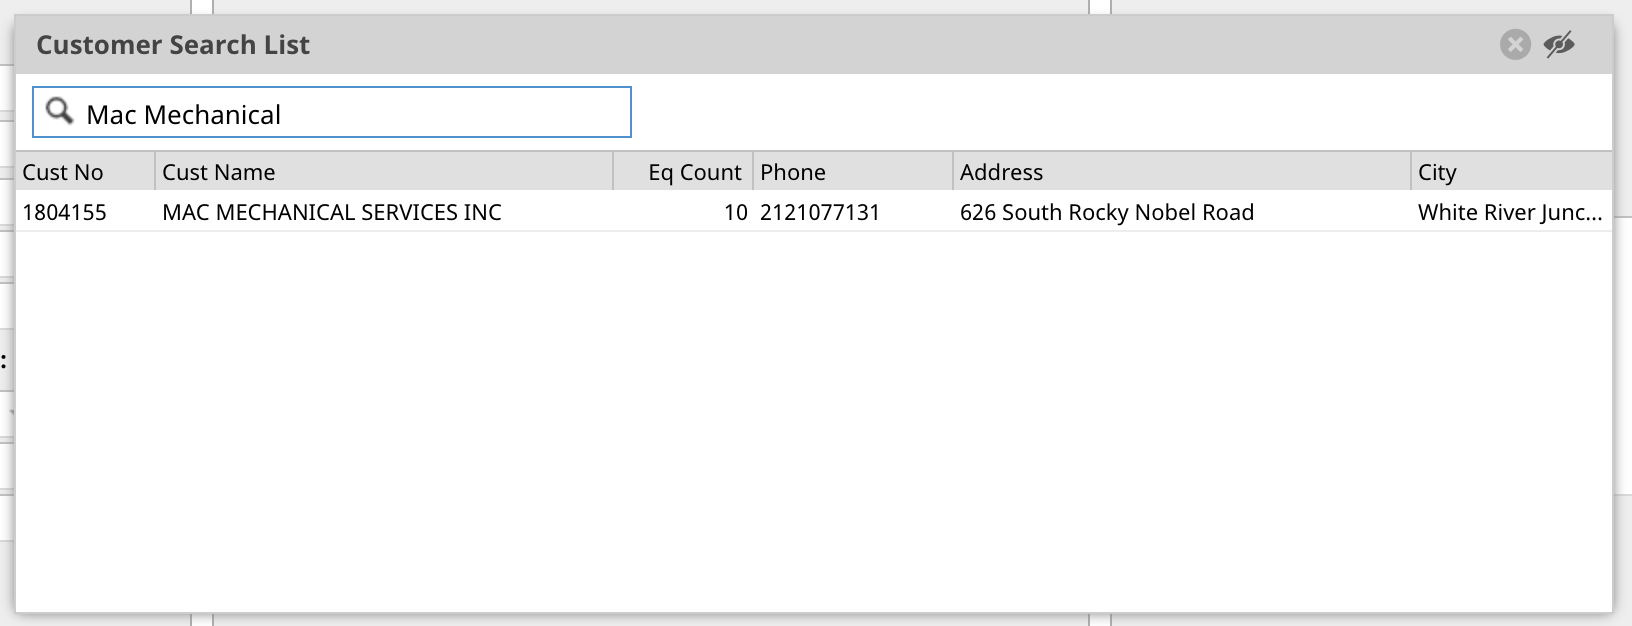
- Magnifying Glass: This will enable a pop-up where you can type in a customer name or number to search for. Clicking on that customer will add their details to the Ticket.
- Plus Symbol: This will allow you to manually add in a Customer Name and information for a new customer.
- Typewriter Symbol: For a new customer this will allow you to send a request to the Gatekeeper to create a new customer within the ERP.
Some fields are auto-populated based on the customer information from the ERP and others are not. There are also configuration settings for fields such as TERP Codes (also known as Tax Codes) and Charge Codes so these may or may not be populated.
Equipment
This section shows the piece of equipment for the job. Most of this is auto-populated from your ERP.
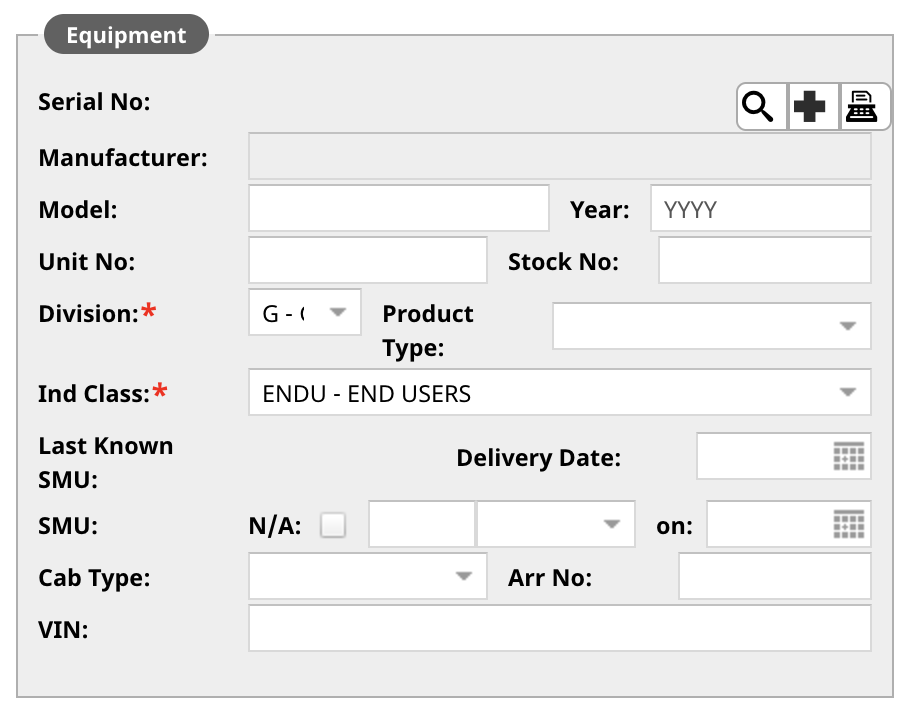
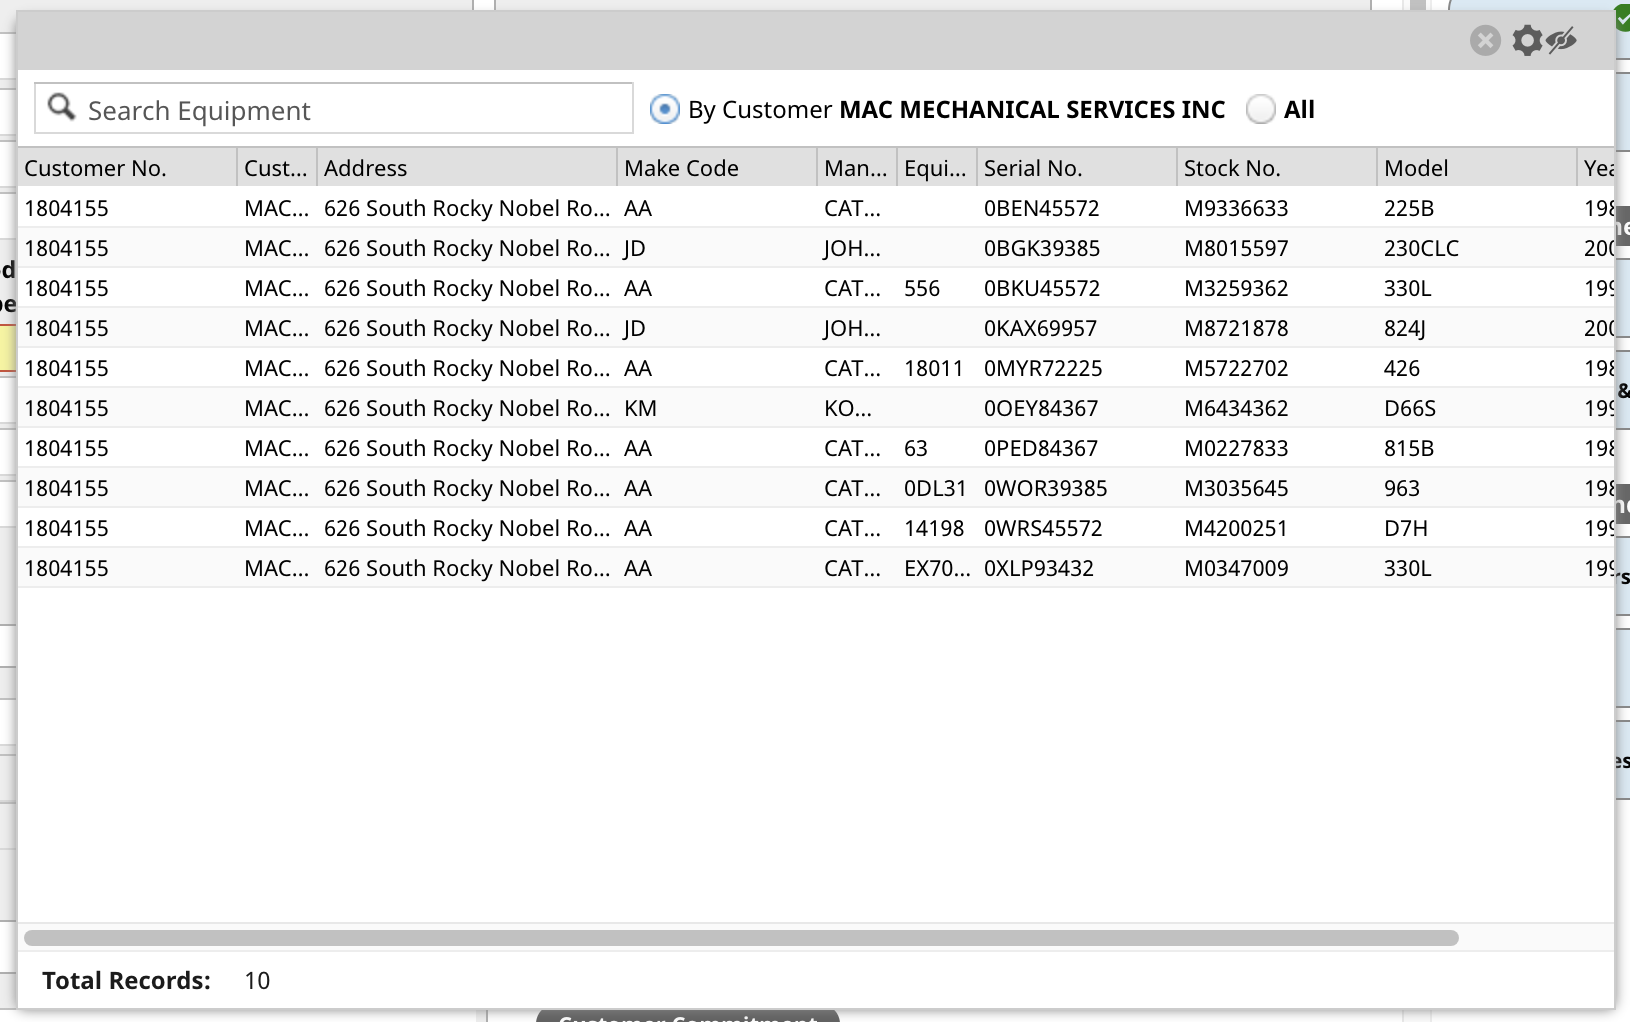
- Magnifying Glass: This will enable a pop-up where you can type in a serial number to search for. If you have a customer in the Customer section then it will show equipment associated with that customer. There is an All button if you want to add a piece of equipment that is not associated with the customer.
- Plus Symbol: This will allow you to manually add in equipment information.
- Typewriter Symbol: For a new piece of equipment this will allow you to send a request to the Gatekeeper.
Some fields are auto-populated based on the customer information from the ERP and others are not.
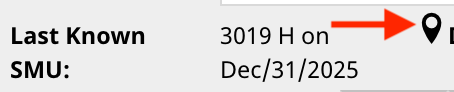
- Last Known SMU (Service Meter Unit): This will either be populated from the last Ticket and its SMU or if the unit is connected via GPS from that.
- GPS Location: If it is connected, you will see a location symbol. Clicking on the symbol will bring up a map with the equipments location.
- SMU: This is the current value of the equipment. You can select hours, kilometers, or miles for the unit of measurement. You can also select N/A if there is no meter reading.
Shop Instructions
This section displays information for the equipment's arrival.
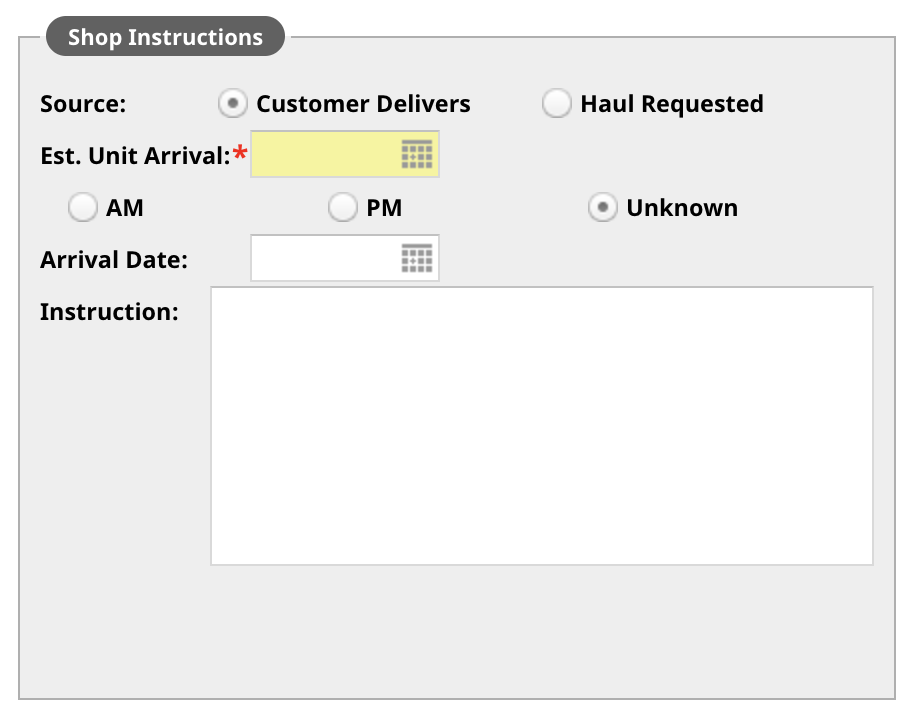
- Source:
- Customer Delivers: This indicates the customer is transporting the equipment to the shop.
- Haul Requested: This indicates the customer has asked the dealer to set up transport for the equipment to the shop.
- Estimated Unit Arrival: This indicates when the equipment is set to arrive. You can also select AM, PM, or Unknown for better accuracy.
- Arrival Date: This indicates when the equipment actually arrived at the shop.
- Instructions: These are any special instructions needed for the delivery or shop.
Job Site
This section displays the equipment location for the work to be performed.
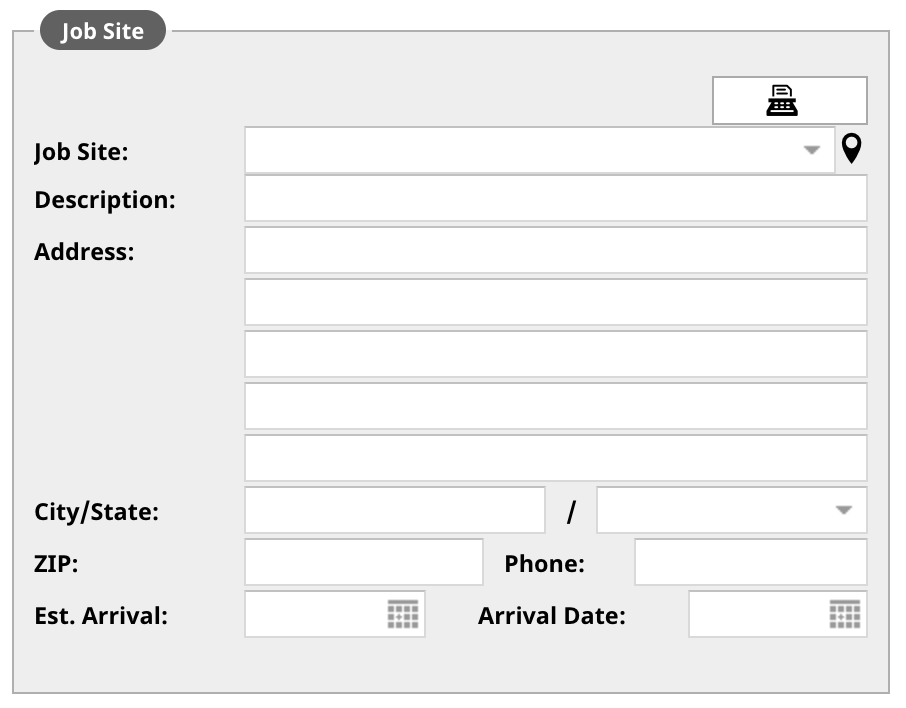
- Job Site: If there are job sites associated with the customer and equipment in your ERP, then you can select one from the dropdown.
- Location Symbol: If the equipment is connected via GPS, clicking on this will show a map of where the unit is.
- Description: A general description of the location.
- Address: Where the equipment is located.
- Note: do not add anything other than the address here so that it can be read by a map application in Service Management CD Mobile.
- Estimated Arrival: The estimated arrival date of the technician.
- Arrival Date: The actual arrival date of the technician.
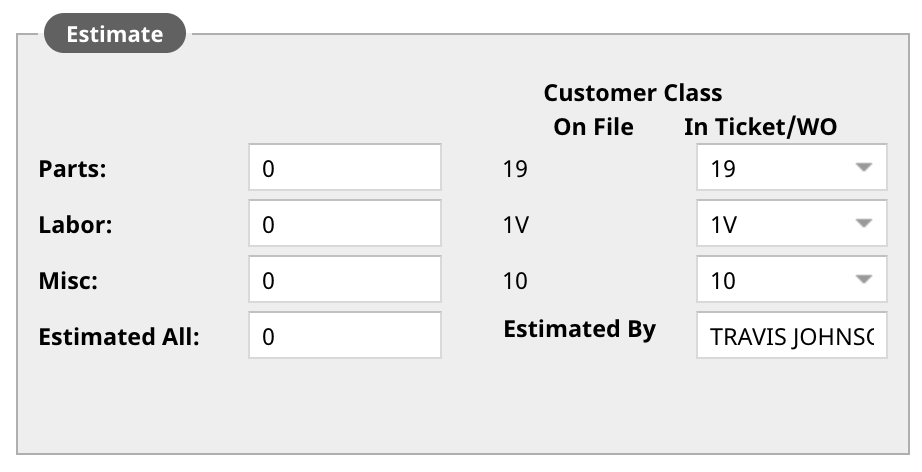
Estimate
This section is the estimated cost of the job. A user will add these in at the start of the job and then adjust as the job progresses. If a Ticket was created from a quote in Parts and Service Quoter, then these will auto-populate with the Quote totals.
You can also see the Customer Class of the customer and override them if required. The Customer Class indicates the pricing that the customer will get on Parts, Labor, and Miscellaneous items.
The Estimated By is auto-populated as well based on the user who opened the Ticket.
Related
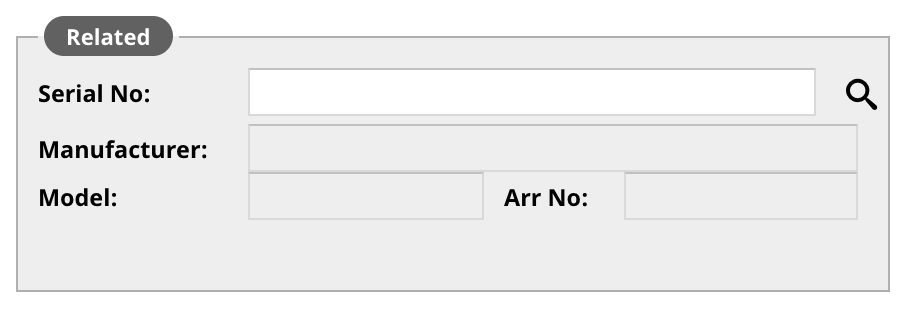
This section displays related info to the equipment. This could be like a Tractor that has an engine serial number an cab Vin #. Clicking the magnifying glass will bring up information from your ERP based on the customer.
Comment
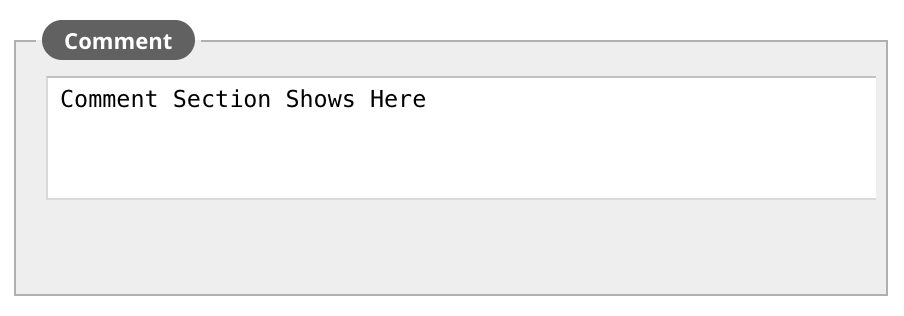
This section is for any comments. This will show up on the scheduling page if the Comment field is selected under the settings.
Other
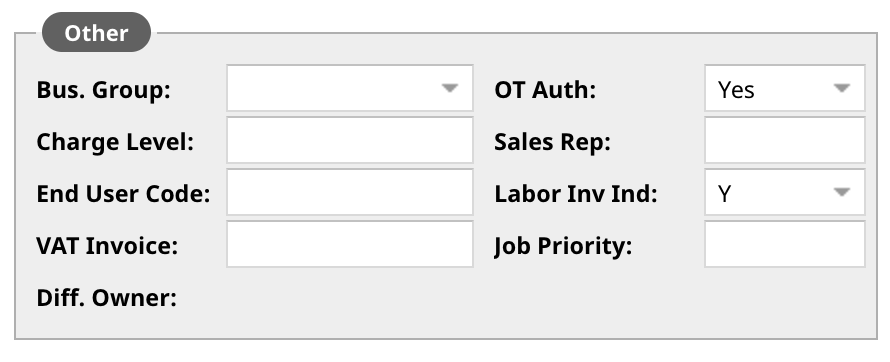
This section contains various miscellaneous fields that may be applicable for a job. Ask your manager for more details on how your dealership utilizes these.
Customer Commitment
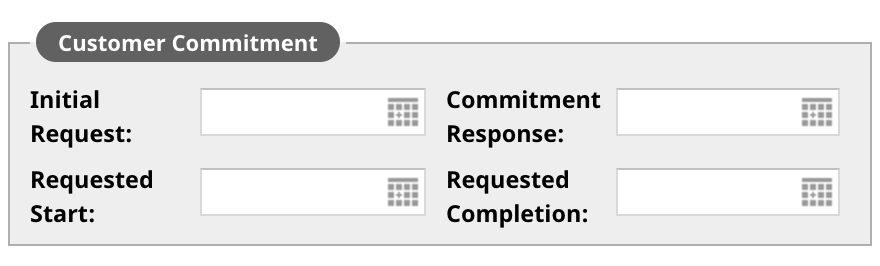
This section displays specific dates regarding the timing of the initial request and the commitments made for the starting and completion of the Ticket.
Contact
Add contact information for the job in this section.
- The plus sign icon will add a new line to enter another individual.
- The magnifying glass icon will search for contacts currently assigned to the customer in your ERP.
- The Frequency and By fields are used for communication features to ensure you contact the customer using their preferred method and frequency.

Symptom
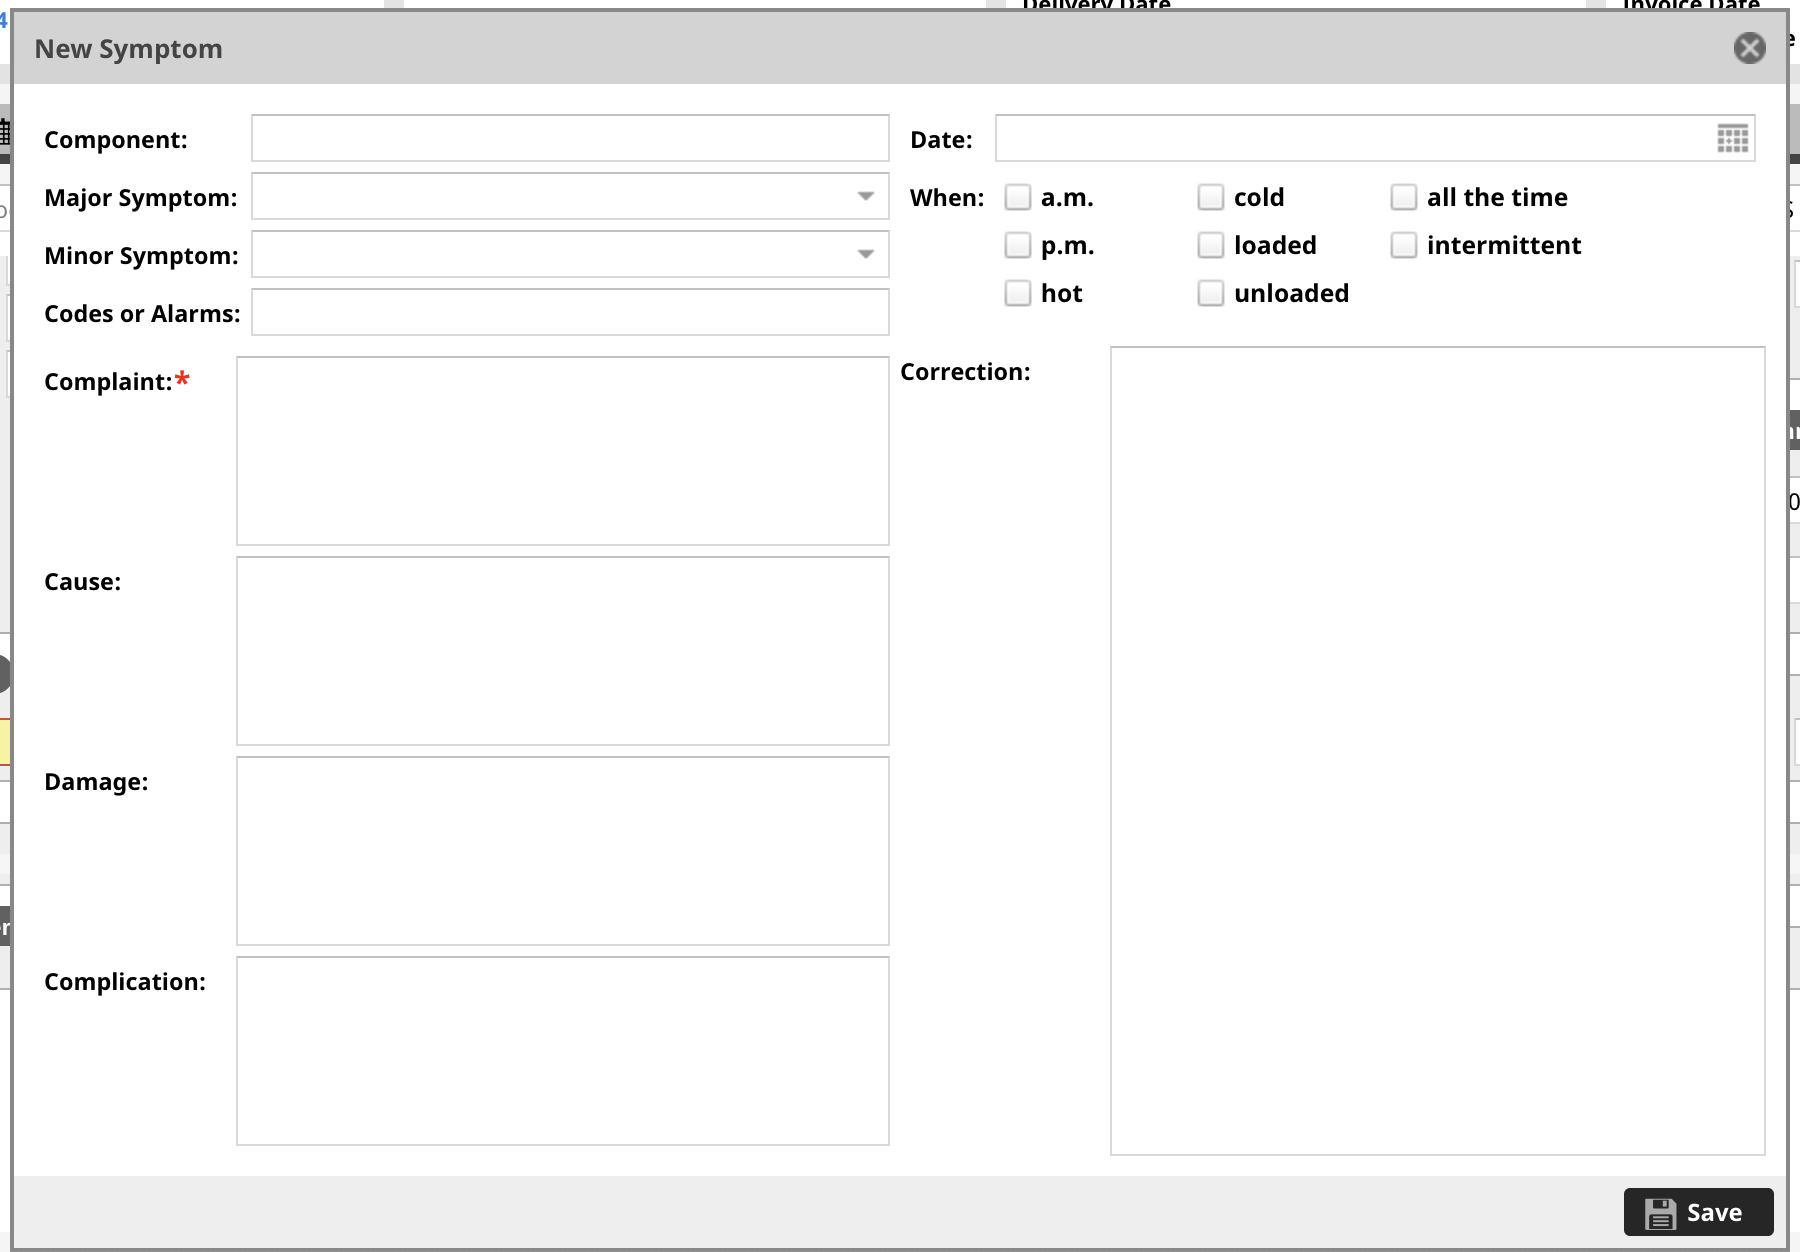
The Symptoms section of the Ticket is used to define the customer's complaint at the time the Ticket is created. You can use this area to record the customer’s description of the machine's status and make an educated guess regarding which component has failed.
Click the plus symbol to add a new symptom.

Key Features of the Symptoms Section
- Major Symptoms: You select a Major Symptom that best describes the current situation.
- Minor Symptoms: Your choice of Major Symptom will determine the specific Minor Symptoms available for selection.
- Timing and Frequency: You can record pertinent details about when the failure first occurred, what time of day it happens, and whether the issue is constant or intermittent.
- Future Documentation: After the repair is finished, a technician will use this section to document the Cause and Resultant Damage.
- Predictive Data: The information collected here is used in the Advanced Search to help you predict similar situations and react more effectively in the future.
To save your entries in the Symptoms section, you must select the Save button and the Update button located at the lower right of the window, or your work will be lost.
Associating Symptoms to Segments
If there are Segments already added to a Ticket, you can associate a symptom with a specific Segment to provide better clarity for the repair.
- Locate the Segment number (e.g., 01) on the right side of the screen.
- Select and hold the Segment number.
- Drag the Segment into the desired symptom on the left side of the window and release it to complete the association.
This process helps organize the Ticket by clearly linking each customer complaint to the specific job being performed.

Popsicle Sticks
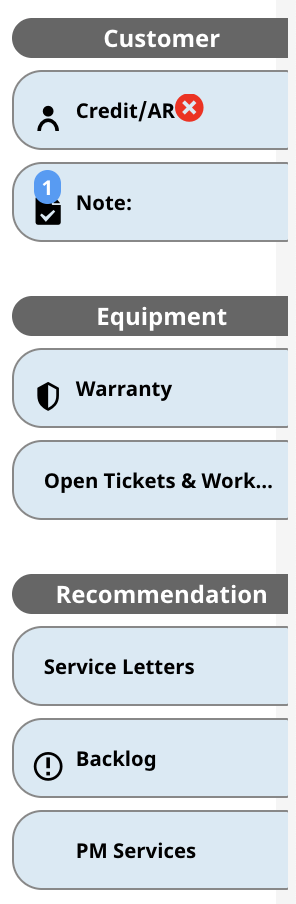
On the right side of the page, you will see a series of tabs that we refer to as "Popsicle Sticks." Select any of these tabs to view information related to the customer or equipment.
- Credit/AR: Shows the customer's credit information.
- Notes: Displays any notes on the customer's account.
- Warranty: Shows all warranties for the equipment, both active and expired.
- Open Tickets & Work Orders: Displays any open Tickets for the equipment.
- Service Letters: Shows any outstanding service letters for the equipment.
- Backlog: Displays any backlogged notes that have been logged in ServiceLink for the customer and equipment.
- CM Cases: Shows any Condition Monitoring events for the equipment (if it is connected).
- PM Services: Shows any active Preventative Maintenance agreements (also known as Customer Value Agreements or Customer Service Agreements) for the equipment.
Communication
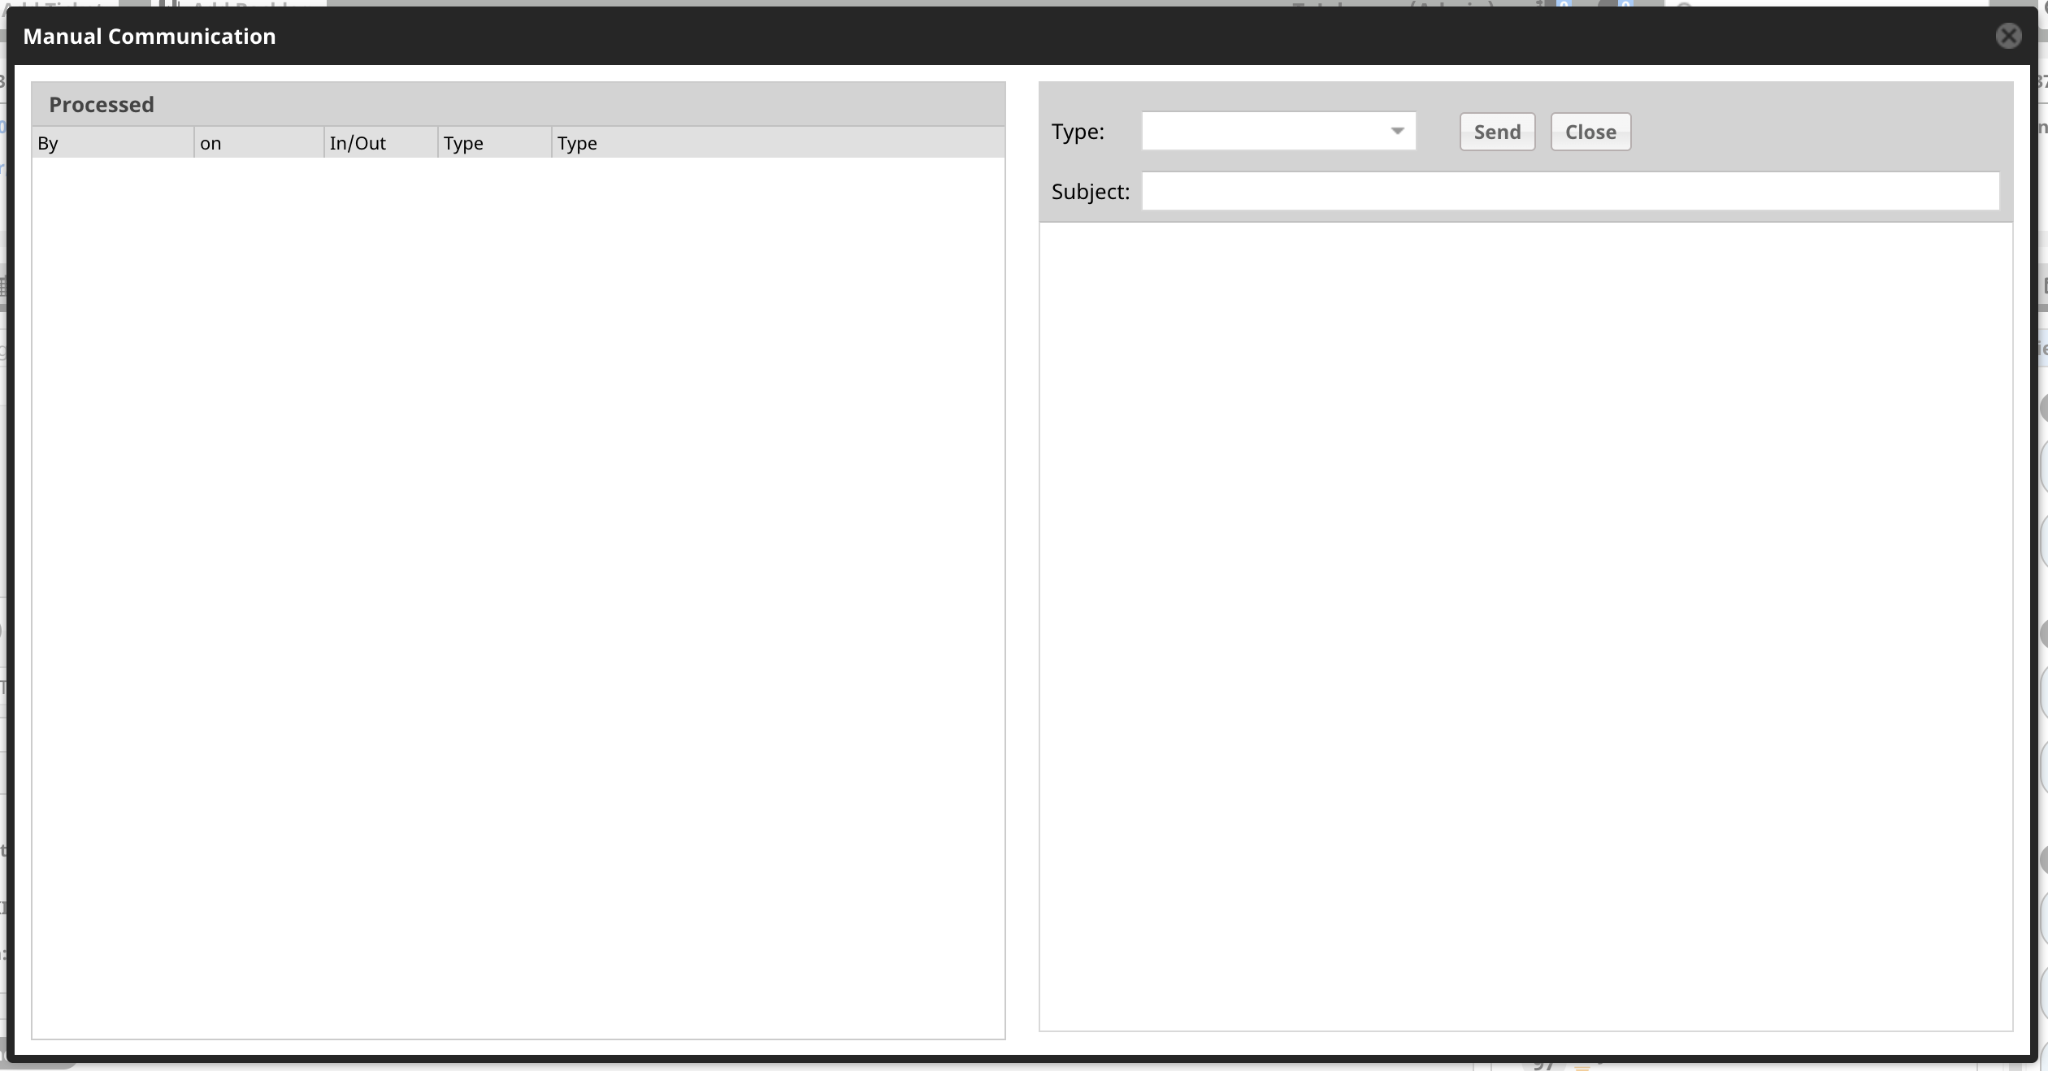
Clicking the communication button will bring up a pop-up where you can communicate with the customer.
Completing the Ticket
Once you have filled in all the necessary information, and ensured that all fields marked with a red asterisk are complete, Select the Update button to save and create the new Ticket.