
In This Article
Introduction
This quick start guide is designed for Equipment CRM administrators to hand directly to field sales, rental, and service teams to streamline mobile onboarding and drive job-site adoption.
Ensure user accounts are fully provisioned in Equipment CRM with active Equipment CRM Mobile (SalesLink Flex) licenses and assigned territory permissions before distributing this document.
Getting Started with Projects in Equipment CRM Mobile
Step 1: Download SalesLink Flex
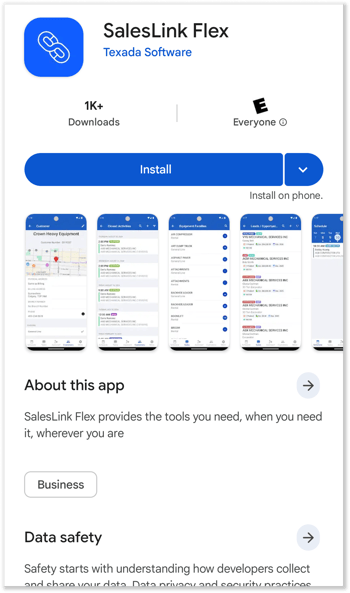
- Open the Apple App Store or Google Play (or your dealership's internal App Portal/MDM).
- Search for SalesLink Flex and tap download.
SalesLink Flex and Equipment CRM Mobile are synonymous.
Step 2: Log into the App
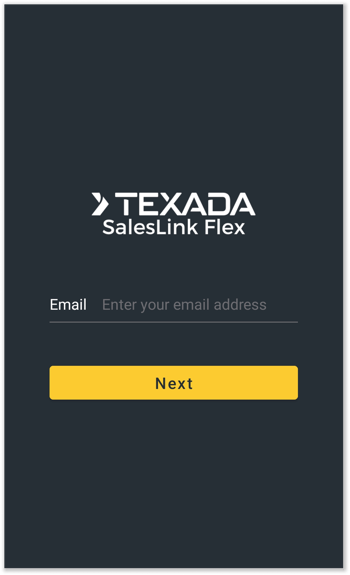
- Enter your Equipment CRM login email address, then tap “Next” to log in with SSO.
Step 3: Access Projects
- Navigate to Projects
Tap “Sales” in the bottom menu, scroll down to Leads & Opportunities, and select “View Projects”. - Search by Name
Tap the Search icon and type a Project name to locate specific job sites instantly. If you don’t see any Projects listed here, it is because none match the current filters; see “Filter the List” below for more information.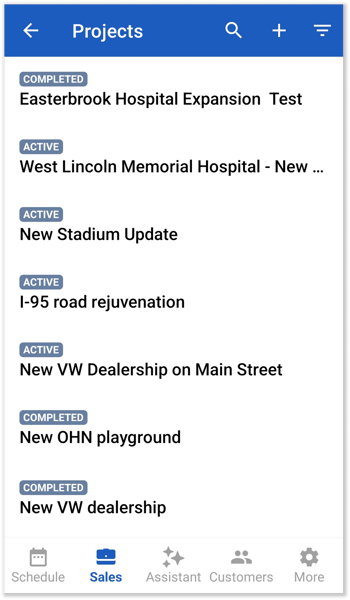
- Filter the List
Open the Filters pane by tapping the filter icon at the top right of the Projects screen. This enables you to refine the list of Projects using various criteria.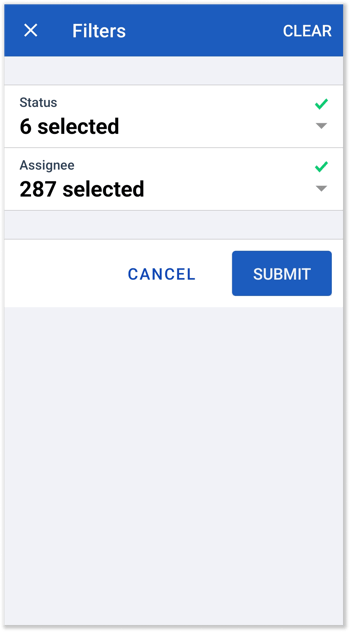
- Project Details
Tap on a Project in the Projects list to open its Project Details screen. This screen contains detailed information on the Project in question.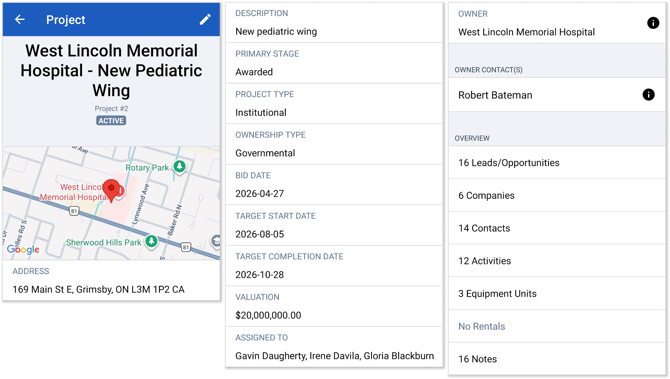
- Edit Projects
Tap the pencil icon in the top-right corner of the Project Details screen to switch to editing mode. Tap any field to update its value, then tap Submit at the bottom of the screen to save your changes.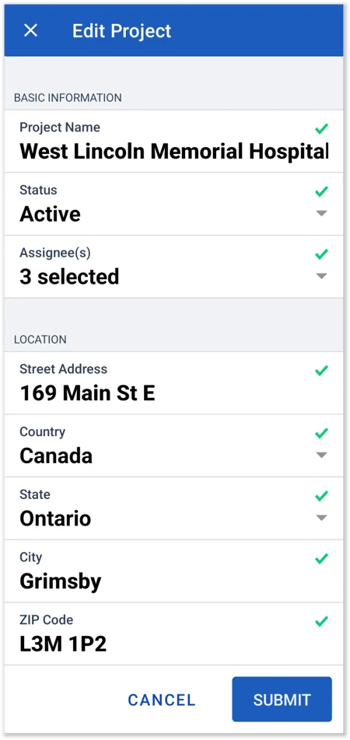
Step 4: View & Manage Related Records
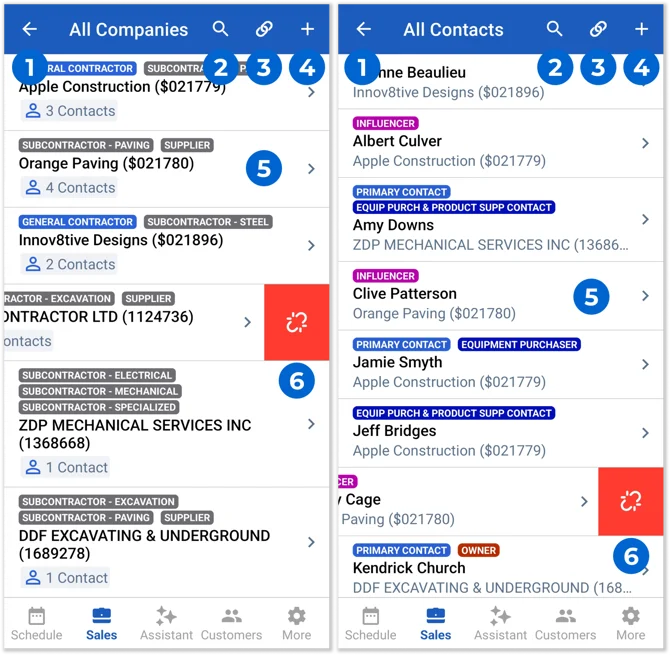
Tap any category under Related Records on the Project Details screen (such as Companies for subcontractors or Contacts for site contacts) to open a list of items associated with that project.
|
|
Back: Tap the Back Button to return to the main Project Details screen. |
|
|
Search Records: Tap the Search icon and type in keywords to filter the list. |
|
|
Link Existing Record: Tap to attach an existing record (e.g. Customer or Contact record) to the Project. |
|
|
Create & Link Record: Tap to generate a brand-new record and automatically attach it to the Project. |
|
|
View Record Details: Tap any record in the list to open its details screen. |
|
|
Remove Record: Swipe left on any record then tap the Remove icon to detach it from the Project. This disassociates the record from the Project without deleting it from Equipment CRM. |






Step 5: Create a Project Record
- Start a Record
Tap “Sales” in the bottom menu, scroll down to Leads & Opportunities, then tap “Add Project”.
You can also do this by tapping the plus icon “+” in the top-right corner of the Projects screen.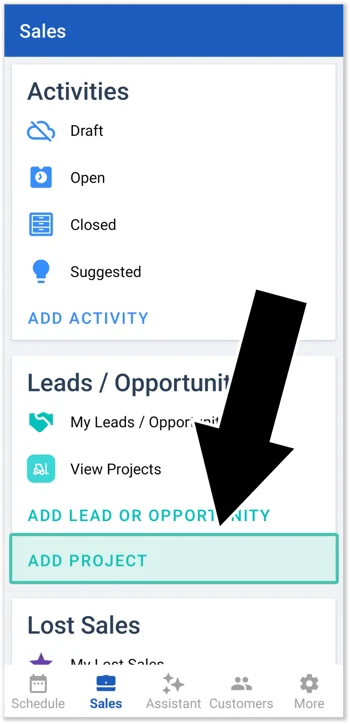
- Fill In Required Info
Enter key job site details. Minimum required fields are Project Name, Status, Assignee, and Location. - Submit & Save
Tap Submit to create the project, then tap Return Home to return to the main Sales screen.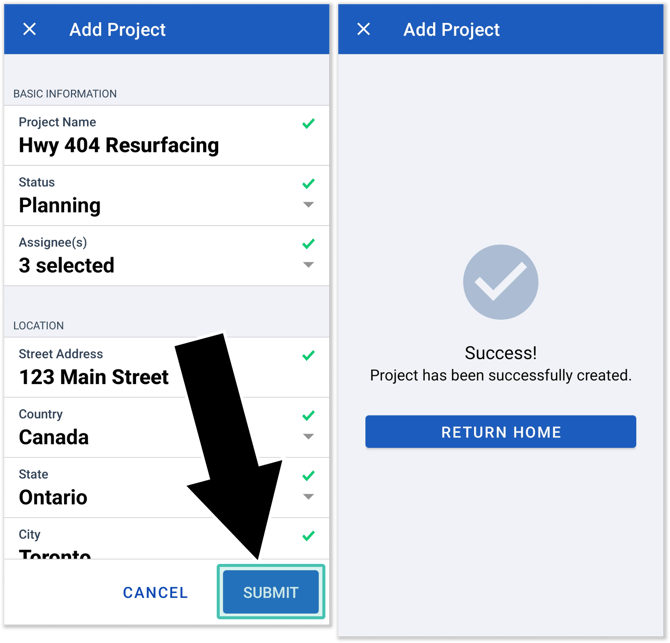
- View & Manage
Access, update, and manage your new job site anytime from the Projects screen.
Dodge Data Note: To import pre-populated project records from the Dodge Construction Network, create or assign the Project in Equipment CRM. It will automatically sync to your Equipment CRM Mobile app.
Step 6: Projects Around Me
- Open Around Me
Go to Customers → Around Me to view a territory map of nearby sites centered around your current location.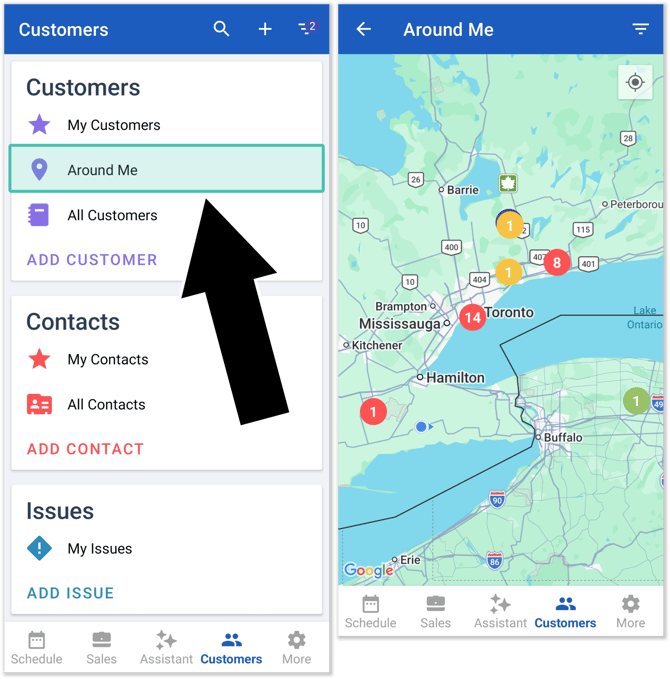
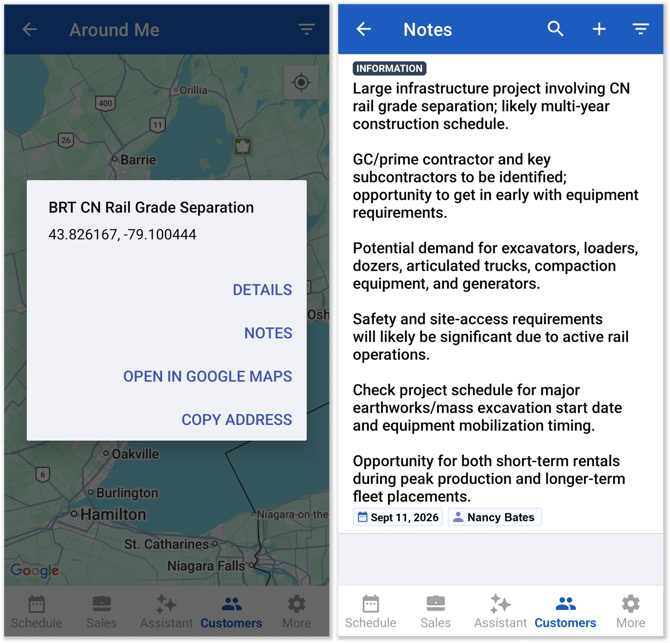
- Tap Pins for Quick Actions
- Single Record Pin: Tap to launch GPS Directions, view full record Details, or jump straight into Notes (Project records only) to read or log site updates.
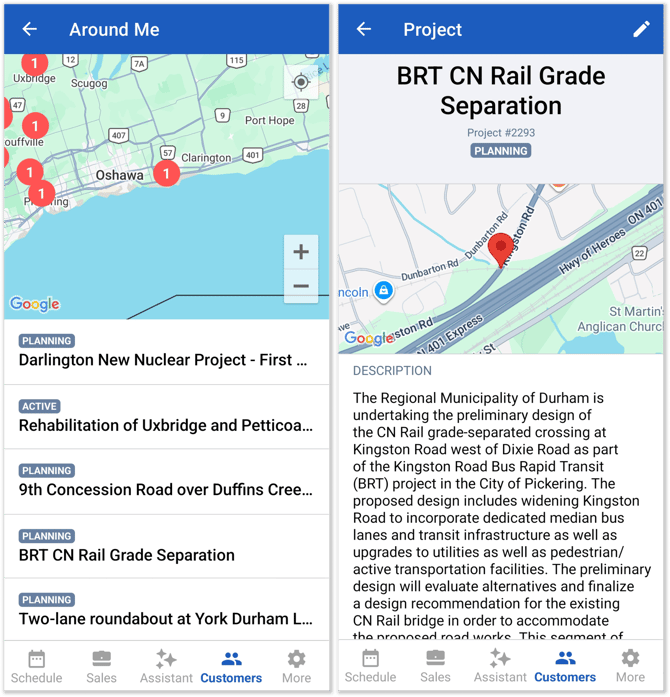
- Multiple Record Pin: Tap clustered dots to display a list of all records at that location, then select the one you want to view.
- Filter Your Map View
Tap the Filter icon (top-right corner) to filter map pins by Map Point Types, Project Status (hides "Completed" by default), Customer Types (My Customers vs All Customers, Account Type), Behind on PAR, or Outstanding Leads/Activities. Applied filters are saved automatically for your next login.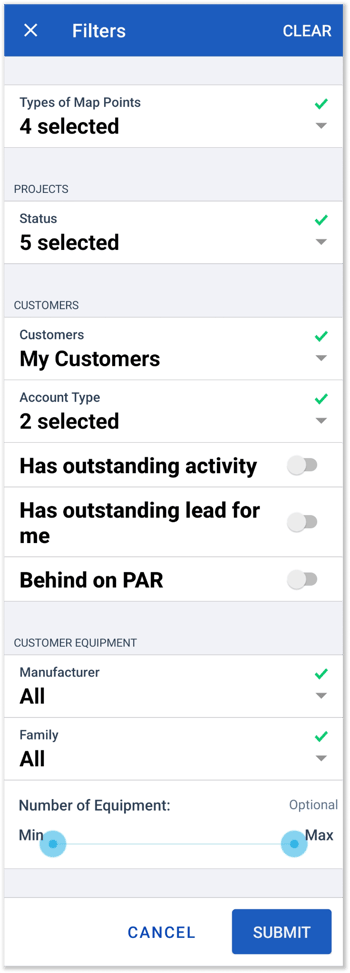
Pro Tip — Set Default Homepage: Go to More → Settings → Default Homepage and select Around Me to launch directly to your territory map every time you open the app.
Why Use Projects in the Field?
- Ditch Workarounds: Replace paper notes, Excel spreadsheets, and Google Maps pins with a live, map-based job-site record.
- Capture Share of Wallet: Connect multiple contractors, subcontractors, and machines to one physical site to uncover rental, sales, service, and power systems opportunities.
- Stop Duplicate Work: Instantly view notes, quotes, and activity logged by other dealership reps working the same job site.