.png?width=365&height=50&name=Texada%20Logo%20(Black).png)
Introduction
Tap the Sales tab at the bottom of the screen. This tab gives you the necessary tools and information needed to successfully make a sale.
Sales is divided into three sections:
- Activities
- Leads & Opportunities
- Inventory
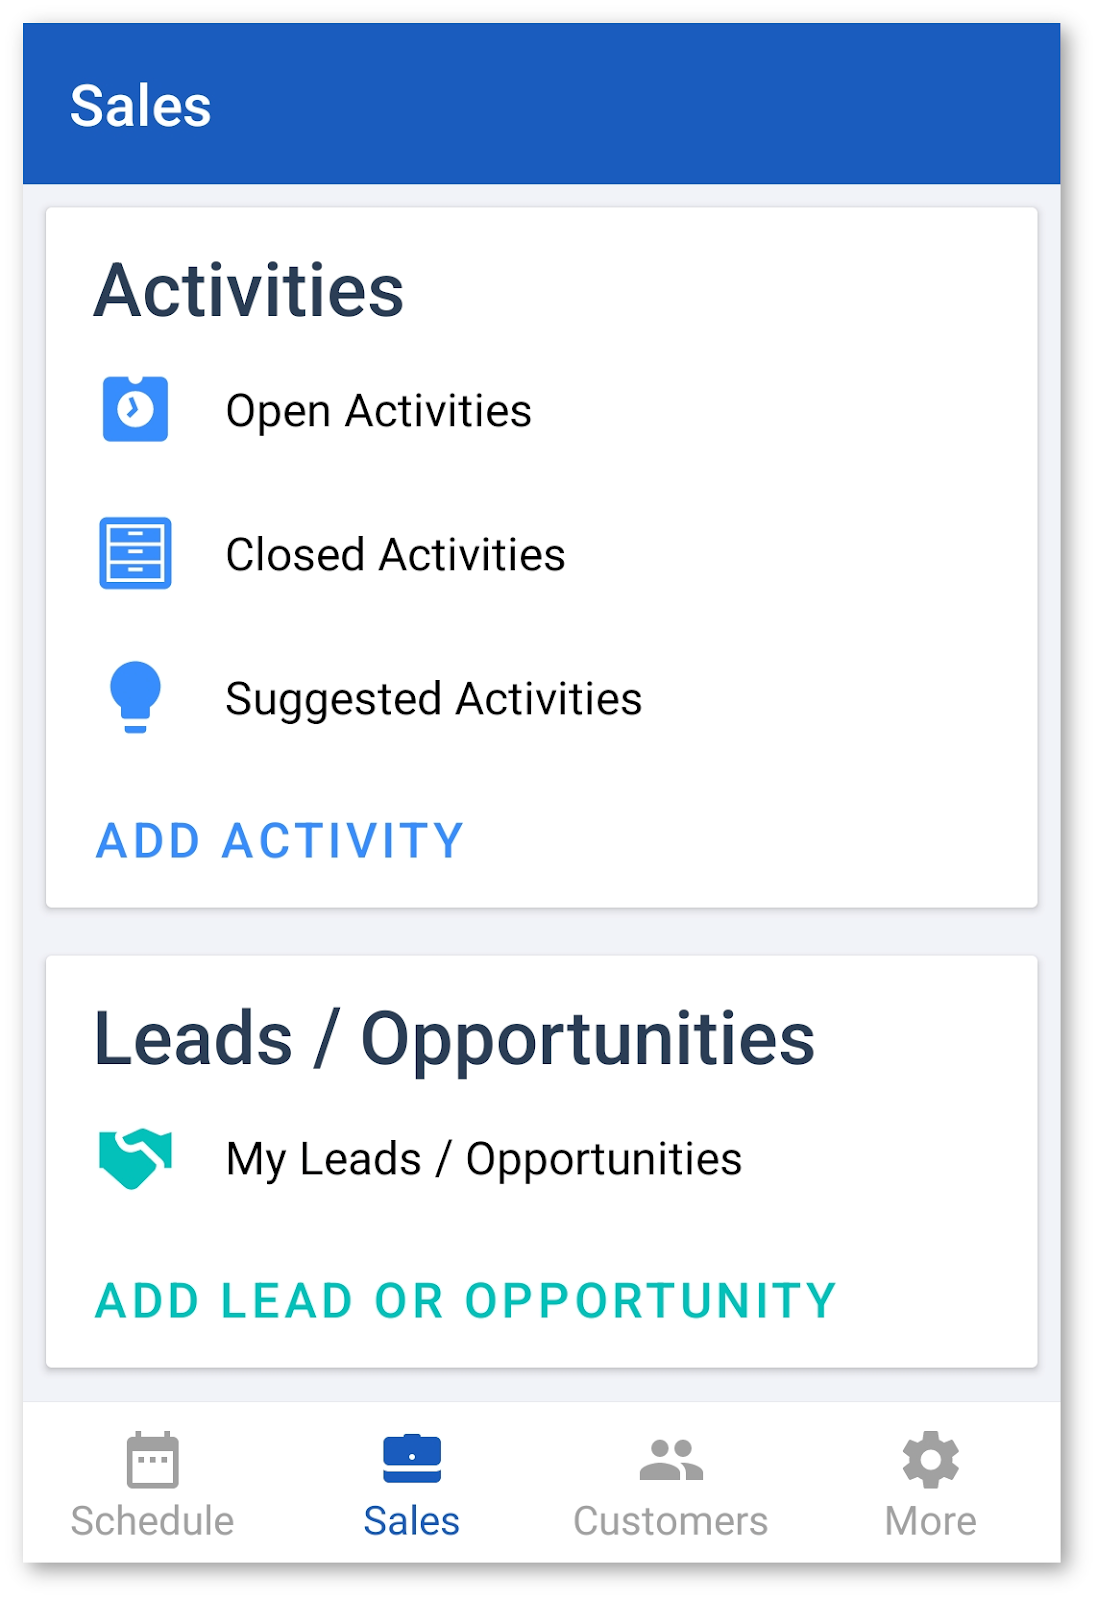
Activities
Open Activities
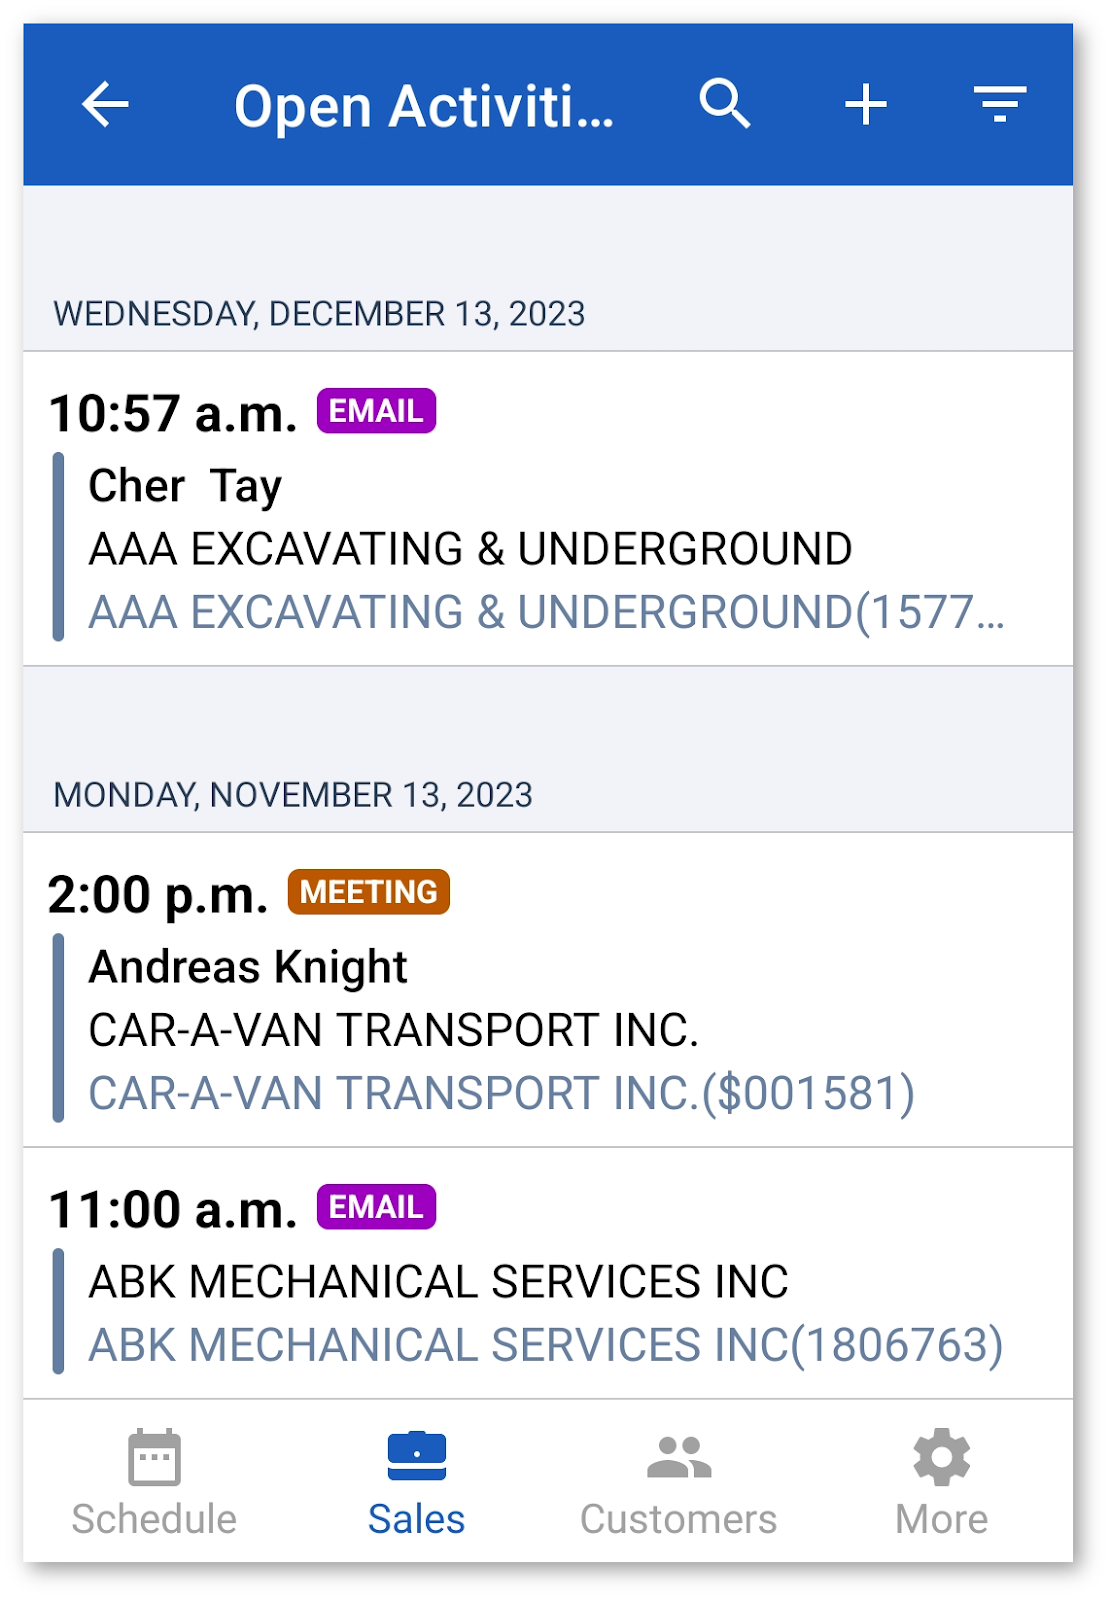
Tap Open Activities to display a list of your currently open activities, organized by date. Scroll through the list and tap on an activity to view its Activity Details page.
You can also search for a specific activity using the Search bar at the top of the screen or tap the [Filter] button to narrow down your list.
- Select Type, Customer, and Sort Order.
- Choose from the Quick Dates options or enter a Custom Range of dates to filter by.
- Tap the [APPLY FILTERS] button to filter the list.
You can add a new activity by tapping the Plus (+) icon at the top right of the screen. For more information, see the Add Activity section.
Closed Activities
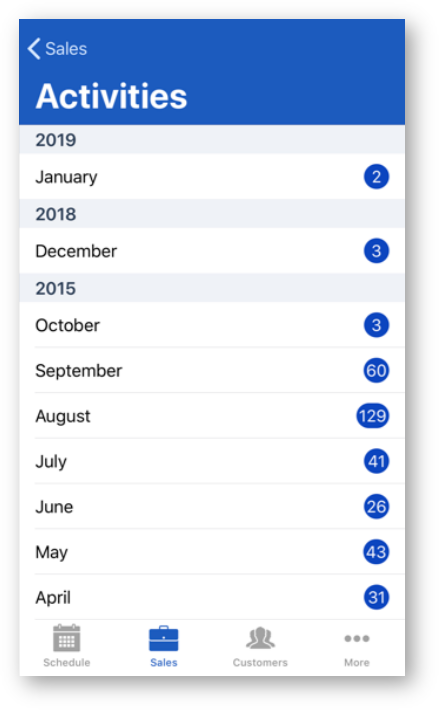
Tap Closed Activities to display a record of all of your closed activities, aggregated by month and year. Each time you Complete an activity, it is automatically added to this list.
Tap on a month to view a list of all activities that were closed during that particular month. From here you can also tap on a specific activity to view its Activity Details page.
Suggested Activities
Tap Suggested Activities to view a list of these suggestions. Your top suggestions for the day are displayed first.
Our Machine Learning platform generates high valued activities based on a number of criteria. These include:
- A list of the top 3 suggestions that you could be filling your time with to optimize performance.
- Activities on a customer by customer basis, that help you optimize productivity.
Each new and unread/unopened activity is listed with a blue dot.
Tap on a suggestion to view its details. You have the option of taking further action on the suggestion or ignoring it. Once reviewed, the blue dot clears to help you further optimize your time.

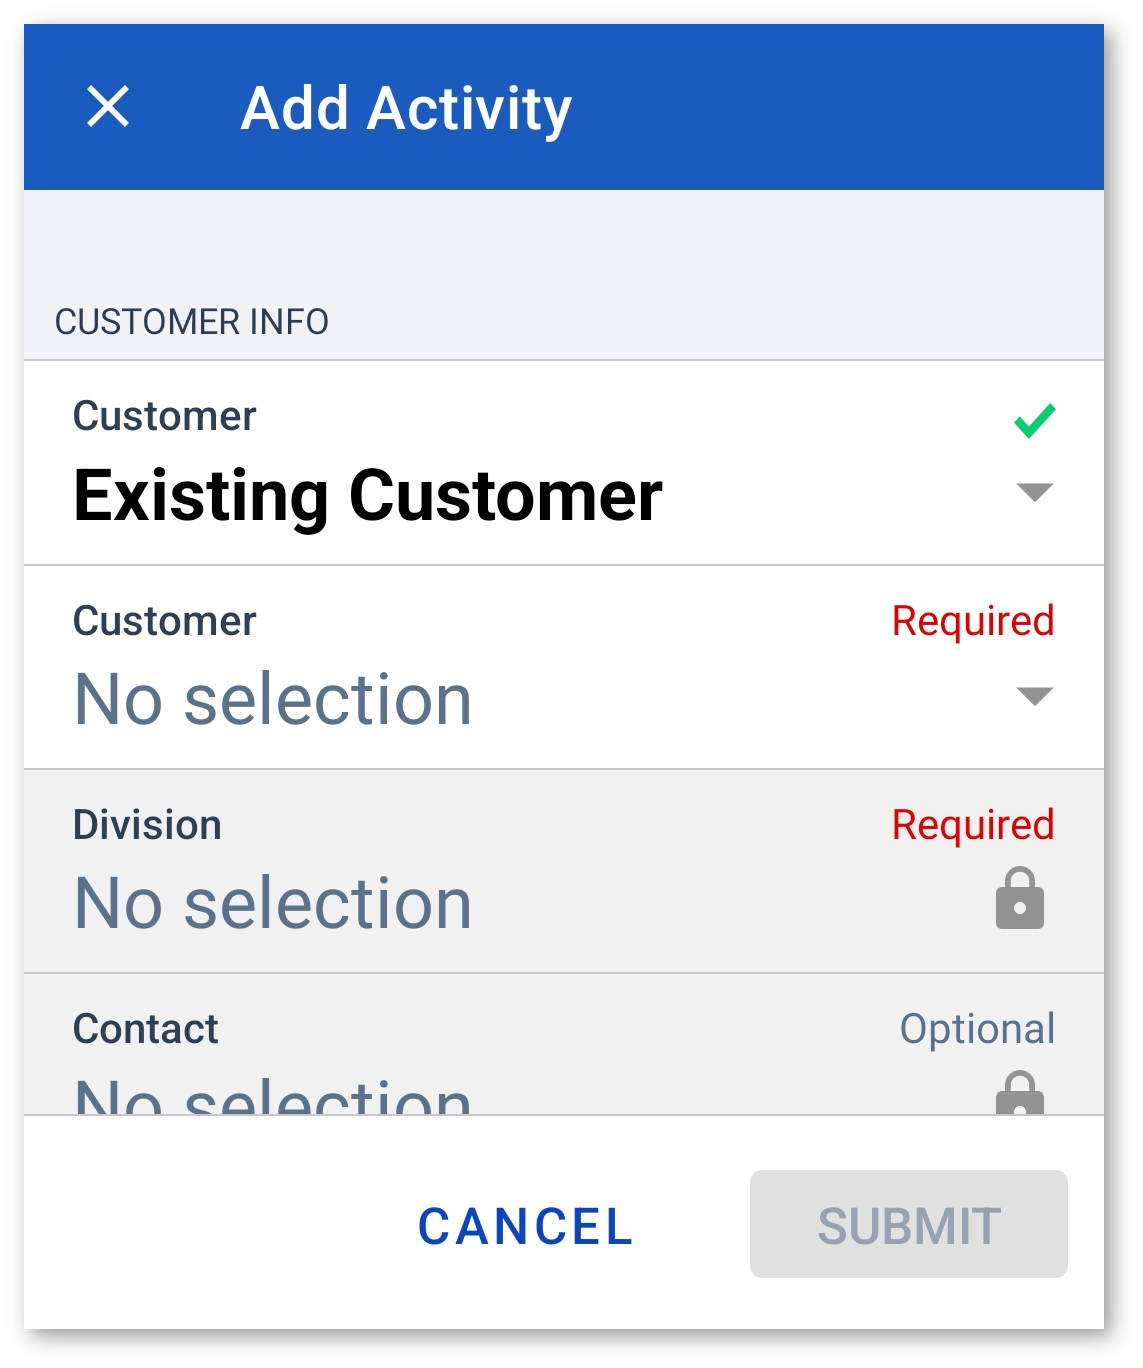
Add Activity
Tap the [Add Activity] button to add a new activity. Complete all required fields:
- Customer
- Division
- Contact (Optional)
ACTIVITY DETAILS
- Subject
- Status (Required)
- Date
- Type (Required)
- Purpose (Optional)
- Notes (Required)
Tap the [Submit] button at the bottom to add the activity.
Leads & Opportunities
All Leads / Opportunities
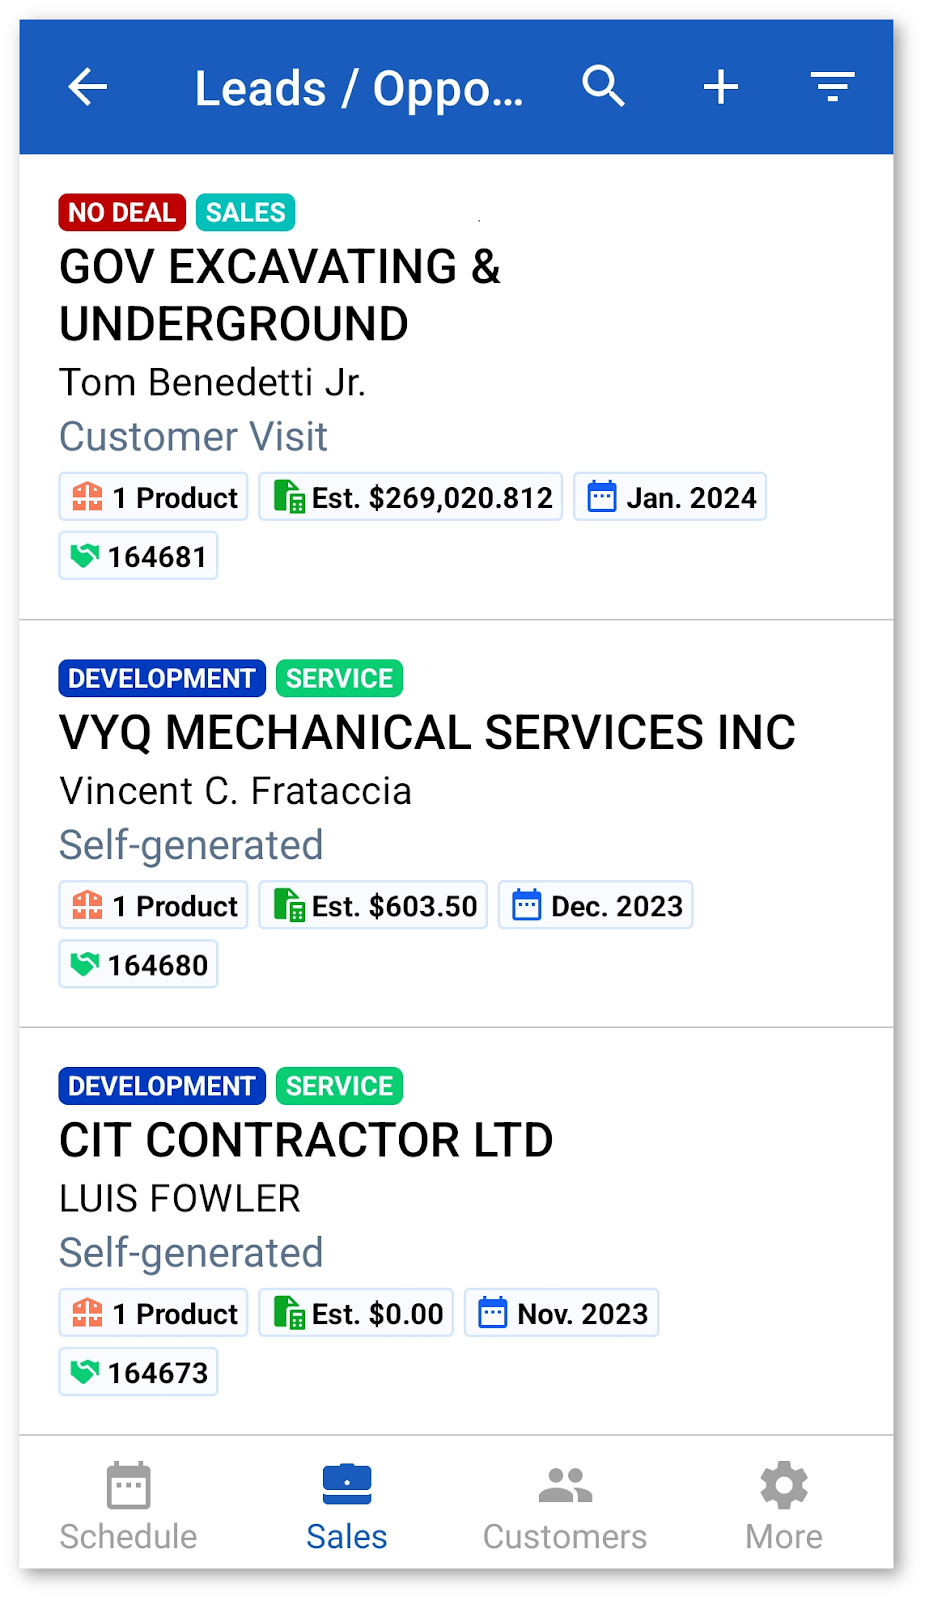
Tap All Leads / Opportunities to view a list of all of your current leads and potential opportunities. Scroll through the list and tap on a lead or opportunity to view its Lead Details or Opportunity Details page.
You can also search for a specific lead or opportunity using the Search bar at the top of the screen or tap the [Filter] button to narrow down your list.
- Select the Type of lead or opportunity you want to filter by.
- Tap the [Filter] button to filter the list.
You can add a new lead or opportunity by tapping the Plus (+) icon at the top right of the screen. For more information, see the Add Lead / Opportunity section.
Lead / Opportunity Details
Tap on a lead or opportunity to view its Lead Details or Opportunity Details page. Tap the three dots at the top right of the screen to Edit the lead or opportunity.
For leads, you have the option to tap the [Promote] button to promote the lead, or the [Set as No Lead] button to disregard it.
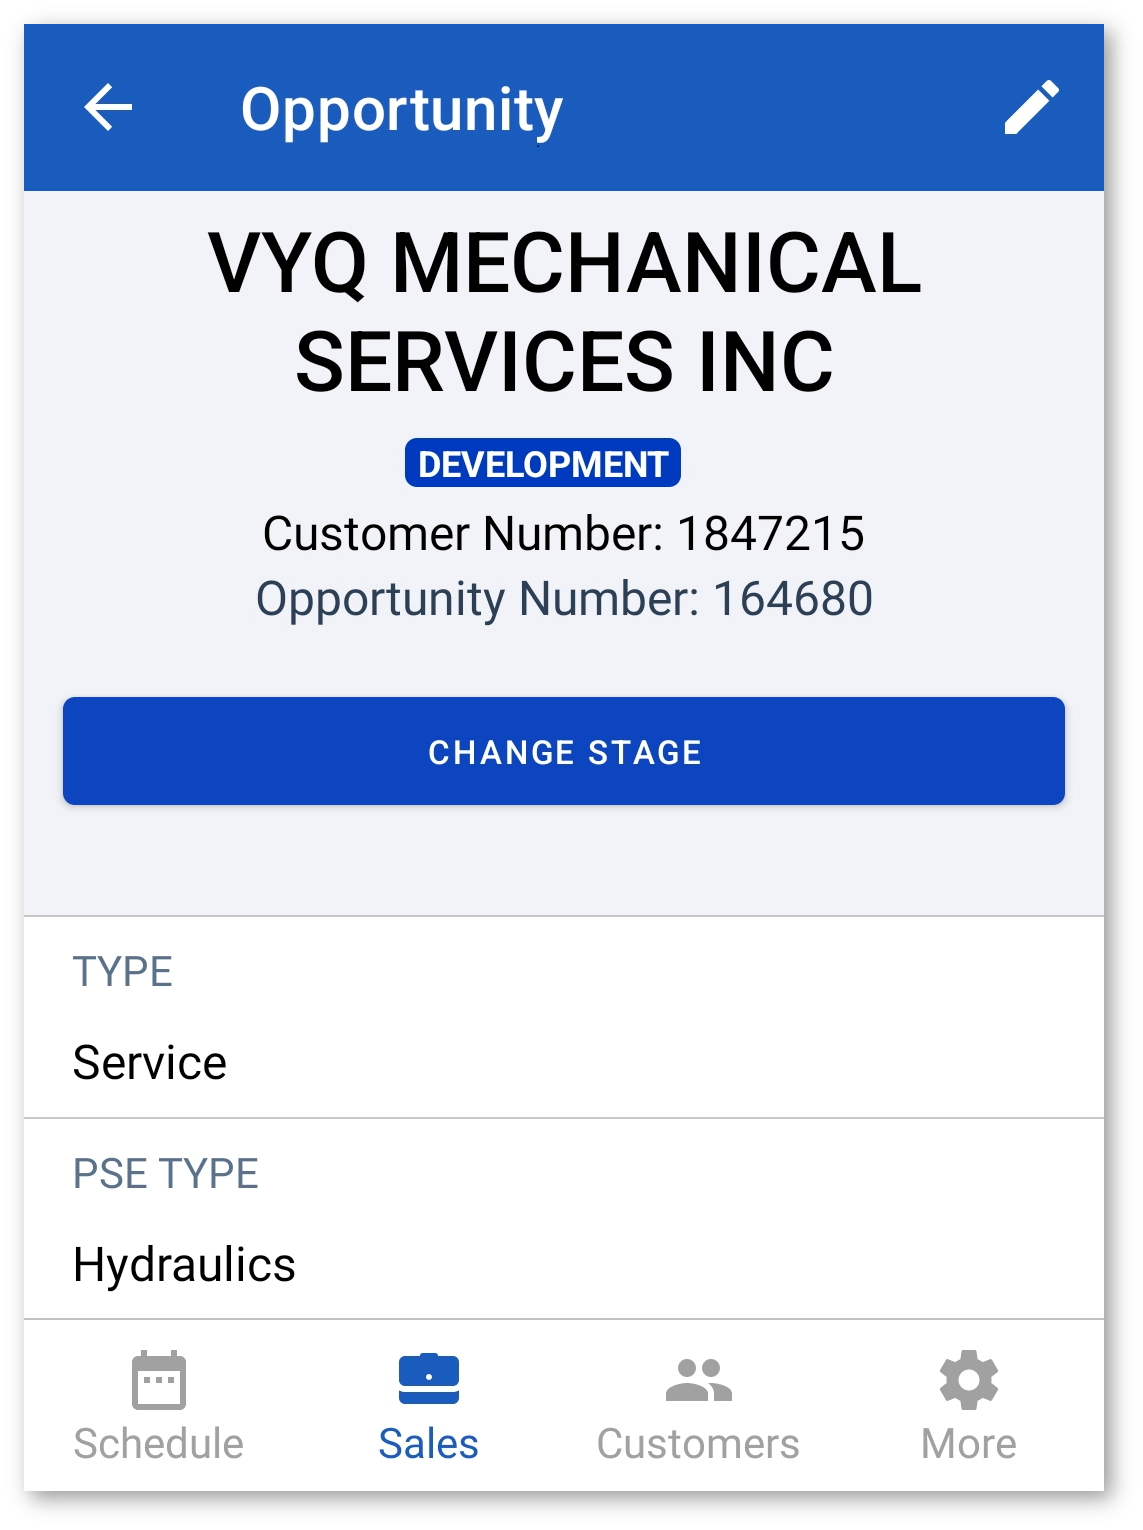
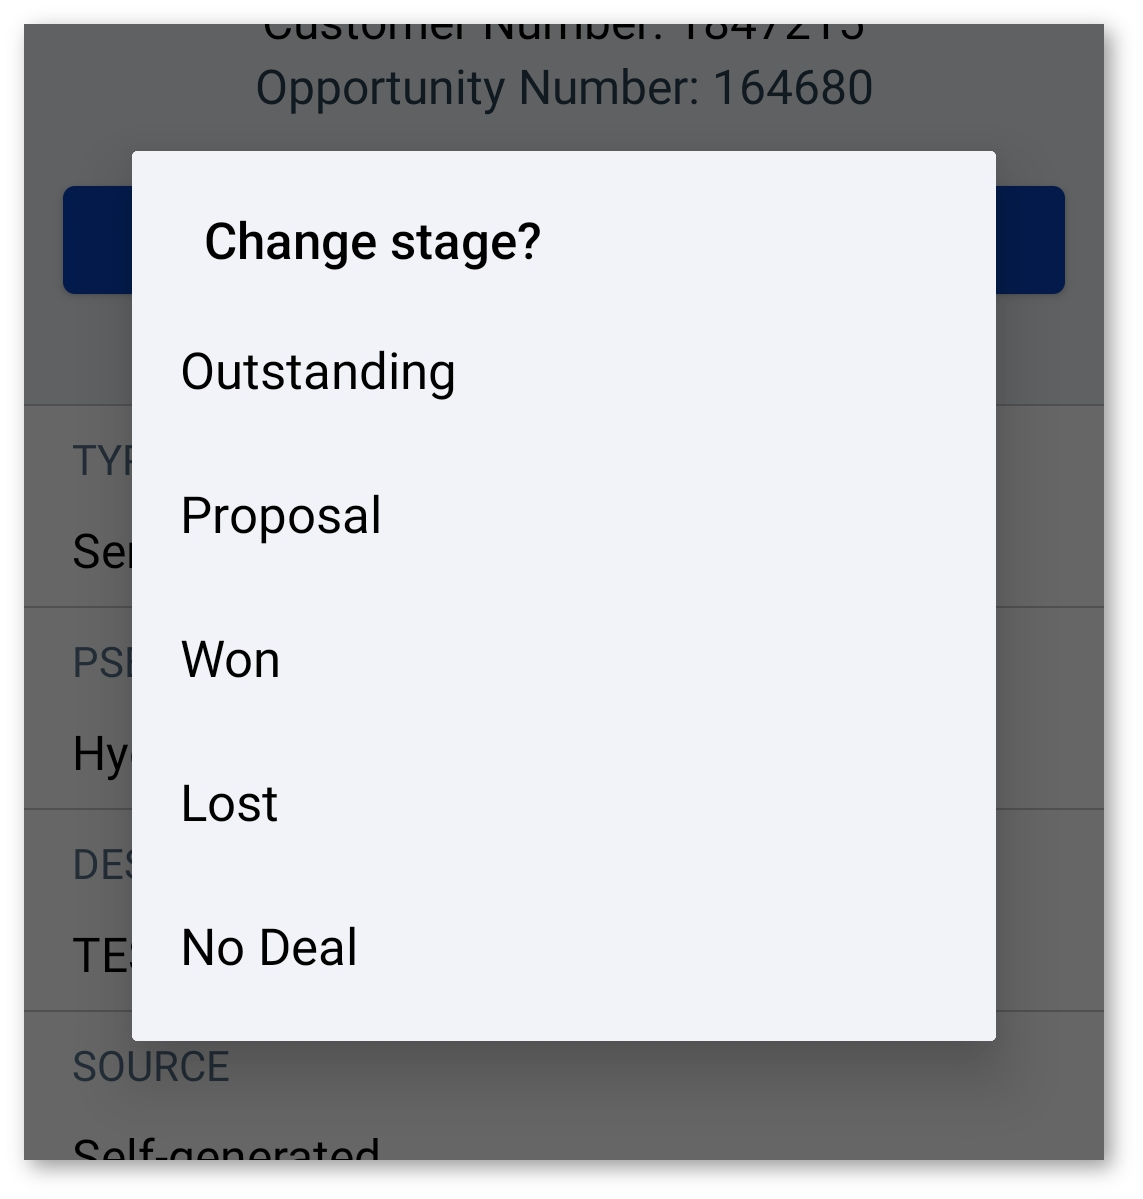
For opportunities, you have the option to tap the [Change Stage] button to change its stage to Proposal, Development, Lost, Won, or No Deal.
The overview section allows you to view Product Groups, housing everything you’ll be proposing to sell in this deal. Additionally, you can view Activities, Notes and any Attached Files.
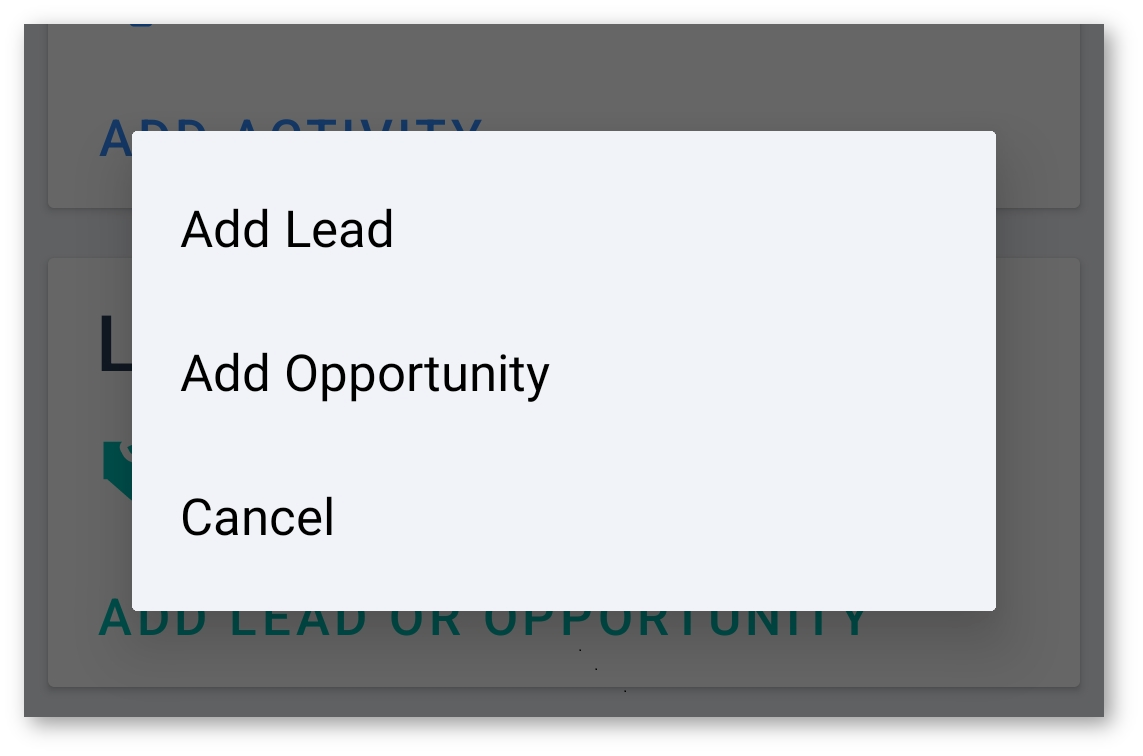
Add Lead or Opportunity
Tap the [Add Lead or Opportunity] button, then select either Add Lead or Add Opportunity.
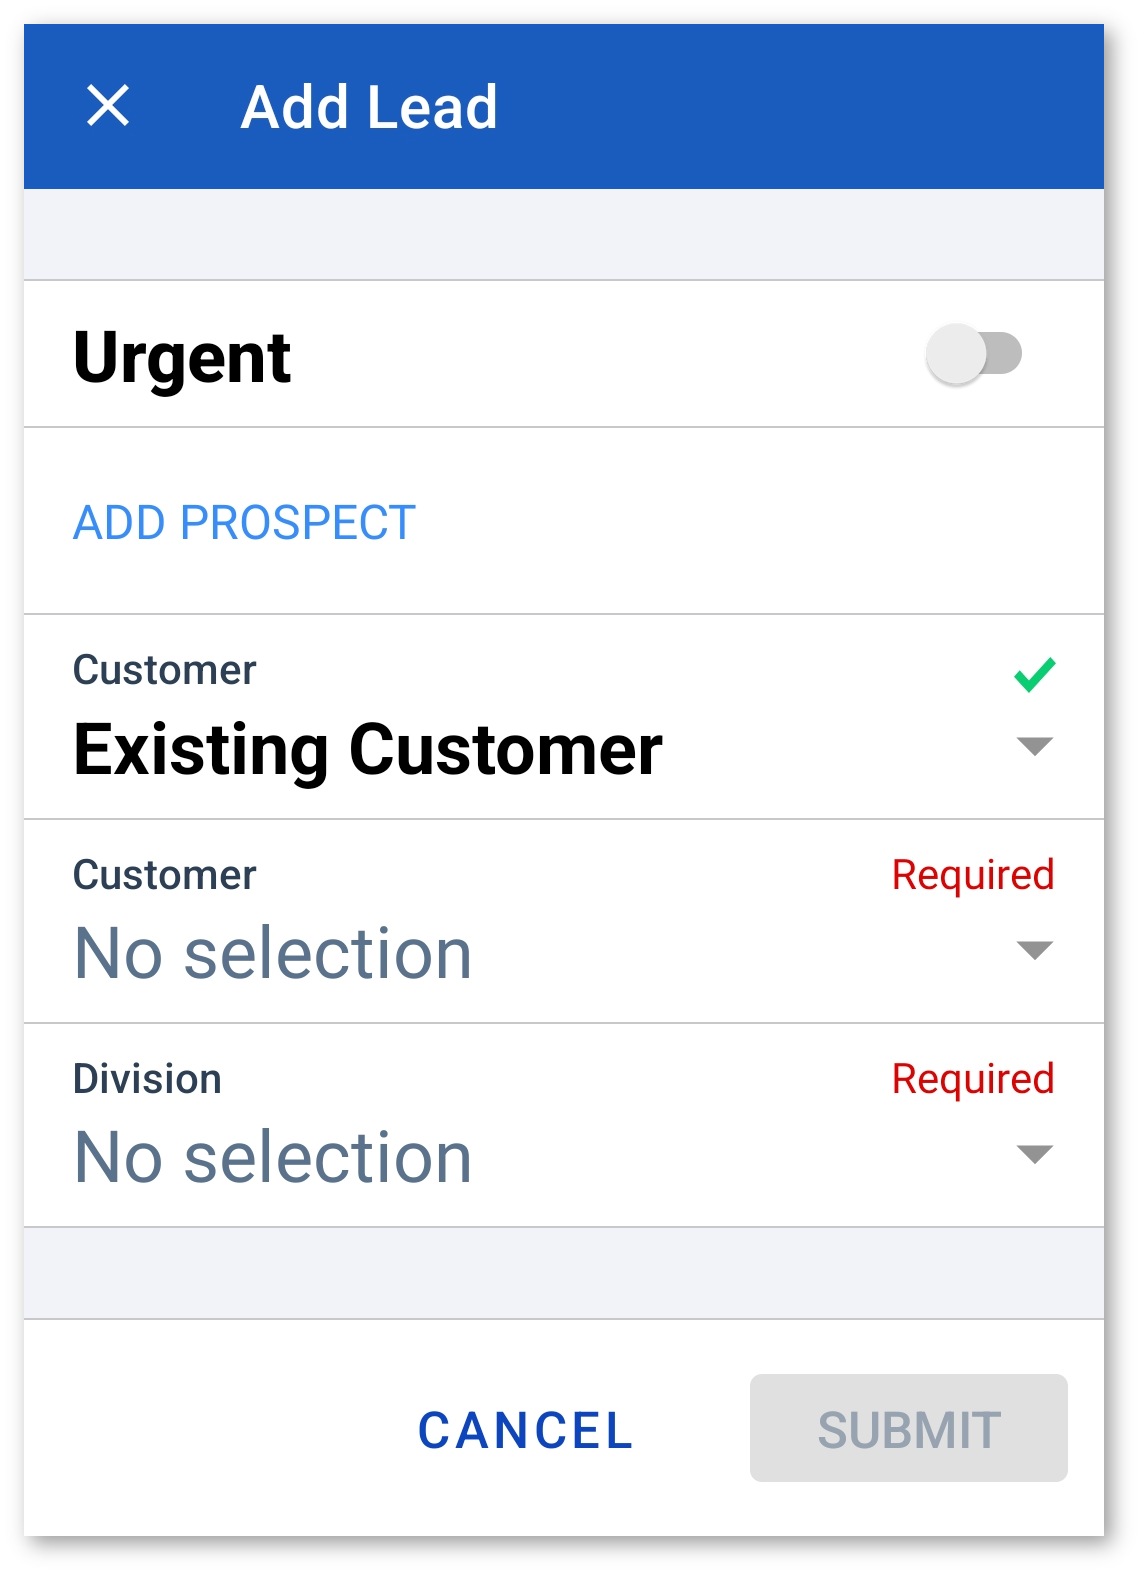
Add Lead
Complete all required fields:
- Tap the Urgent toggle if the opportunity is urgent (Optional)
- Customer
- Division
- Contact (Optional)
- Name
- Email (Optional)
- Phone (Optional)
- Description
- Type
- Stage (Optional)
- Source
- Assign To (Optional)
- Branch (Optional)
Tap the [Submit] button to save the lead.
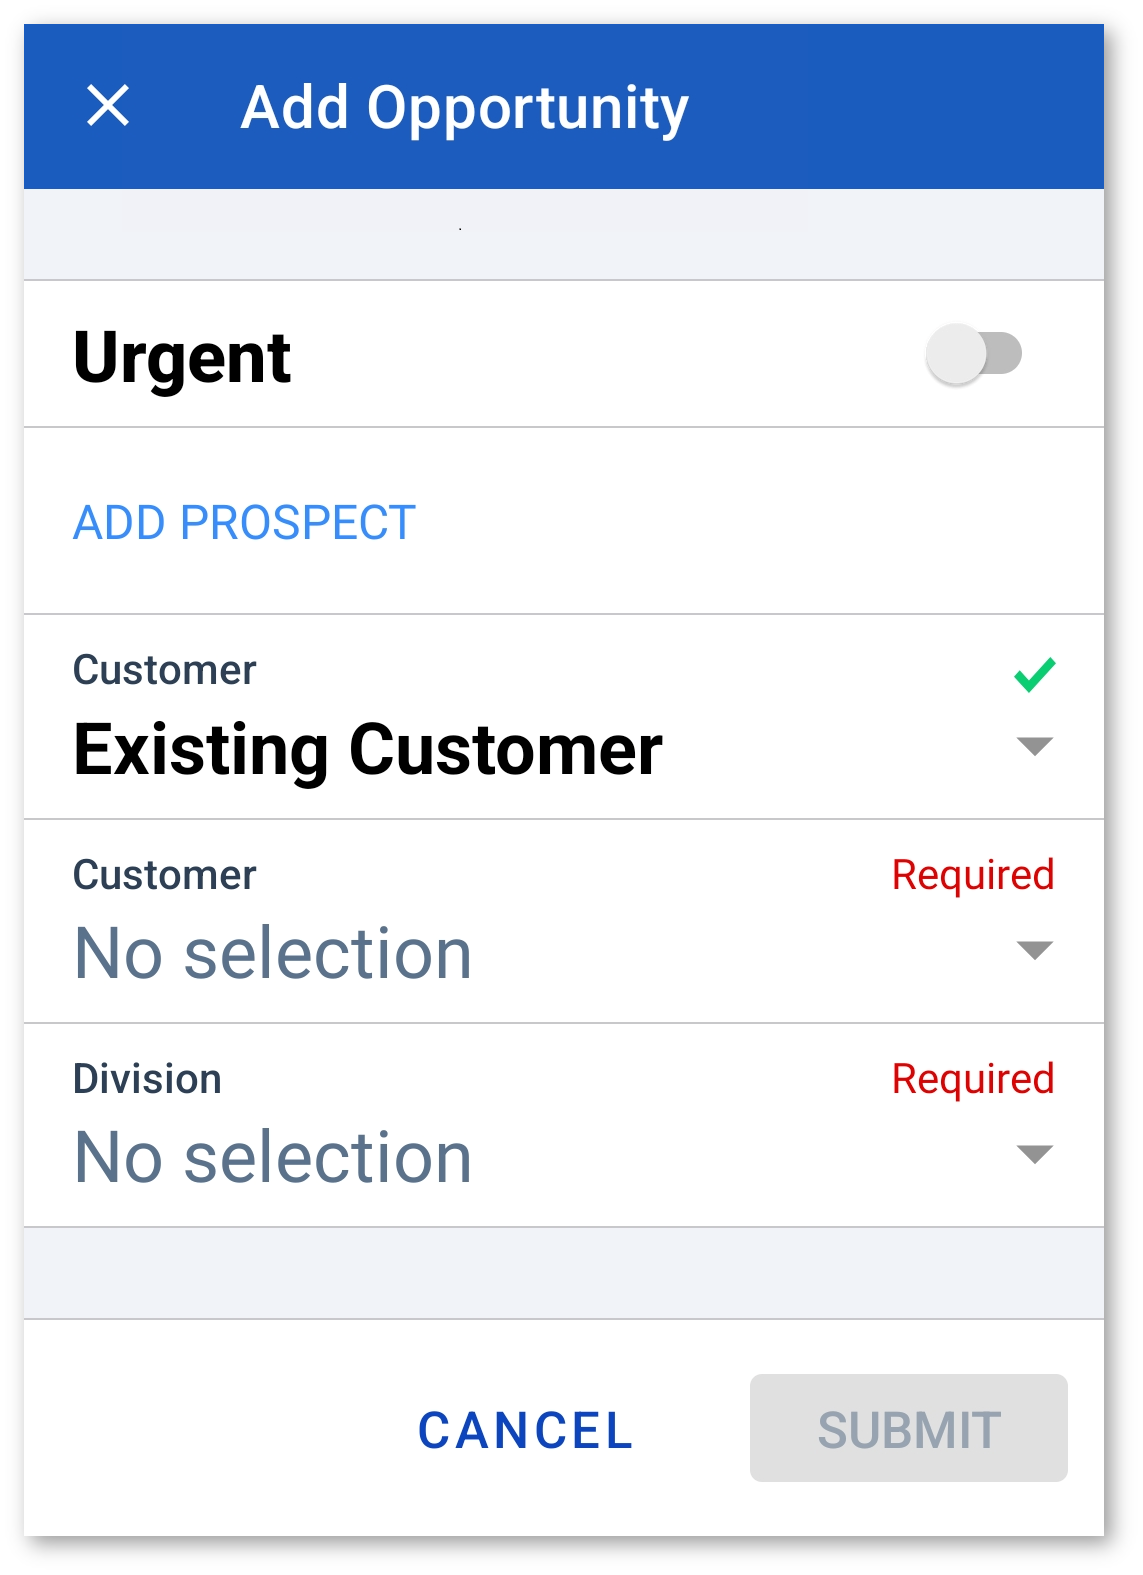
Add Opportunity
Complete all required fields:
- Tap the Urgent toggle if the opportunity is urgent (Optional)
- Customer
- Division
- Contact (Optional)
- Name
- Email (Optional)
- Phone (Optional)
- Description
- Type
- Stage (Optional)
- Source
- Assign To (Optional)
- Branch (Optional)
- Estimated Delivery (Optional)
- Probability of Closing (Optional)
Tap the [Submit] button to save the opportunity.
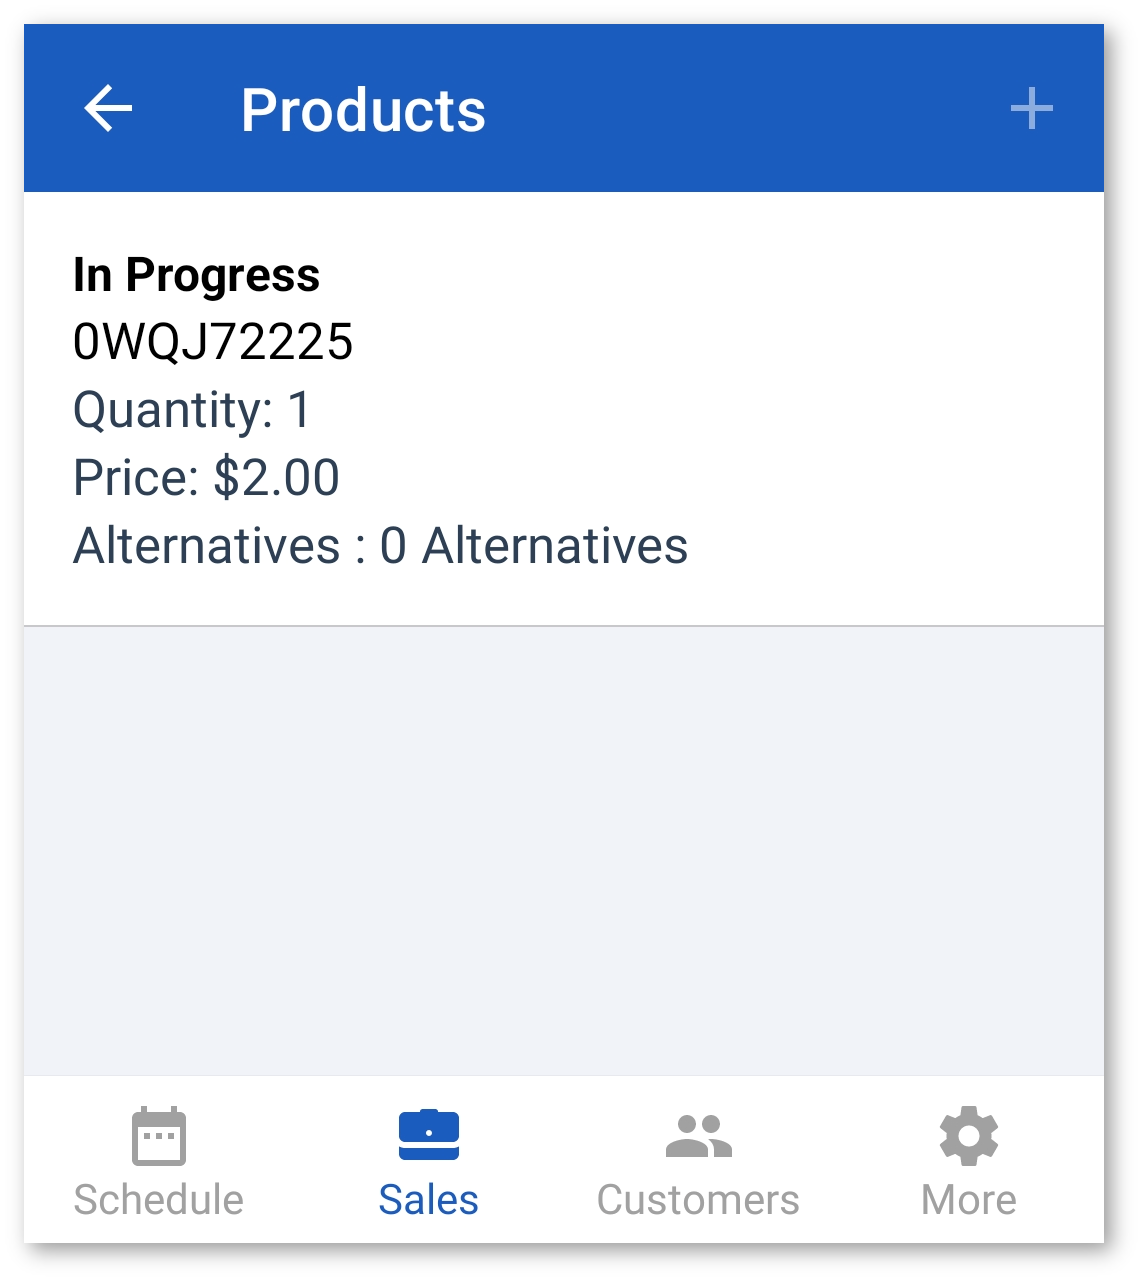
Inventory
Equipment
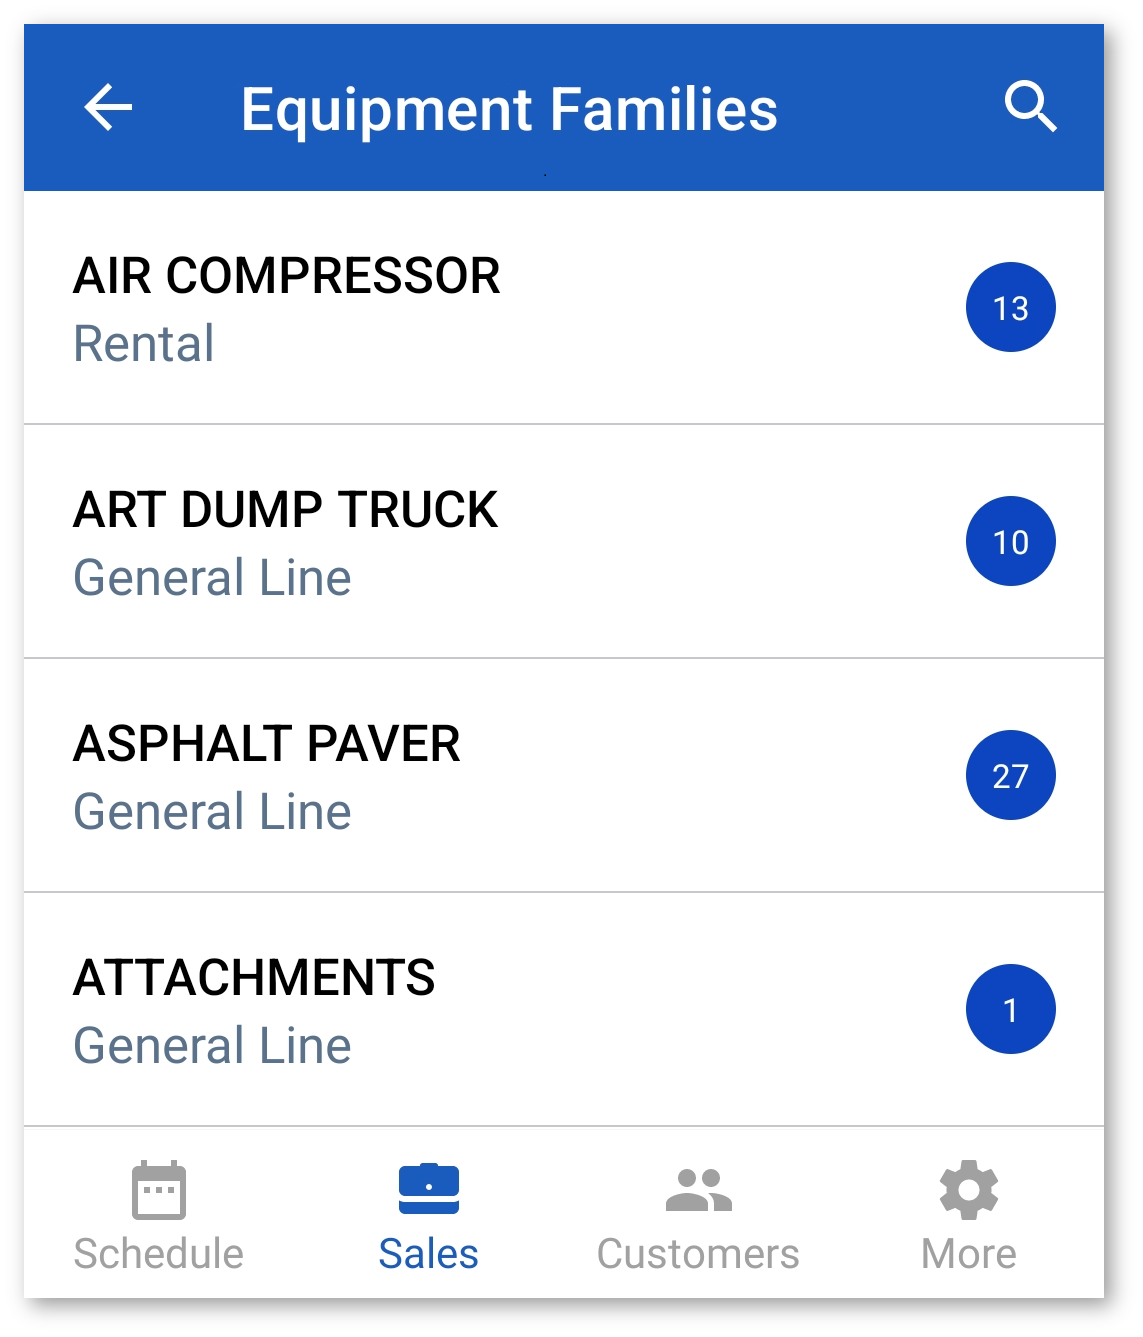
Tap Equipment to view a list of all Equipment Families in your Inventory. Scroll through the list to find an Equipment Family or use the Search bar at the top of the screen.
Tap on an Equipment Family to view a list of Equipment Models. Scroll through the list to find an Equipment Model or use the Search Bar at the top of the screen.
Tap on an Equipment Model to view a list of Equipment Units. Scroll through the list and tap on an Equipment Unit to view detailed information about that unit. You can also tap the [Filter] button to filter the Equipment Units list:
- Select the Status, Availability, Reservation, or Location of the Equipment Unit you’re searching for.
- Tap the [Save] button to filter the list.
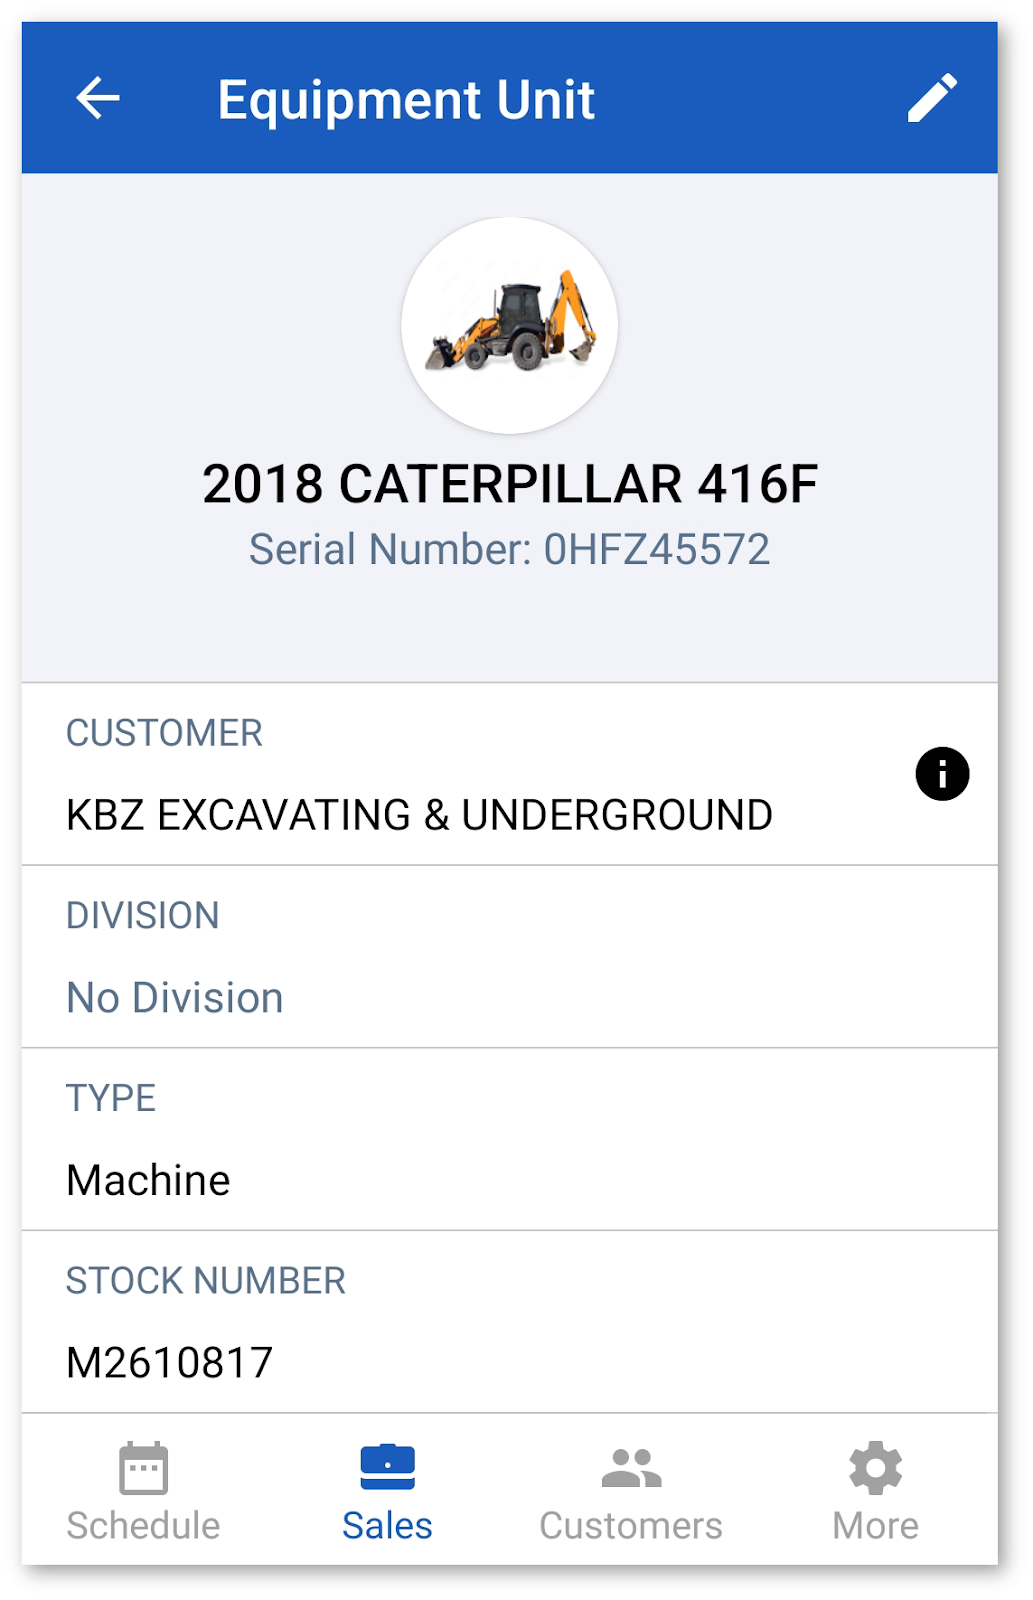
Equipment Unit
Once you navigate to the specific Equipment Model, you can do a deeper dive into an individual unit. Each piece of equipment has its own status page, listing the following:
- Photo
- Model/Year
- Serial Number
- Customer
- Division
- Type
- Stock Number
- Service Meter
- Reading Date
- Location
- Overview (Configurations, Photos, Warranties, Service Letters)
Attachments
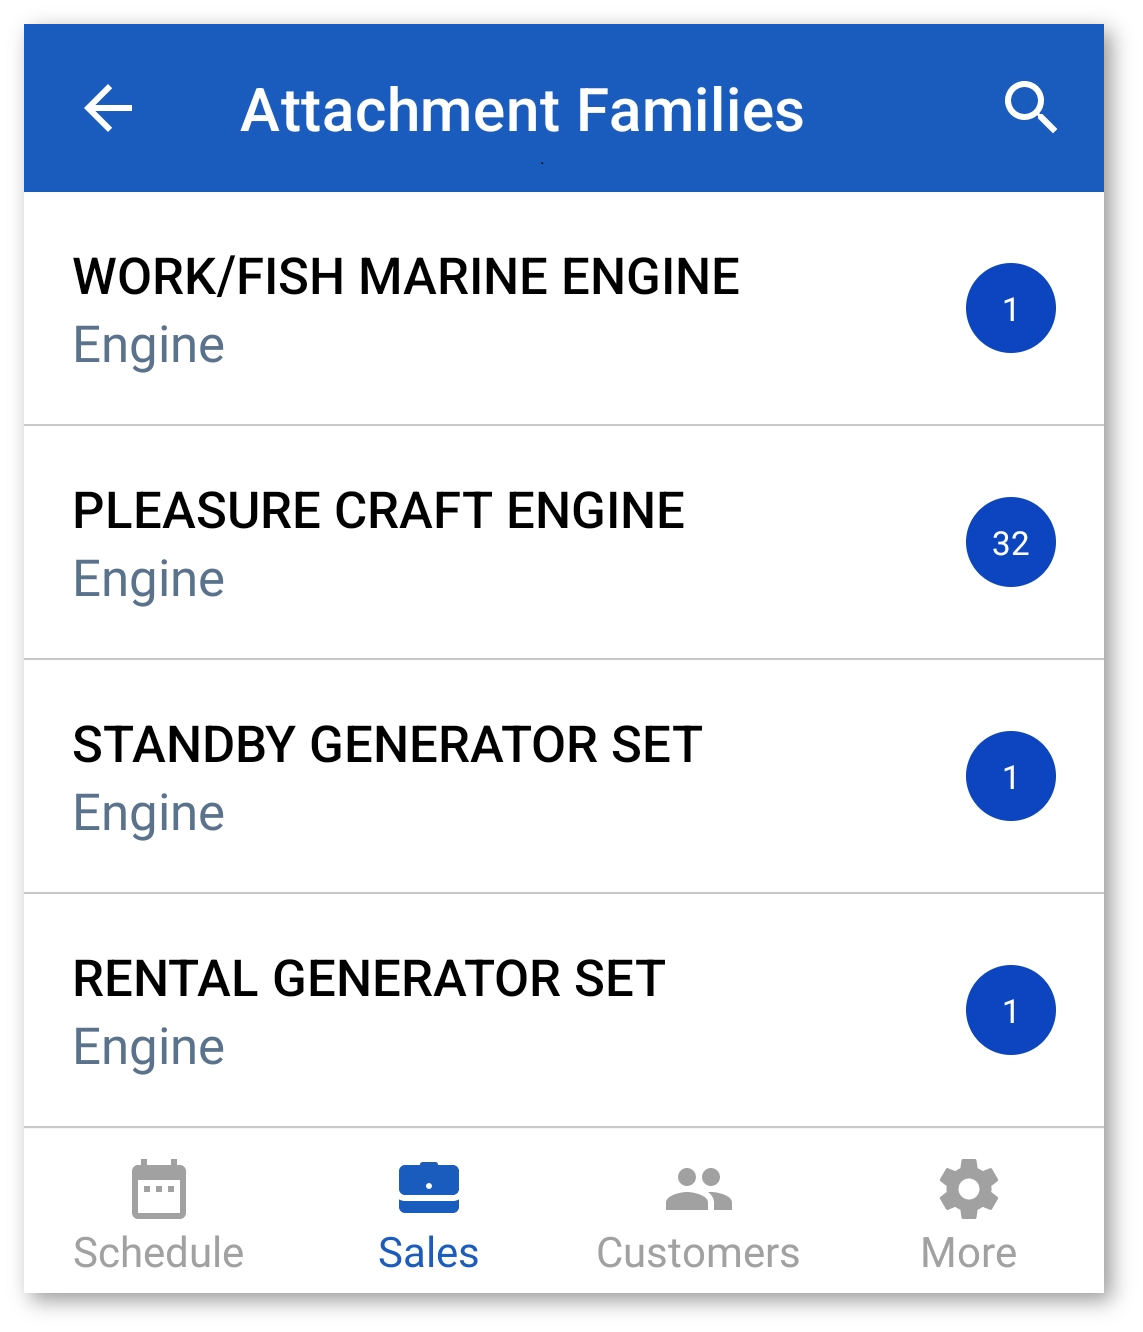
Tap Attachments to view a list of all Attachment Families in your Inventory. Scroll through the list to find an Attachment Family or use the Search bar at the top of the screen.
Tap on an Attachment Family to view a list of Attachment Models. Scroll through the list to find an Attachment Model or use the Search bar at the top of the screen.
Tap on an Attachment Model to view a list of Attachment Units. Scroll through the list and tap on an Attachment Unit to view detailed information about that unit. You can also tap the [Filter] button to filter the Attachment Units list:
- Select the Status, Availability, Reservation, or Location of the Attachment Unit you’re searching for.
- Tap the [Save] button to filter the list.