
Quick Reference
- Work Order notes provide a flexible way to include additional information - both internal and external - on a Work Order. To reach the Notes screen, navigate to the details page of the Work Order you’d like to edit, then tap on “Work Order Notes” under “Overview”.
- Tap the pencil icon
 in the top-right corner of the Notes screen to edit notes for the Work Order. Once you are finished, tap the check mark icon
  to save your changes.
Introduction
Work Order notes provide a flexible way to include additional information on a Work Order. Notes have traditionally been used to explain the repair processes, costs, or other details to a customer on the Work Order invoice.
Each Work Order can contain up to 999 lines of notes, and each line can be marked as internal, external, or both. External notes will be printed on the Invoice and Job Closing Summary Report. Internal notes will be printed on the Invoice and Work Order.
To reach the Notes screen, navigate to the details page of the Work Order you’d like to edit, then tap on “Work Order Notes” under “Overview”.
Notes
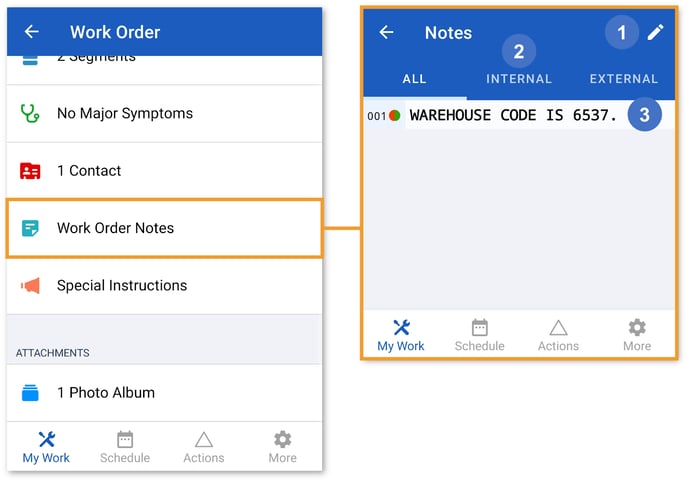
- Edit Notes
Tap to edit the Work Order’s notes. See “Edit Notes” for more information. - All / Internal / External
Tap the tabs at the top of the screen to filter the list of notes.- All: Displays all notes.
- Internal: Displays internal notes only.
- External: Displays external notes only.
- Work Order Note
The line number of each note is displayed to its left.
Edit Notes
Tap the pencil icon ![]() in the top-right corner of the Notes screen to edit notes for the Work Order.
in the top-right corner of the Notes screen to edit notes for the Work Order.
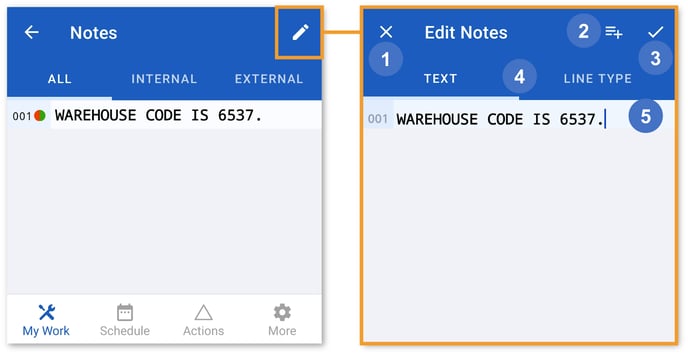
- Cancel Editing
Tap to return to the Notes screen without saving your changes. - Add From Template
Tap to insert notes based on a preexisting template. The “Basic Service Report” template contains 16 lines of notes, including space for a technician name and number, a service date, complaint details, and a technician and customer signature. - Save Notes
Tap to save your changes and return to the Notes screen. - Text / Line Type
Tap the tabs at the top of the screen to switch between editing text and editing line types.- Text: Allows you to edit the notes’ text.
- Line Type: Allows you to toggle each line between internal and external visibility. Use the radio buttons to the right of each line to toggle its visibility.
- Work Order Note
While in Text mode (4a), tap on a line of notes to edit it. While in Line Type mode (4b), tap on a line of notes to toggle its visibility.