.png?width=365&height=50&name=Texada%20Logo%20(Black).png)
The application formerly known as iMACS has been renamed to Power Systems Projects. The term 'iMACS' may still be present in some locations when installing and configuring CloudLink Integrator.
In This Article
Overview
The CloudLink Integrator is a backend service facilitating the communication between the Texada's applications and dealer on-premise systems. It is currently required for Power Systems Projects and integration with the DBS ERP.
Minimum Requirements
- Server: bare-metal or virtual machine
- CPU: 4 cores
- Memory: 8 GB RAM
- Disk: 500 MB
- Operating System: Windows Server 2016
- Count: 2 servers minimum
- Firewall: no ports are required to be open
- Outbound connectivity: the Integrator connects to Texada Gateway servers using SSL/TLS on port TCP 443. It is recommended to whitelist the following domains:
- *.texada.com
- *.texadasoftware.com
Prerequisites
- Download the CloudLink Integrator .msi file using the link provided by Texada
- Connectivity:
- From the Integrator servers to the ERP database servers
- From the Integrator servers to the Power Systems Projects file share
- For DBS ERP:
- If you are using Service Management CD with Parts and Service Quoting (PSQ), you do not need to setup IBM ODBC driver and DBS accounts.
- 1 DBS account with access to DBS databases (Test & Production)
- IBM drivers for ODBC installed
- On each server 2 System DSN ODBC connections to the Test and Production DBS databases
- For Power Systems Projects files:
- If you are not using Power Systems Projects, you do not need to setup the service account for it.
- 1 service account with full access to the Power Systems Projects file share
- Power Systems Projects Template Folder structure - When a project is created, project related files are stored on a common shared folder. The desired default/template structure for the folder directory must be created under "{Power Systems Projects file share}\Template".
Installation
- Download the CloudLink Integrator .msi file on the server using the URL provided by Texada.
- Double-click the downloaded integrator .msi file to begin installation and follow the prompts:
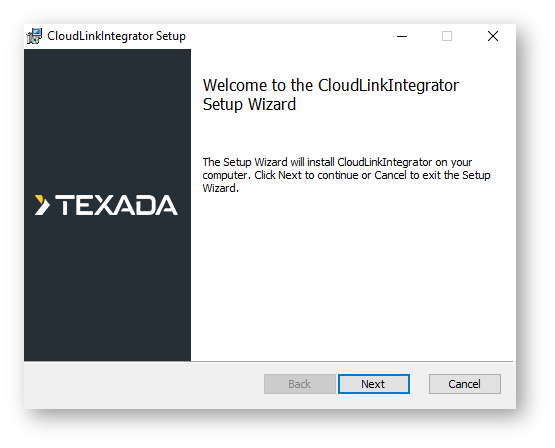
- Click “Next” on the Welcome page.
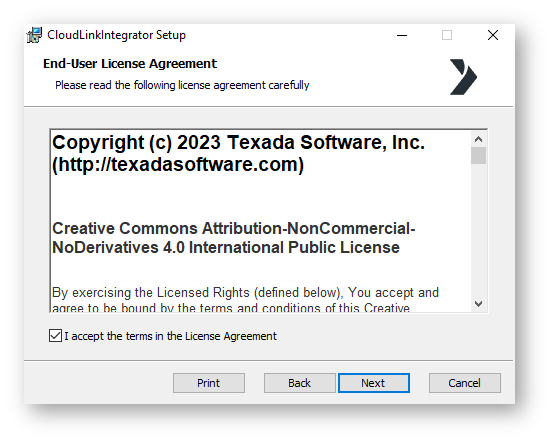
- Accept the End-User License Agreement.
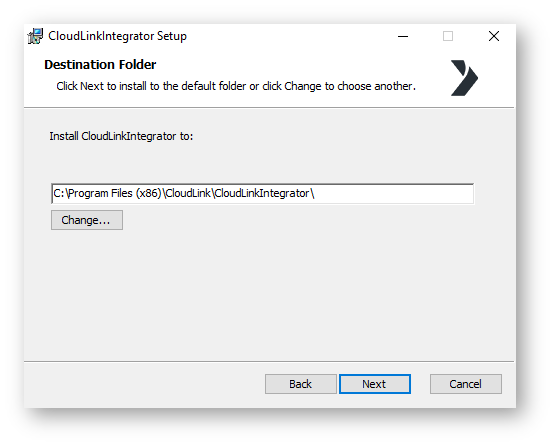
- Select the location on disk for the installation.
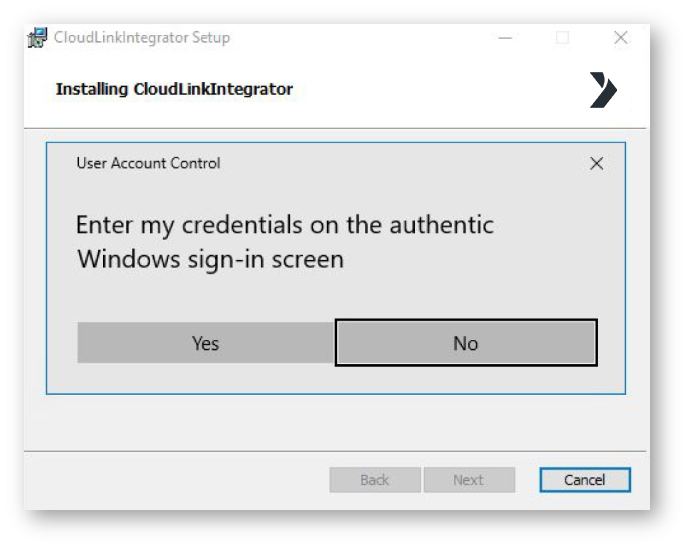
- Provide approval for administrator-level access required by User Account Control (where applicable).
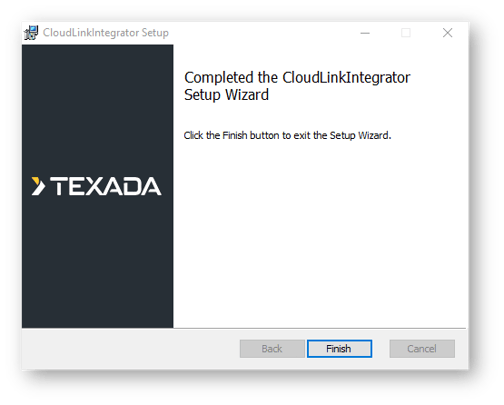
- Wait for the Setup Wizard to install CloudLink Integrator, then click “Finish”.
- Click “Next” on the Welcome page.

At the end of the installation process, a web browser window will open to the CloudLink Integrator Admin application. The setup package installs two windows services:
- CloudLinkIntegratorAdmin: the configuration application is hosted on URL http://localhost:8159/ therefore accessible only from the server itself. This service is started after installation.
- CloudLinkIntegrator: the Agent service that provides connectivity to Texada's servers. Upon installation, this service is stopped. It is started once the configuration is completed.
Open Windows services using services.msc from Start→Programs and note that CloudLinkIntegratorAdmin service is started upon installation.

Proceed to the configuration of the CloudLink Integrator. See the Configuration section of this document for more information.
Configuration
Open CloudLink Integrator using the following url:
http://localhost:8159
There are three sections for configuration: General, iMACS, and DBS Connection.
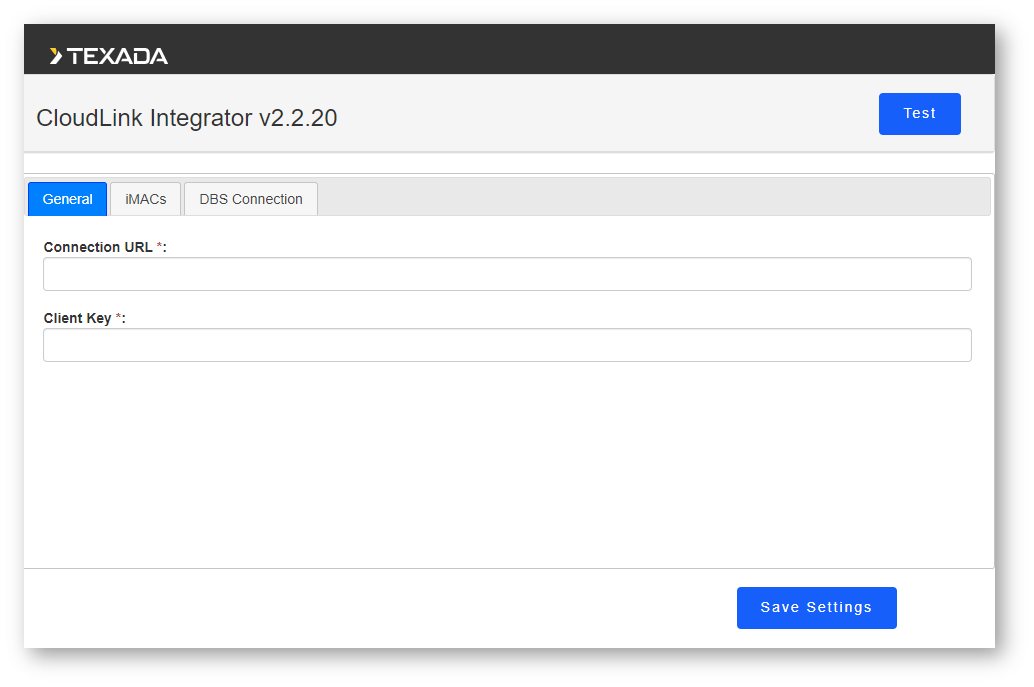
General
The General section is to configure the integrator connection with CloudLink Integrator Gateway Server.
Texada support will provide you a set of Connection URLs and Client Keys for two integrators that you can install and configure on separate servers.
Enter the following configuration values, then click “Save Settings”:
- Connection URL: Internet address for the Integrator Gateway server
- Client Key: Integrator identifier key
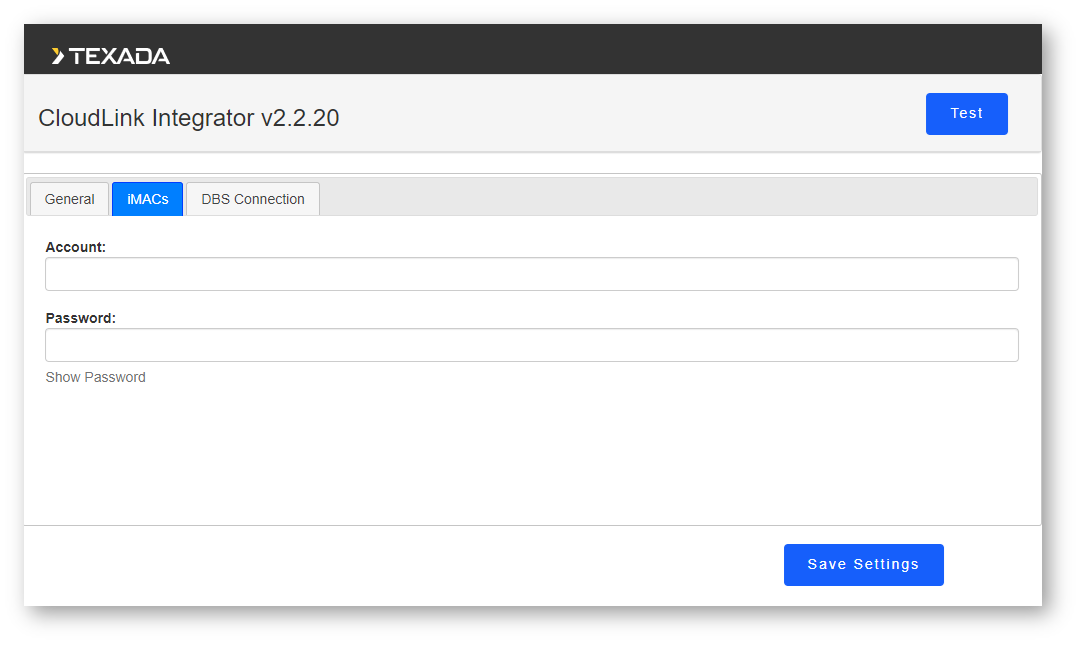
iMACS
The iMACS section is to configure the security settings for access to the Power Systems Projects (formerly iMACS) file share.
If you are not using Power Systems Projects, you do not need to configure the iMACS section of the integrator.
Enter the following information, then click on Save Settings:
- Account: Service account that you have created for accessing the Power Systems Projects file share. This service account must have full read/write access granted to the Power Systems Projects file share.
- Password: Service account password. Integrator encrypts and stores the password only on this server.
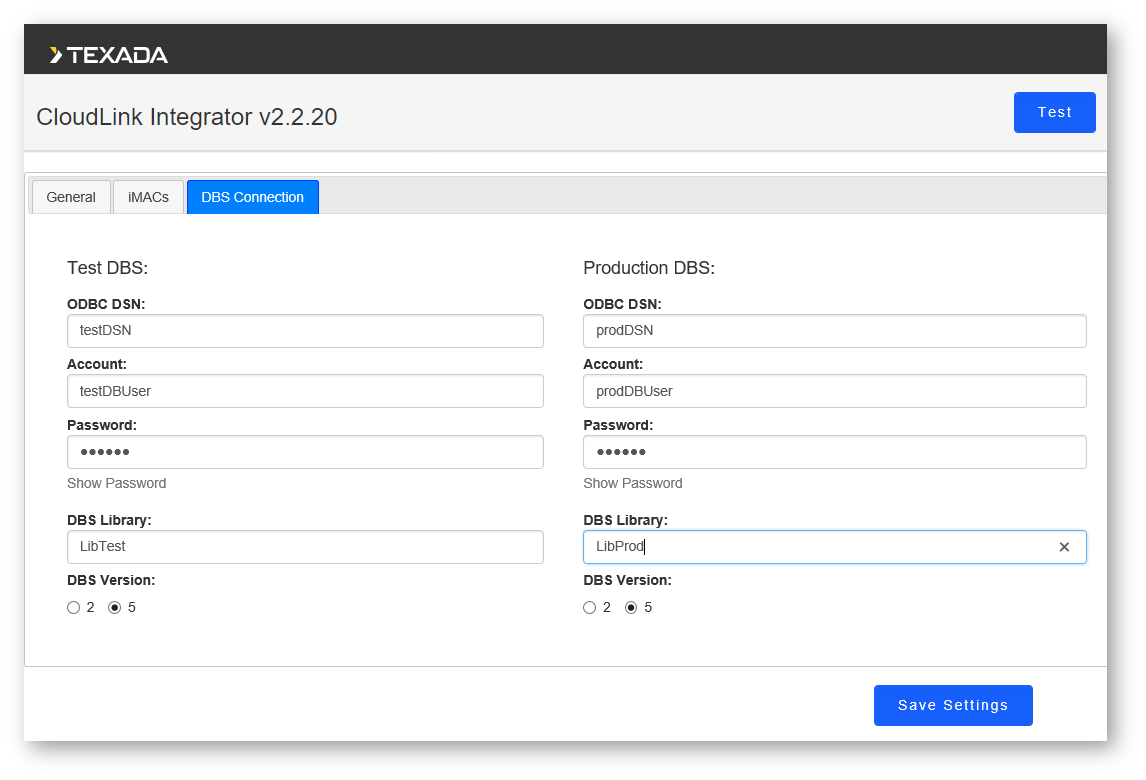
DBS Connection
The DBS Connection section is to configure the security settings for access to the ERP.
If you are using Service Management CD with Parts and Service Quoting, you do not need to configure the DBS Connection section of the integrator.
- Test DBS:
- ODBC DSN: the name of the ODBC System DSN connection using the IBM DB2 driver
- Account: the DBS account with write access to Test DBS DB2
- Password: the password for the DBS account with access to Test DBS
- DBS Library: the library name for Test DBS
- DBS Version: either version 2 or version 5 of Test DBS
- Production DBS:
- ODBC DSN: the name of the ODBC System DSN connection using the IBM DB2 driver
- Account: the DBS account with write access to Production DBS DB2
- Password: the password for the DBS account with access to Production DBS
- DBS Library: the library name for Production DBS
- DBS Version: either version 2 or version 5 of Production DBS
- Click on Save Settings
Testing
When the configuration is finished and saved, the CloudLinkIntegrator service is started or restarted and the Test section can be used to verify connectivity to Power Systems Projects and your ERP.
There are two sections for testing the configuration: iMACS and DBS Connection.
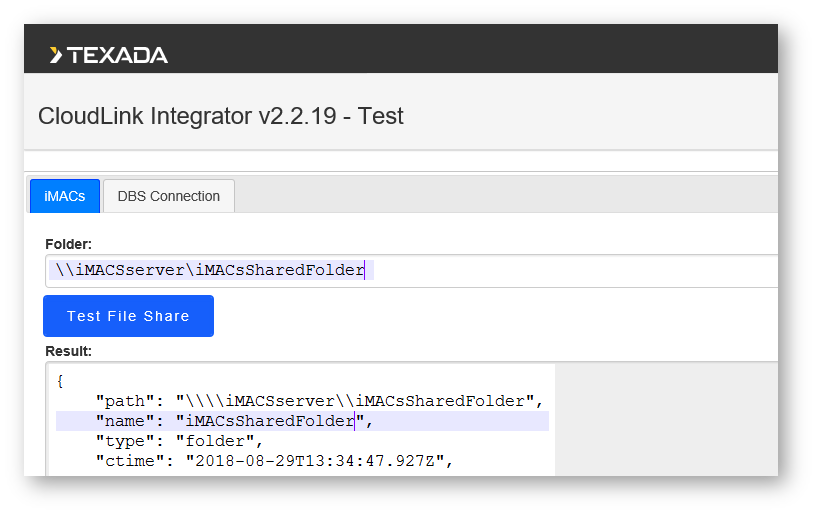
iMACS
This section is to test the access to the Power Systems Projects (formerly iMACS) file share.
If you are not using Power Systems Projects, you don’t need to run this test.
- Click the “Test” button on the top right corner in the Configuration page.
- Click the iMACS tab.
- Enter the UNC path of the Power Systems Projects shared folder in the Folder text box.
- Click the “Test File Share” button.
- Expected result: The service account configured in the iMACS section is able to connect to the shared folder.
- If there is an error, check the permissions on the iMACS shared folder to resolve.
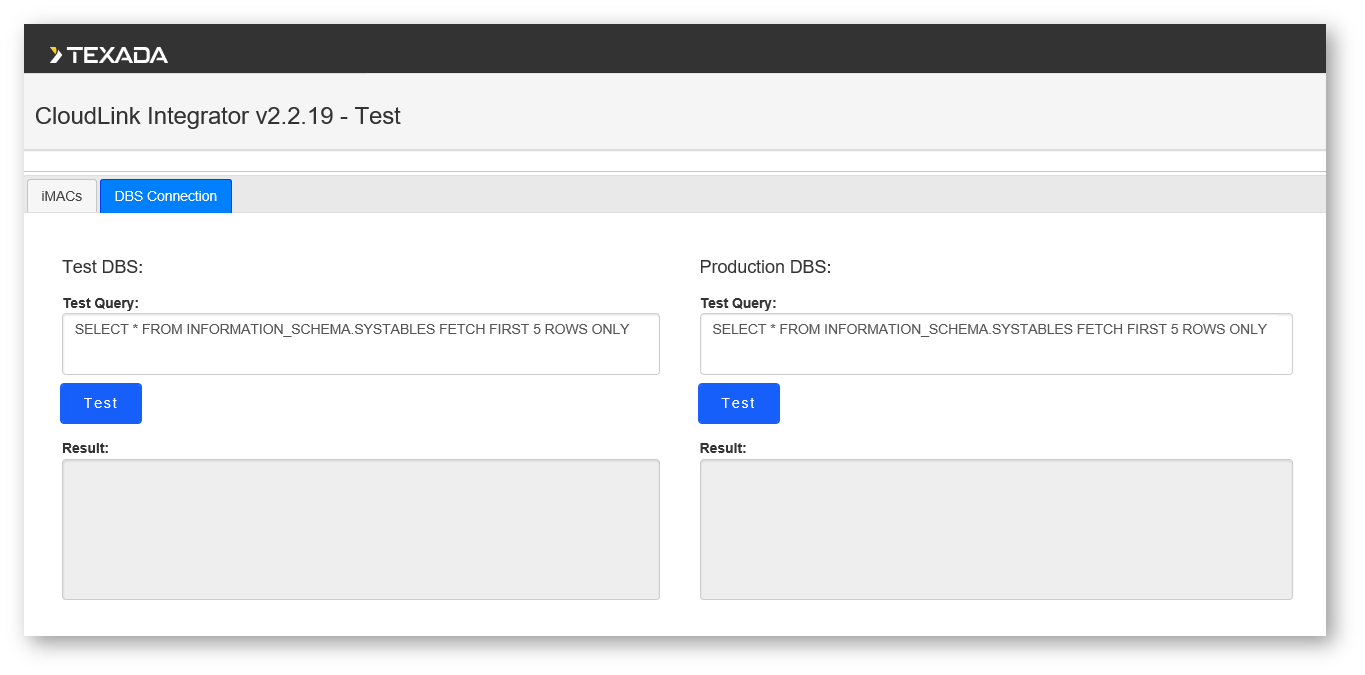
DBS Connection
This section is to test the access to DBS.
If you are using Service Management CD with Parts and Service Quoting, you do not need to run this step.
- Click the “Test” button in the top-right corner in the Configuration page.
- Click the “DBS Connection” tab.
- Click the “Test” button under Test DBS.
- Expected result: Returns the list of schema table.
- If there is an error, check the permissions for the DBS account configured for DBS.
- Click the “Test” button under Production DBS.
- Expected result: Returns the list of schema table.
- If there is an error, check the permissions for the DBS account configured for DBS.
CloudLink Integrator connectivity with Texada Gateway server
- Contact your support person at Texada.
- Texada support will validate and confirm the CloudLink Integrator connectivity with the Texada Gateway server.