
Setting up a new user in Handle is simple. Here’s a quick step-by-step guide.
1. Log Into Handle’s Admin Area
You need to have access to Handle’s administrative tools to set up a new user. When you first log into Handle, you enter the CRM area.
To set up a new user, you’ll need to open the right-hand navigation panel, and click into the admin area.
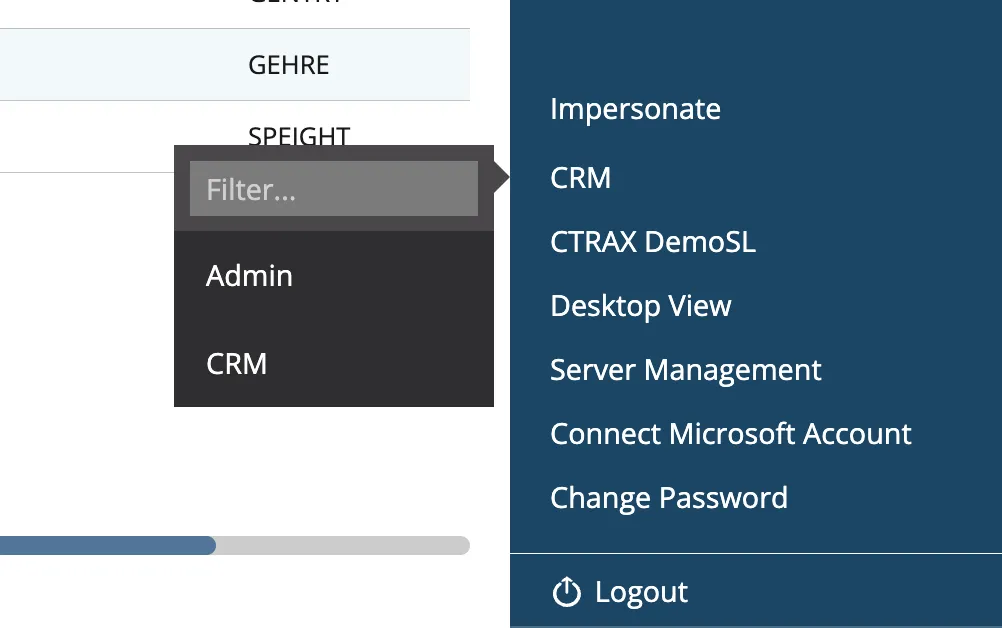
Here, you can add users, configure them, and personalize the settings for that user.
2. Enter the User’s Data
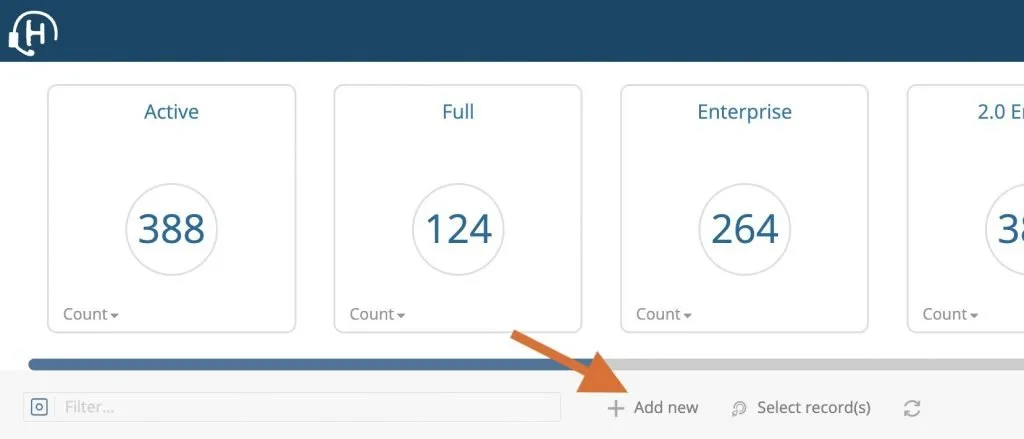
In the admin area, from your User Searches you can click “+ Add New” to start adding a new user.
To add a new user to the system, you need to know:
- The user’s full name
- The user’s email address, which will serve as their login
- The type of license they’ll have in the system: either a full user with access to everything in the system, or a light user with access to only the data they need to do their job.
Then you need to set up the details for this user.
Assign the user’s “record manager type.” This is their department, such as Parts, Service, or Sales.
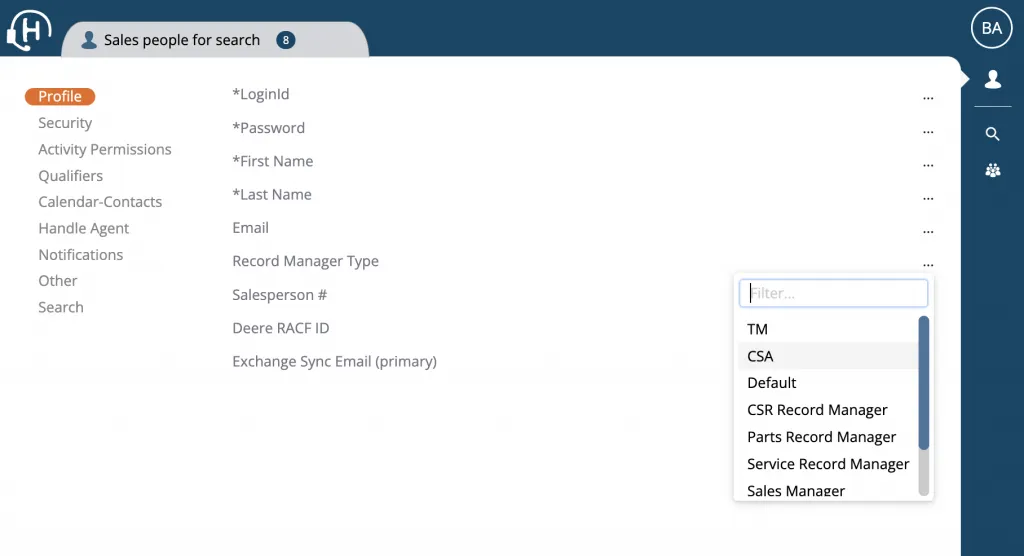
Enter the salesperson number. If Handle is integrated with a DBS or backend ERP system, these roles have a code. This number ensures their sales and records are synchronized across systems.
Assign the user’s branch or location to help with location based automations and reporting.
3. Add Other Integrations
To set up Exchange synchronization with Microsoft, Outlook Calendar, and Outlook, Handle needs to have the user’s Exchange email and login or user name. In many cases, the user name is their email address.
You’ll also need to add any other connections, such as integrations with the dealer’s quoting application. These will be specific to your organization, and if they aren’t already set up, you can email us to request them.
4. Set Up Security and Permissions
Once the user’s profile has been set up, you can set the user’s security levels and permissions by clicking on the appropriate tab in the left sidebar.
Security
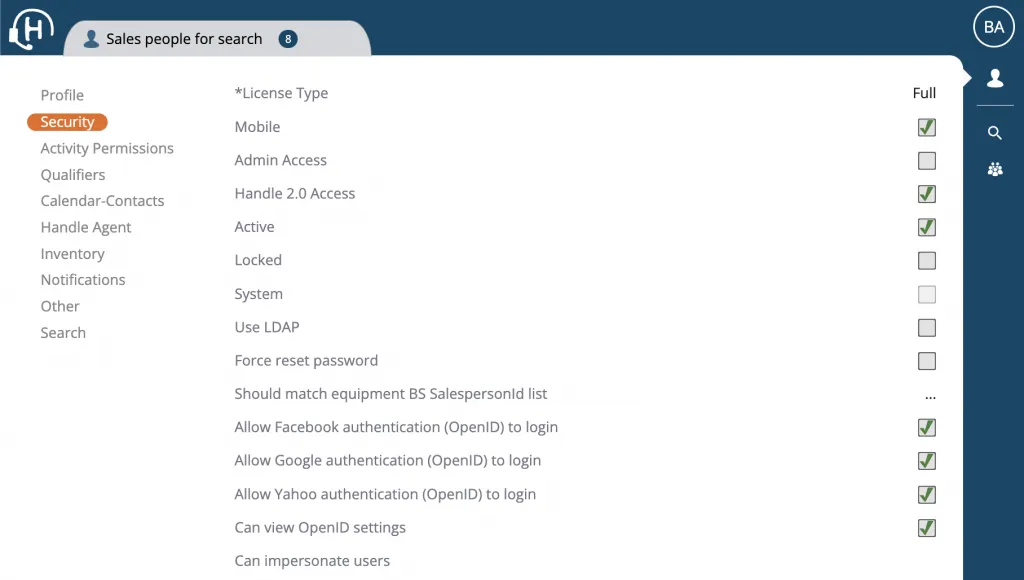
On the Security tab, you’ll set the user’s license type. You’ll also set mobile access and permissions to access the admin tools.
The most important setting here is their Handle 2.0 access, which is the primary access into the system. You must check this box to give them access to the system. (Conversely, unchecking it disables their access.)
Activity Permissions
Handle’s robust permissions settings allow you to create different permissions for every user. You can control what a user can do, the forms and entities they have access to, and who they can access within the system.

For example, the user might be a manager who needs to see the quotes for the five salespeople they manage — but not data from the rest of the organization.
You can choose to give users rights to:
- Edit people’s settings
- Archive data sets
- Export records
Most permissions are shut off by default. So when you set up a new user, you must turn on the features you want them to be able to see. Otherwise, they’ll only see their own data.