Add an Operator to Multiple Divisions in SRM
Describes how to add an existing SRM user with Texada Web and/or Texada Mobile access to more than one division in SRM.
Type
How to
Audience
SRM Administrator
Products
SRM, Texada Web, Texada Mobile
Context
Add a Texada Web and/or Texada Mobile user to multiple divisions when you need the user to be able to view and/or edit the information from more than one division.
Before You Begin
Required: Valid SRM account, valid Texada Web login credentials and access permissions, existing user with Texada app access, existing division, existing operator code
Steps
To add a Texada Web and/or Texada Mobile user to more than one division, do the following:
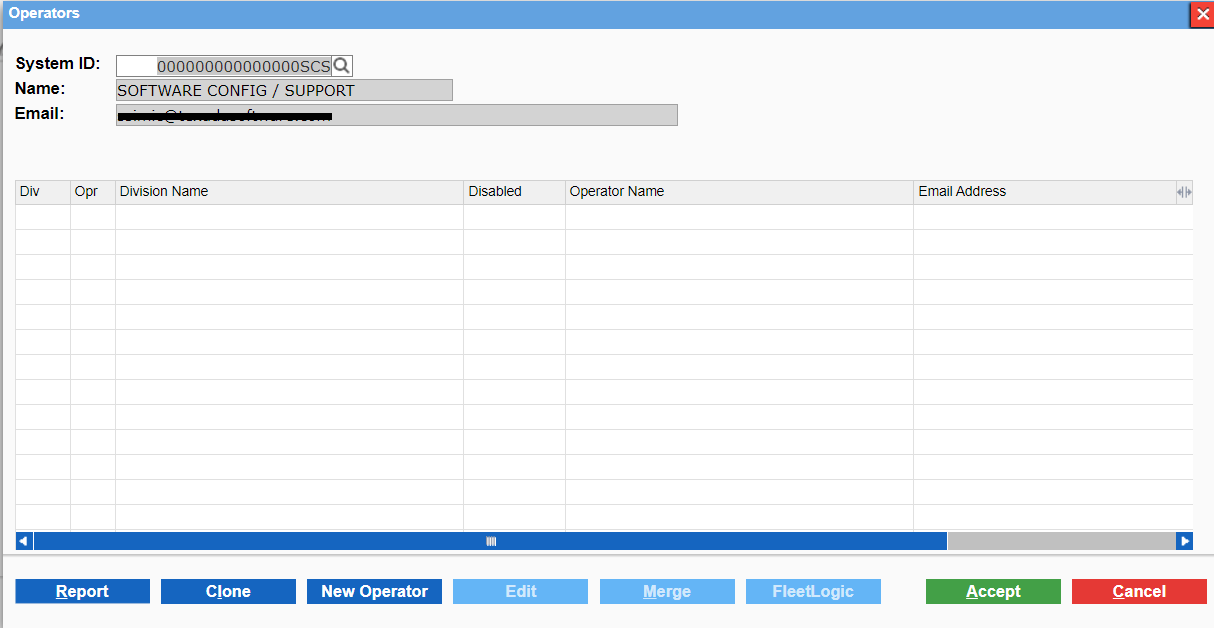
- In SRM, navigate to System Maintenance > Configure System Settings > Security > General Settings
- Next to Operators, click more options

The Operators popup opens
- Locate the operator you need to add a division to and click Add Division
The Add A New Login popup opens
- Use the Division dropdown to select the division to add the user to
- Type the new operator code for the user profile in the Operator field
- Click Accept
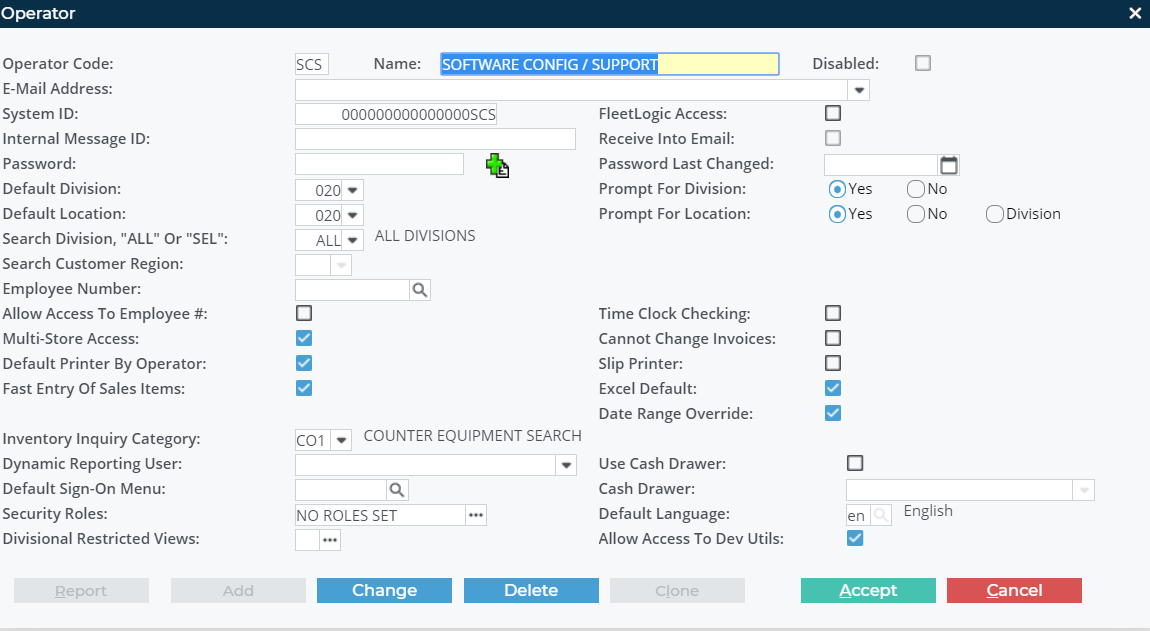
The user profile details popup opens
- Use the Default Division dropdown to select the division you need to add the user to
- Next to Prompt for Division, click No
- Use the Default Location dropdown to select the location you need to add the user to
- Next to Prompt for Location, click No
- Next to Security Roles, click more options
 to select a security role for this user profile
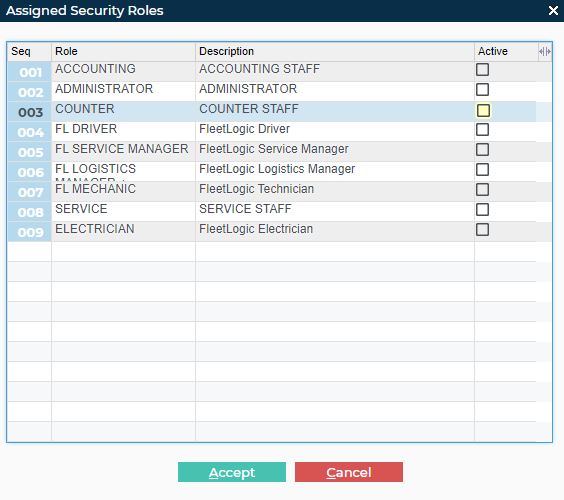
The Assigned Security Roles popup opens and displays a list of security roles that are assigned to the user
- Check any security roles that apply to this user profile for this division/location(s)
Notes:- You must select a minimum of one security role in order for the user to be able to log in
- See “Assign Permissions and Menu Access to a Security Role in SRM for a Texada Web and/or Texada Mobile User” for more information on what permissions and menu access apply to the specific security role(s) you apply to this user
- Click Accept
The user can log into Texada Web and/or Texada Mobile
The security role permission(s) and menu access are applied to this user profile for the selected division/location(s)
This user profile is linked to your main profile along with all associated division and security role access
.png?width=365&height=50&name=Texada%20Logo%20(Black).png)