
Type
How to
Audience
GateWay Company Administrator
Products
GateWay’s customer access portal
Context
Create a job site in the customer access portal when your company takes on a new job and you expect that you need a least a single delivery of equipment directly to that site. Adding a job site enables you to rent or buy equipment from the rental company and have it delivered directly to the job site you specify.
Before You Begin
Required: Internet connection; valid GateWay account; valid login credentials and access permissions
Steps
To create a job site, do the following:
- In the customer access portal header bar, use the user menu to select Manage Job Sites
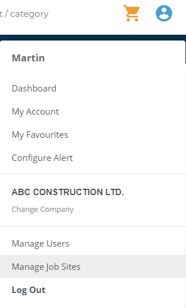
The Manage Job Sites page opens in the main area
- Click +Create Job Site
The Create Job Site popup opens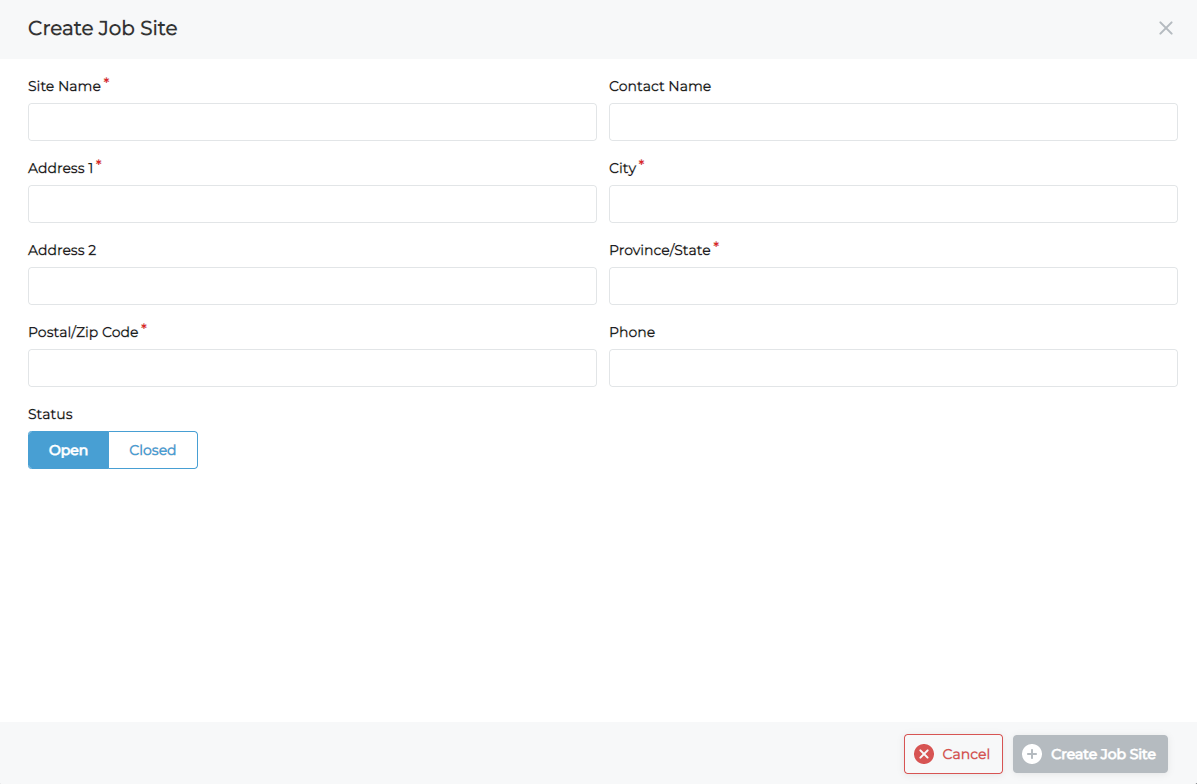
- Type the name of the site in the Site Name field
- Type the address of the site in the Address 1 field
- Type the city of the site in the City field
- Type the State or Province of the site in the Province/State field
- Type the zip or postal code of the site in the Postal/Zip Code field
- Optional: Type any appropriate information about the site in the Contact Name, Address 2, or Phone fields
- Under Status, do one of the following:
- Click Open if the site is currently in use, or is about to be in use
- Click Closed if the site is no longer in use
- Click +Create Job Site
The job site is created and is added to the list of job sites