Issuing a Refund Check for an A/R Credit
A customer has a credit A/R balance and a check for that amount needs to be issued to clear that balance.
Type
How to/Informational
Audience
Accounts Receivable/Accounting
Products
SRM
In This Article
Overview
A customer is currently carrying a credit A/R balance, and that balance is being paid out to the customer using a digital check created in the SRM application.
Process
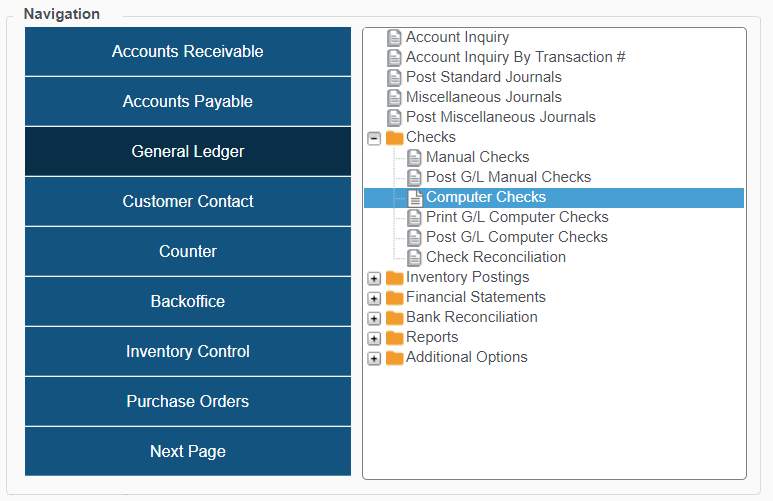
A digital check is produced using the function General Ledger Menu -> Checks -> Computer Checks

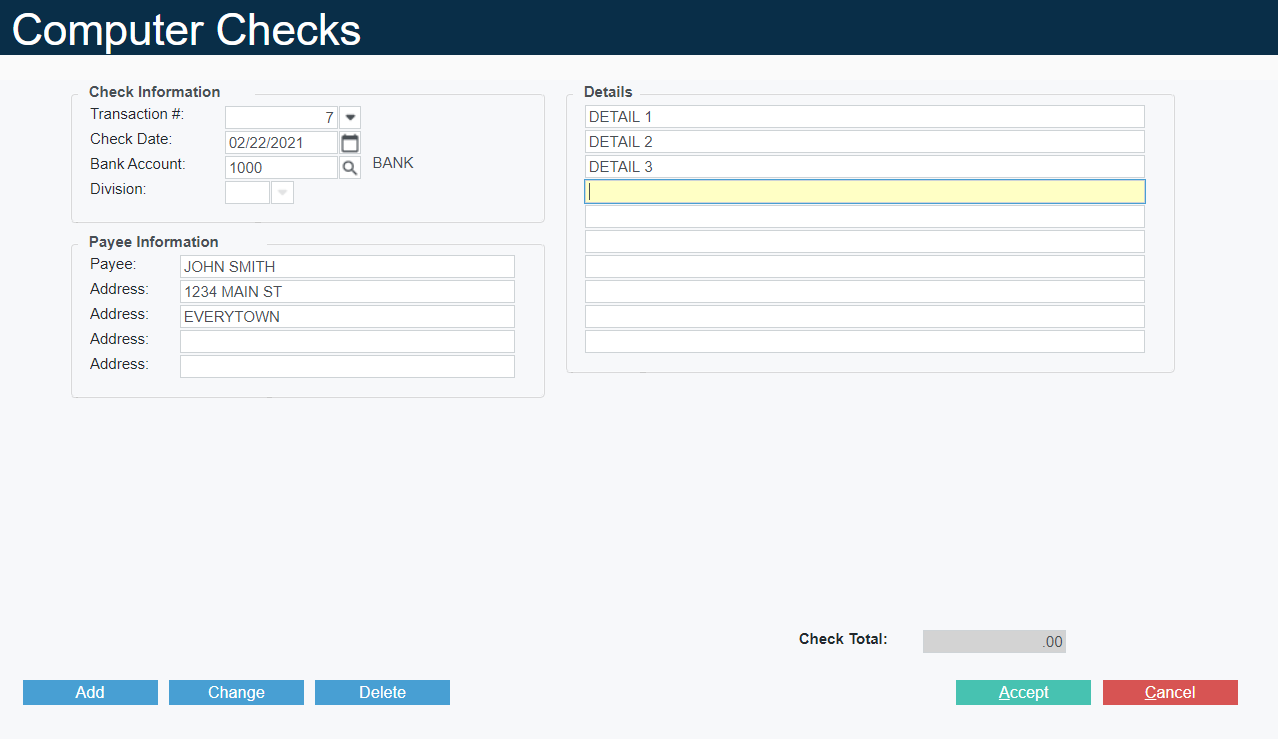
Fill out the check header information with the check details and payee information:

Accept to be prompted for financial information. Enter the AR Control G/L account. There will be warning about being a Control Account, OK to continue:

The system will next prompt for the AR Customer Information this should be posted to. Enter the Customer Number as well as the document number. This field is free-form, but to maintain clarity when records are being removed for this kind of transaction is is recommended to use CREDIT or REFUND as part of the record name:

Accept, and enter the Check Amount to be issued:

Accept to save this Check. It must then be Printed and then Posted. Use: General Ledger Menu -> Checks -> Print G/L Computer Checks to produce the checks on the pre-defined check paper. For more information on those requirements, please review AP/GL Check Alignment and Requirements.
Finally post the check using: General Ledger Menu -> Checks -> Post G/L Computer Checks
Posting this check will produce an AR Record for the refund, that the credit amount can be applied to:

.png?width=365&height=50&name=Texada%20Logo%20(Black).png)