Create an eCommerce Product Access Profile in the Administration Panel
Describes how to create a profile in the GateWay Administration Panel to control which types of users can shop for which types of products on your ecommerce website.
Type
How to
Audience
GateWay Administrator
Products
GateWay Administration Panel, ecommerce
Context
Create a product access profile to control what product categories and sub-categories certain types of users can view and shop for on your ecommerce website.
For example, if you know that one of your customers is only interested in a certain brand of equipment, you can set up a product access profile for that customer that only includes equipment with that brand (if your categories and sub-categories are set up along brand lines).
Product access profiles also have applications for your own personnel. For example, you might only allow your customers to see one set of products, such as boom lifts, but your salespeople will likely have access to see all your products.
For more information on categories and sub-categories see: “About Ecommerce”.
Before You Begin
Required: Valid GateWay account, valid login credentials and access permissions, existing product
Steps
To create a product access profile, do the following:
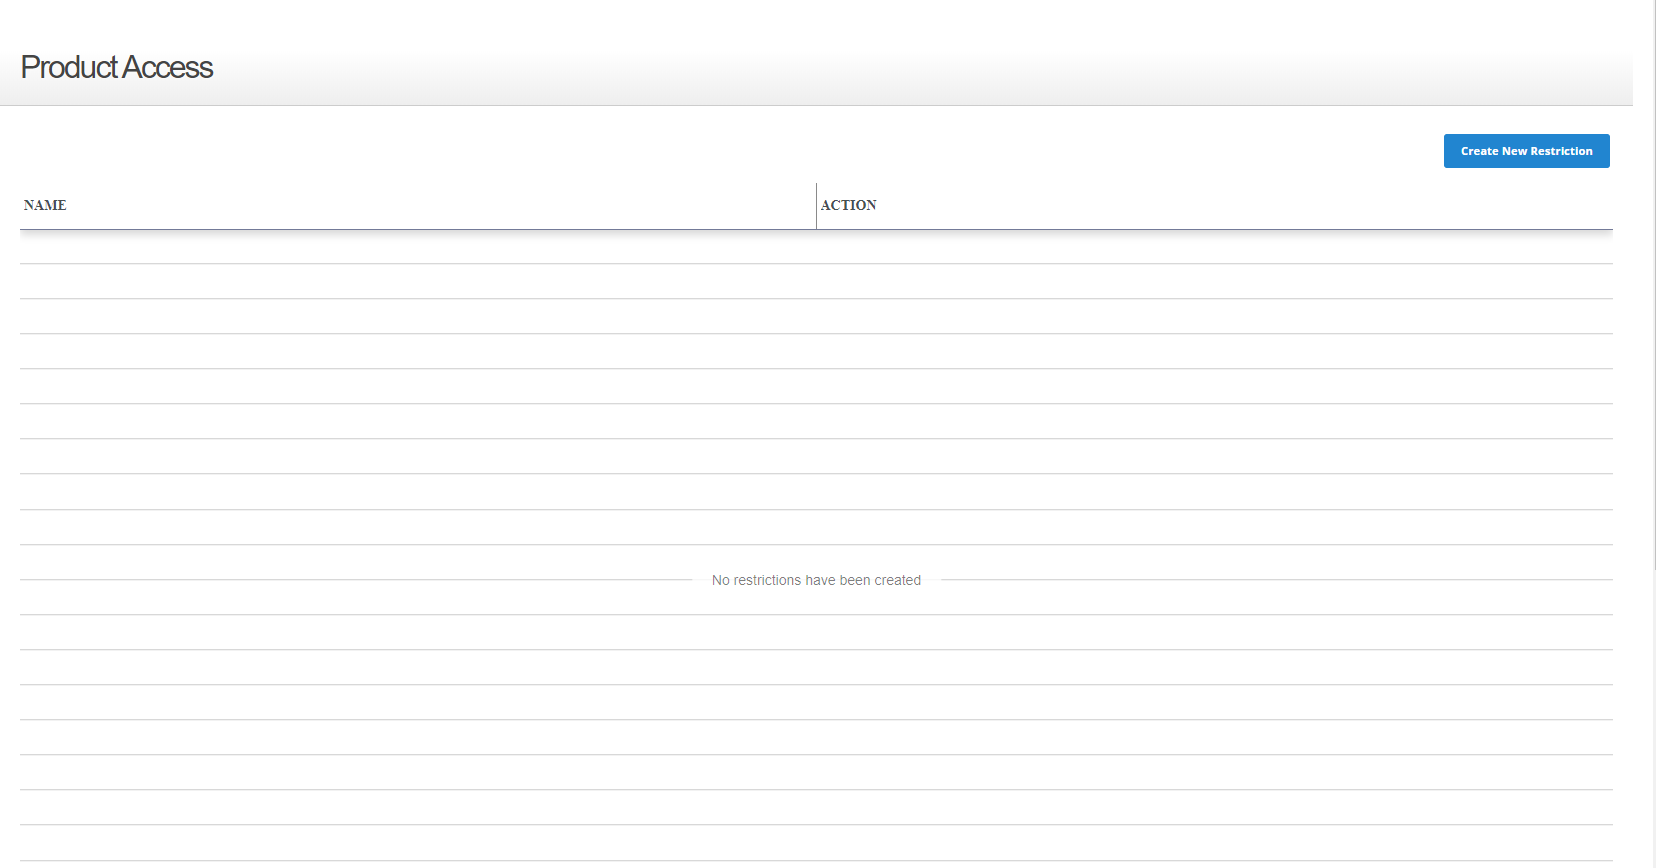
- In the Administration Panel menu bar, navigate to Users > Product Access
The Product Access page opens
- Click Create New Restriction
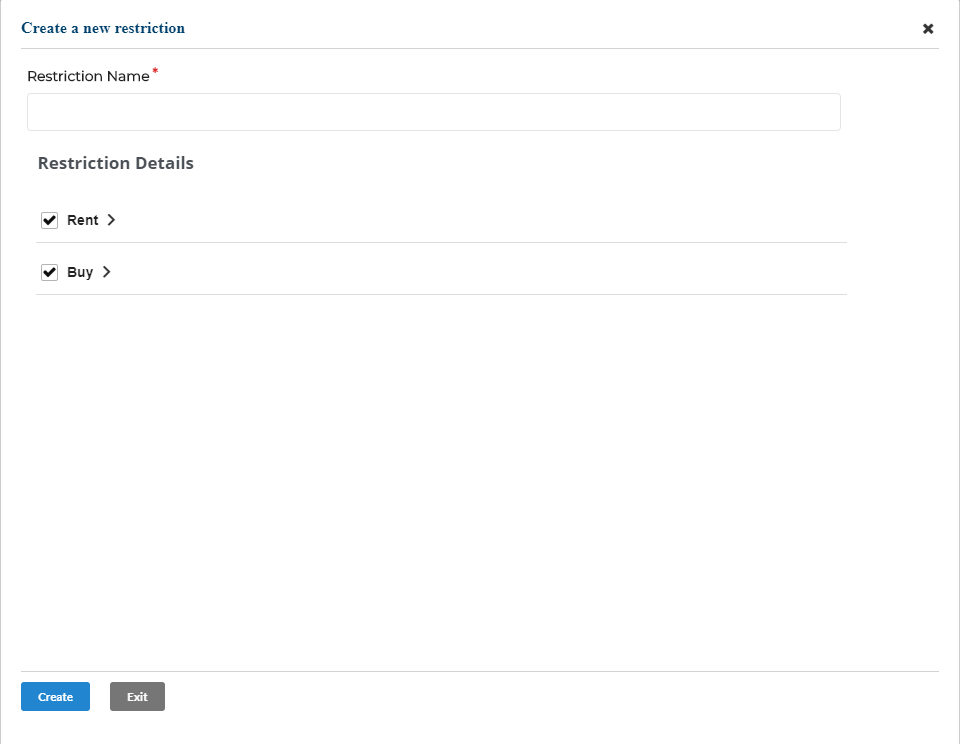
The Create a new restriction popup opens
- Type a name for the restriction that will easily you enable you to identify what sort of access it allows for a user in the Restriction Name field
- In the Restriction Details section, do any of the following that apply to the type of access you need to enable:
- Uncheck a category name, such as Rent or Buy to make the entire category and any sub-categories and products associated with it unavailable to the user on your ecommerce website
Note: By default, all category and sub-category names are checked - Click more options
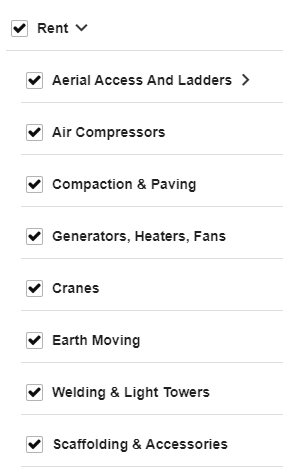
 next to a category name to expand the list to display any sub-categories associated with that category
- Check any sub-categories that you need to make available to the user on your ecommerce website
Note: Depending on the way your categories are set up, your sub-categories may have sub-categories nested under them as well (Aerial Access And Ladders in the example above)
- Uncheck a category name, such as Rent or Buy to make the entire category and any sub-categories and products associated with it unavailable to the user on your ecommerce website
- When you are finished setting up the product access profile, click Create
The product access profile is created and is added to the list of profiles
Note: You must apply the profile to a user account before it can take effect for the user. See: “Apply an Ecommerce Product Access Profile to a User Profile in the Administration Panel” for more information
.png?width=365&height=50&name=Texada%20Logo%20(Black).png)