Add an Image to your eCommerce Website Homepage Carousel
Describes how to create a homepage carousel item for your ecommerce website in the GateWay Administration Panel.
Type
How to
Audience
GateWay Administrator
Products
GateWay Administration Panel, ecommerce
Context
Create a carousel item when you need to update or create a new carousel for your ecommerce website.
Your homepage image carousel is one of the first visual interactions your customers have with your ecommerce website. You can use the carousel to feature products, special offers, announcements and more.

Your carousel items can take any form you need: text, images, or a combination of both. You can add links to each carousel item to turn them into hyperlinks to other sites, or pages on your own ecommerce website.
You can create as many or few items for your carousel as you need. If you have more than 1 item in your carousel, you can set your carousel to manually allow customers to click through the various items, or have the carousel automatically move through them at a set time interval.
See: “Configure Your Ecommerce Website Homepage Carousel in the Administration Panel” for more information.
Before You Begin
Required: Valid GateWay account, valid login credentials and access permissions
Steps
To create a carousel item, do the following:
- In the Administration Panel menu bar, navigate to CMS > Carousel
The Carousel page opens in the main area and displays a list of existing carousel items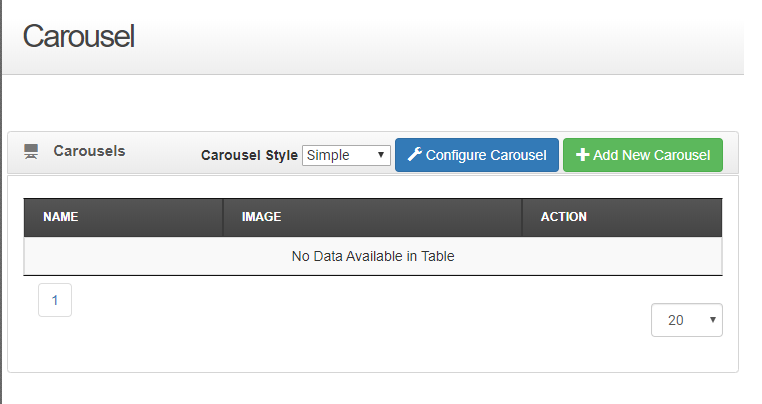
- Click +Add New Carousel
The Create Carousel page opens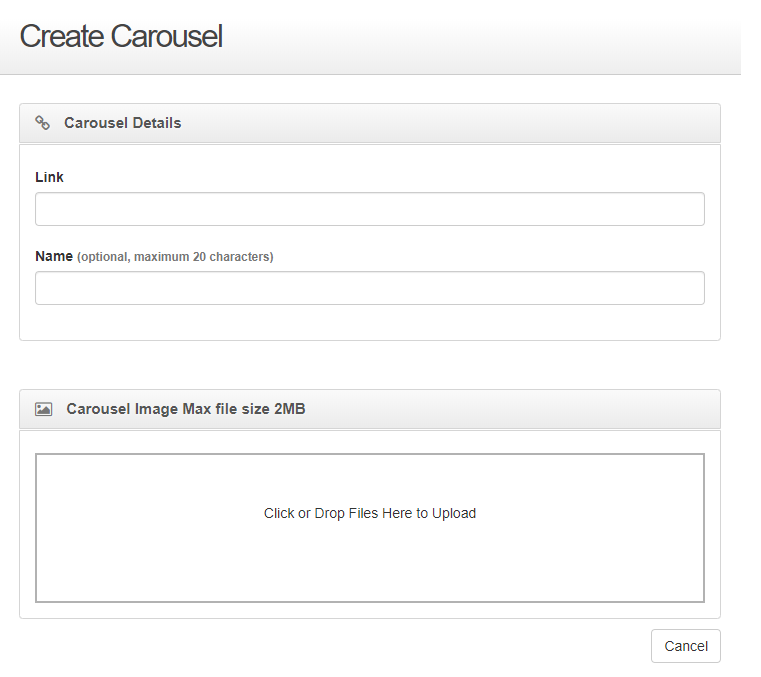
- Type a valid URL address in the Link field to make the carousel item into a clickable hyperlink to another site or page
Note: If you do not need to make the carousel item into a link, type a single space in the field - Type a unique name for your carousel item in the Name field
Note: The name is only seen by users with access to the Administration Panel in Simple mode, but is seen by customers on your ecommerce site in Showcase mode. See: Configure Your Ecommerce Website Homepage Carousel in the Administration Panel” for more information on the different carousel modes - Do the following in the Carousel Image section:
- Do one of the following:
- Drag and drop an image file from your device’s file manager or desktop to the Click or Drop Files Here to Upload area

- Click the Click or Drop Files Here to Upload area and locate the image file on your device’s file manager
The image editor popup opens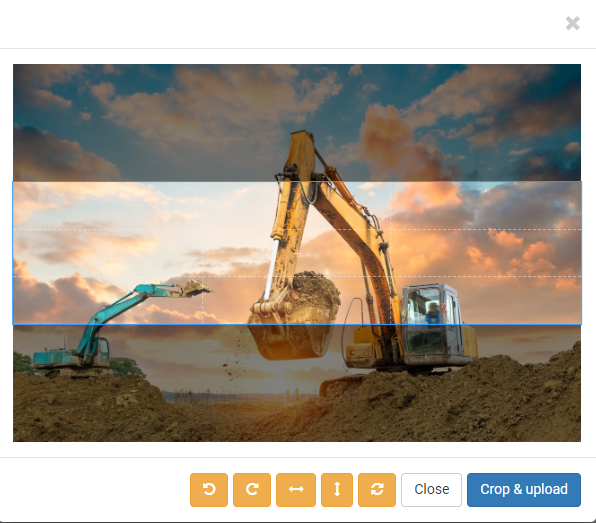
- Drag and drop an image file from your device’s file manager or desktop to the Click or Drop Files Here to Upload area
- Optional: Do any of the following to fine-tune the appearance of your carousel image:
- Drag and drop the light area to select which part of the image displays in your carousel
Note: The dark areas are not shown in the carousel
- Drag and drop an area of the image to manually select the area of the image that displays in the carousel
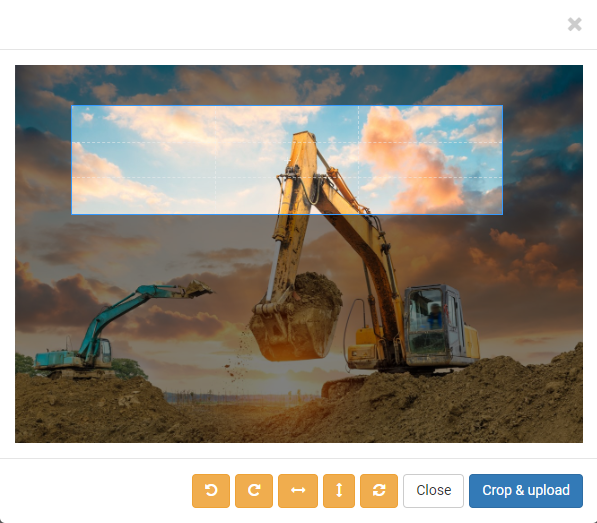
- Click rotate
 to rotate the image 90 degrees clockwise or counterclockwise
 - Click flip
 to flip the image vertically or horizontally
 - Click reset
 to restore the image to its default position
- Drag and drop the light area to select which part of the image displays in your carousel
- Click Crop & Upload
The image is added to the carousel item
- Do one of the following:
- Click Create
The carousel item is added to the carousel
The carousel item appears immediately on your ecommerce website (if your carousel is enabled)
.png?width=365&height=50&name=Texada%20Logo%20(Black).png)