.png?width=365&height=50&name=Texada%20Logo%20(Black).png)
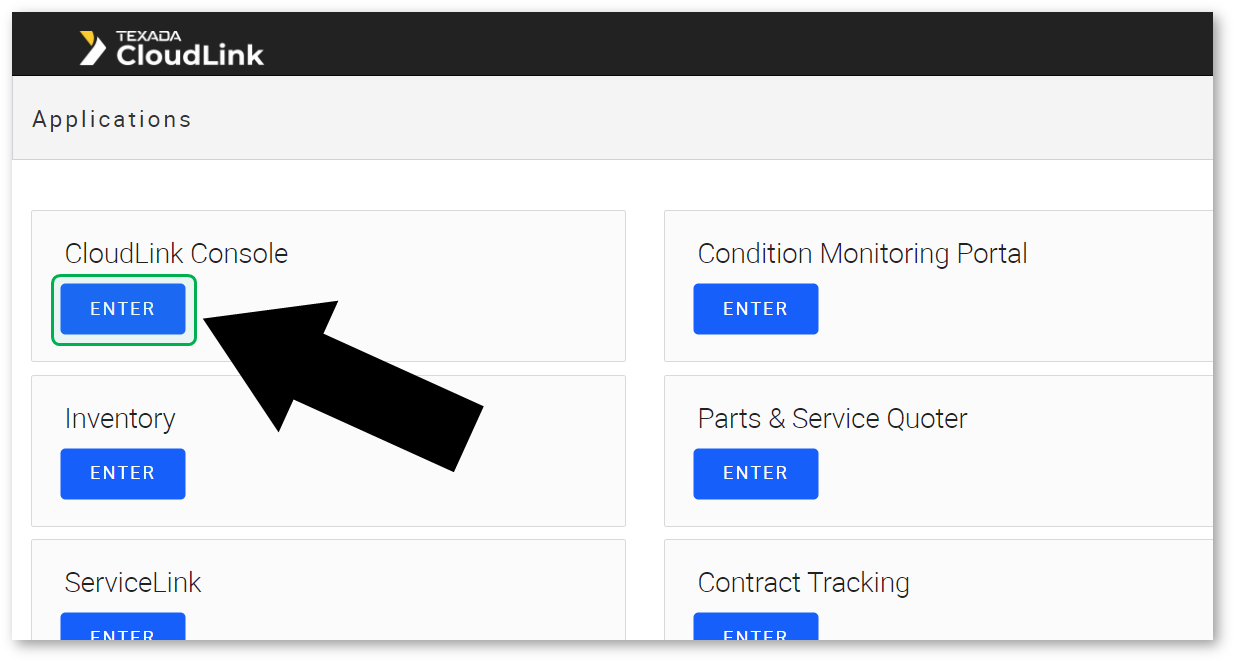
Launch CloudLink Console
To launch CloudLink Console, click the [Enter] button under CloudLink Console on the CloudLink Applications page.
CloudLink Console Landing Page
CloudLink Console opens on the Change tab of the Manage Configuration Keys page. Here you can quickly find the configuration key whose value you would like to change.

Configuration Keys
Each configuration key’s tile shows its description, current selected value, and affiliated application(s).

- Search Bar
Begin typing into the search bar to filter the list of configuration keys. This will search by key name and description. - Config Key Name
The name of the configuration key. - Description
The key’s description. - Value
The key’s current value. - Apps
The application(s) affected by the configuration key.
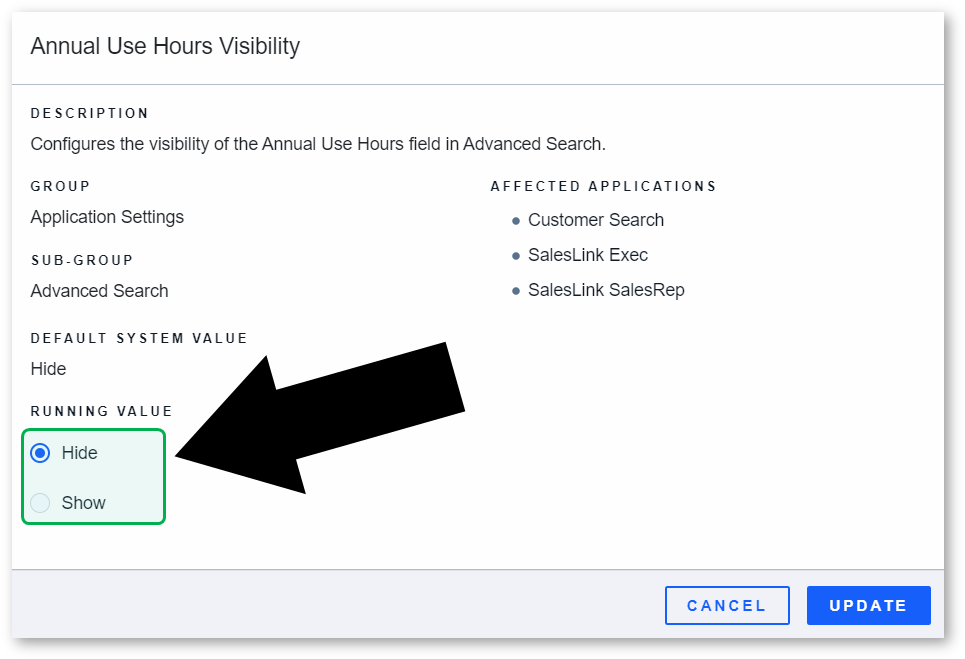
Running Value Selection
After selecting the configuration key of interest, a modal window appears showing specifics of that key. The RUNNING VALUE can be viewed and updated near the bottom of the window.
Select a new running value as desired, then click UPDATE to update the key. Click CANCEL to close the window without updating.
History of Updates
The History tab houses all updates that have ever been made in CloudLink Console. From this tab, you can search for a specific key and/or filter by application, group, sub-group, and date range.
