.png?width=365&height=50&name=Texada%20Logo%20(Black).png)
Overview
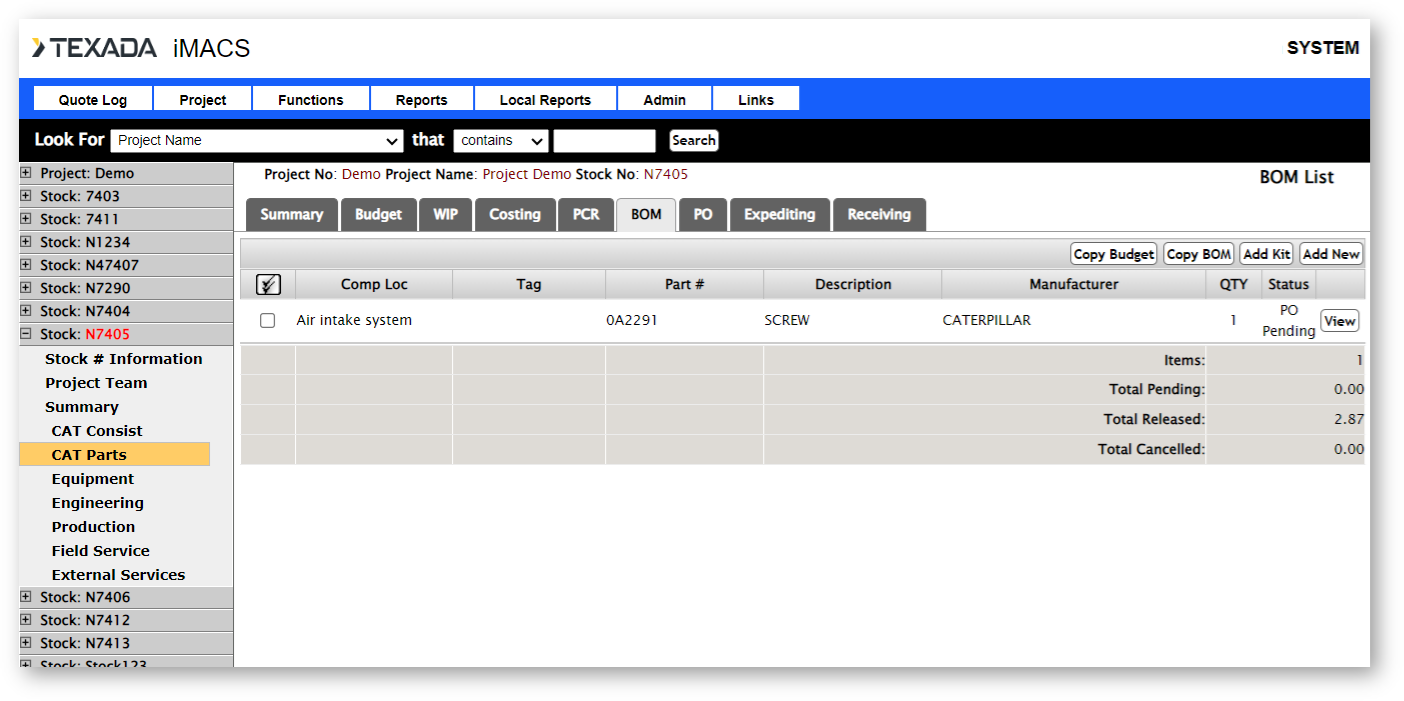
Bill of Materials applies to the CAT Parts, Equipment, and External Services classes. On the project summary, project class, and stock summary level, the BOM tab defaults to a summary by stock number and class for each stock number for your company. On the stock class level, the BOM tab defaults to the list of the current budget. Each part added to the bill of materials must be associated with a budget item. Choose a budget item by clicking on a Reference number to add or view parts.
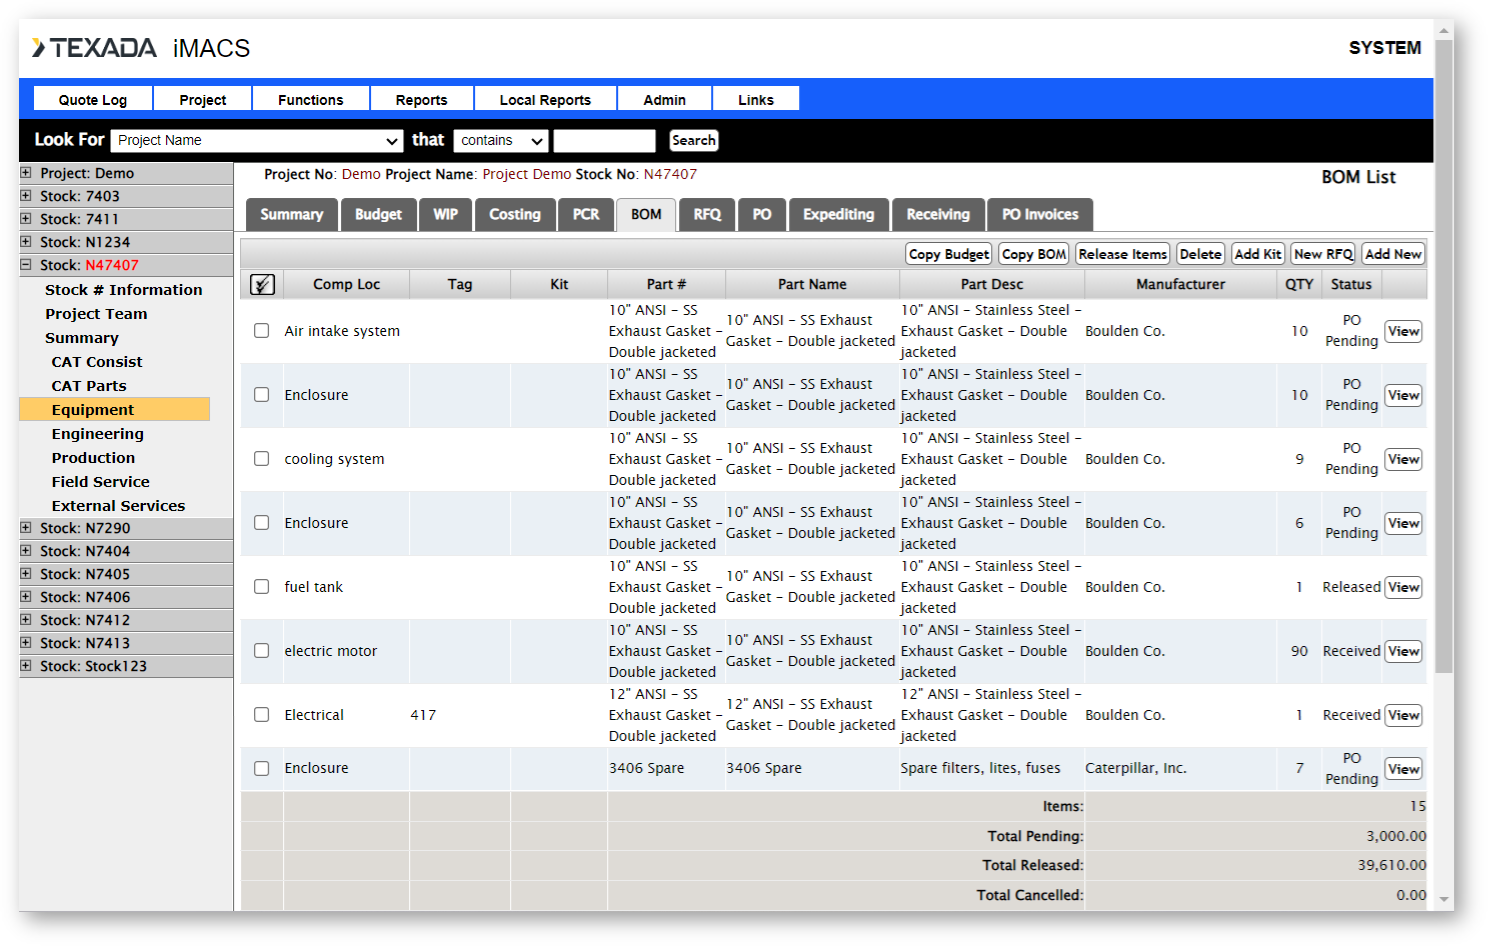
The screen will then display a list of parts associated with the budget item.
Adding a Part
To add a part, click the Add New button. Click the search button to add a part. You can search for an existing part by entering a Keyword. This will search the Manufacturer Part #, Part Name, and Part Description fields for the Keyword. You can also choose a Manufacturer, Supplier, or System Category to filter or search for. Changing the Company will filter the list of Suppliers. Changing the Application category will filter list of System Categories.
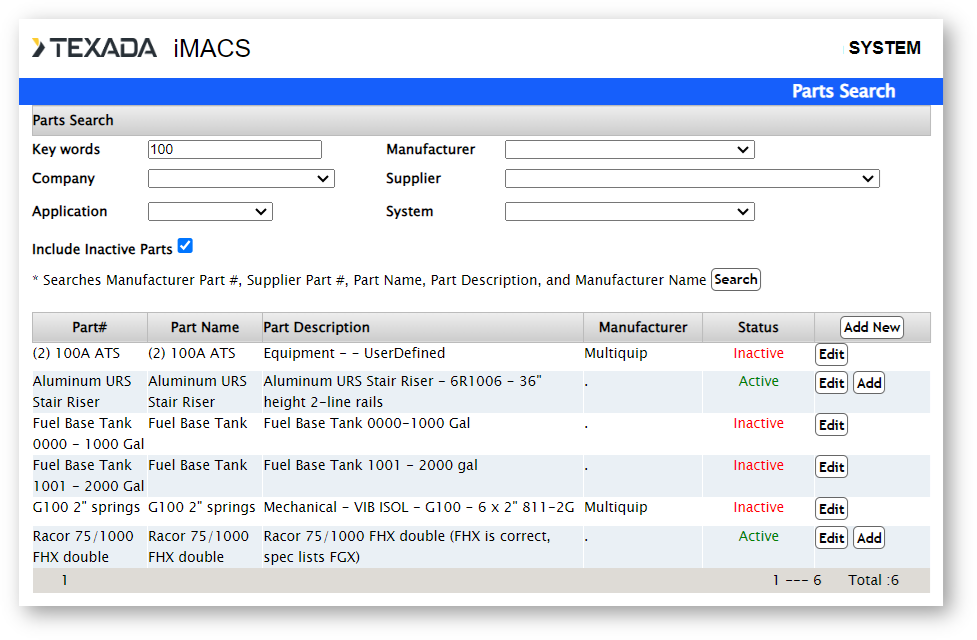
Click the Add button next to the part you want added to the bill of materials. You must choose a Status. The part can still be edited if the status is Pending. Once the status is changed to Released, the part will show in the PO tab as an outstanding item to be purchased, and no changes can be made. The status can be changed back to Pending through the PO - Outstanding tab. You must also choose a component location for the part. After all the information has been entered, click the Save button.
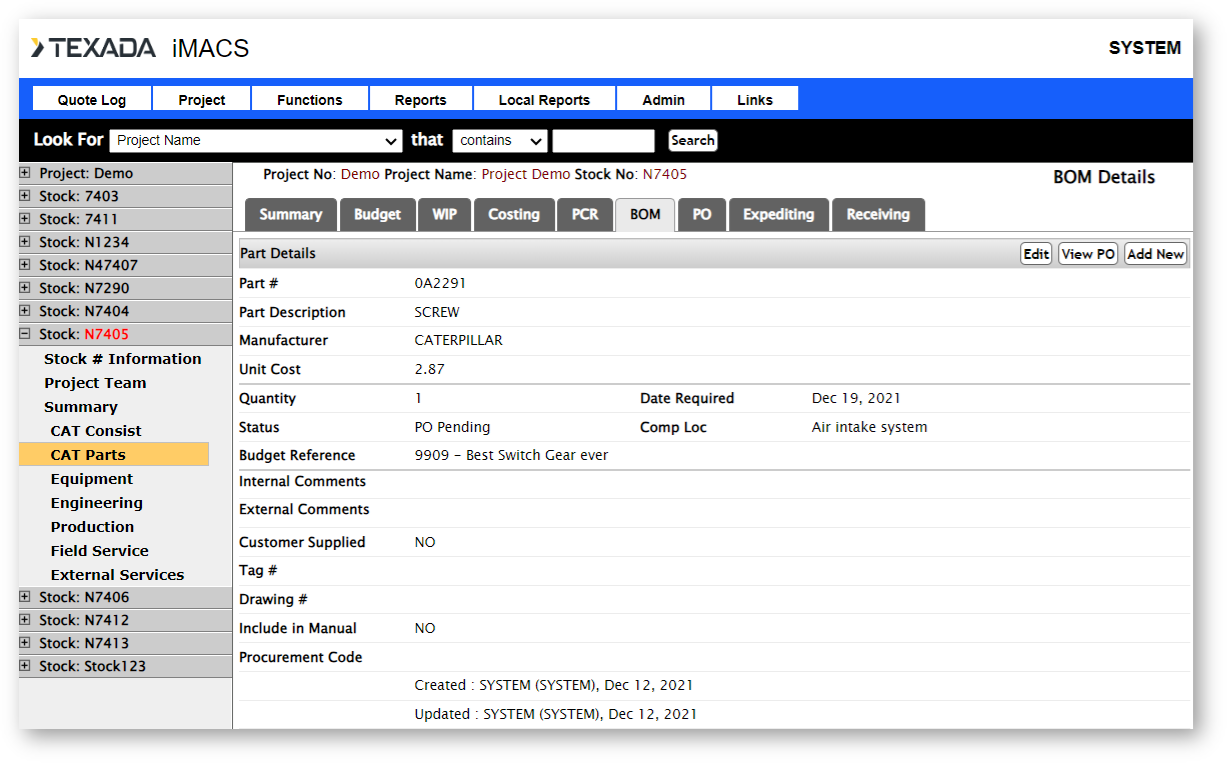
Editing a Part
To edit an existing part, choose a budget item by clicking on a Reference number, then click the View button. Click Edit, and after all the information has been updated, click Save. To release an item for purchasing, change the status to Released.
Adding a Kit
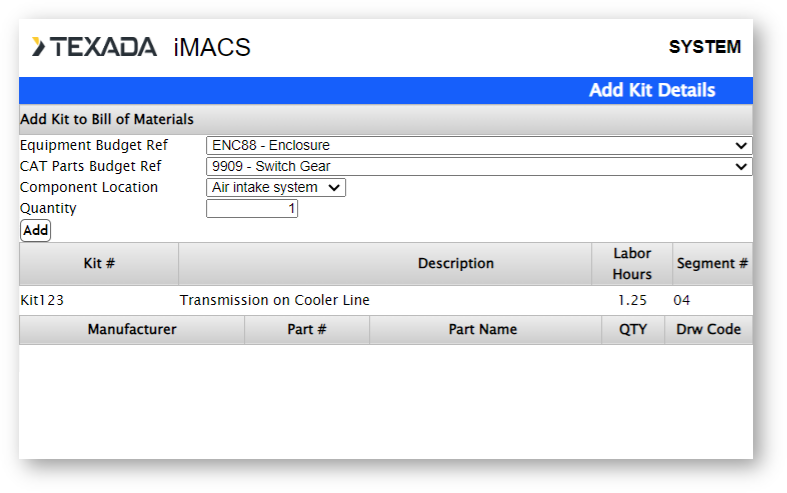
To add a kit to the bill of materials, choose a budget item by clicking on a Reference number, then click the Add Kit button. Search for a kit by entering a keyword and clicking Search. Click the Add button next to the kit you want to add to the bill of materials.

The screen will show a list of the parts that the kit is made up of. Choose a component location to associate the parts to, and click the Add button. All the parts are added to the bill of materials, and the Status defaults to Pending.
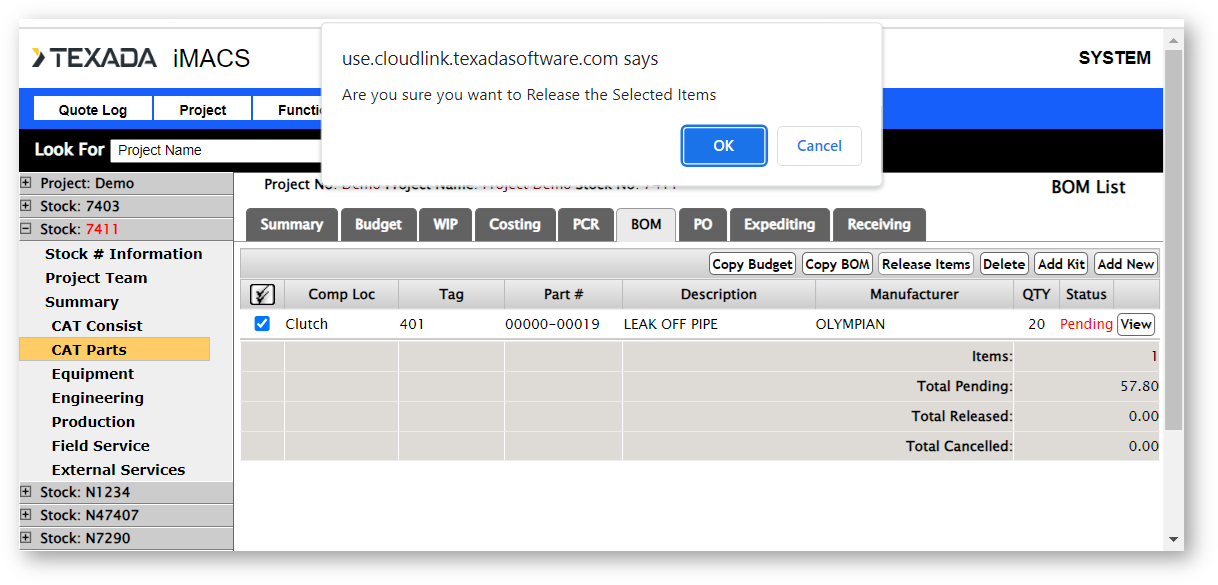
Releasing Items
You can change the Status of a group of parts on the bill of materials to Received by clicking the Release Items button. To release all items in a class, click the Release Items button in the default screen of the BOM tab. To release all items associated with a specific budget item, click on a Reference number, then click the Release Items button.
To release all items for a stock number, click Release Items on the Stock summary level.
To release all items in a project for all stock numbers for your company for a class, click Release Items on the Project class level.
To release all items in a project for all stock numbers for your company, click Release Items on the Project summary level.