
Quick Reference
- The Global Landing Hub is Texada’s new landing page. Available to Texada customers who have enabled the Texada Identity Service (TIS), the Global Landing Hub presents all of your available Texada applications - including sales, service, and rental - in one place.
- No action is required to start using the Global Landing Hub. Once your organization is on TIS, your current login method and any bookmarked URLs will continue to function seamlessly, automatically directing you to the new hub. You can also access the Global Landing Hub directly by following the steps below:
- Open your web browser and navigate to:
- United States: use.app.texadasoftware.com
- Europe: euc.app.texadasoftware.com
- Australia: au.app.texadasoftware.com
- Enter your email address and click “Next”.
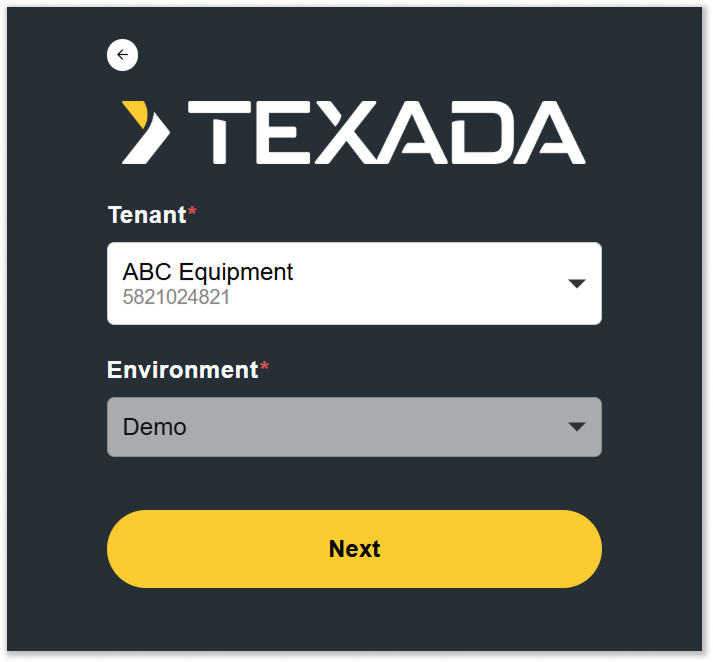
- If you have access to more than 1 tenant and environment, select the tenant and environment you’re logging in to from the list, then click “Next”.
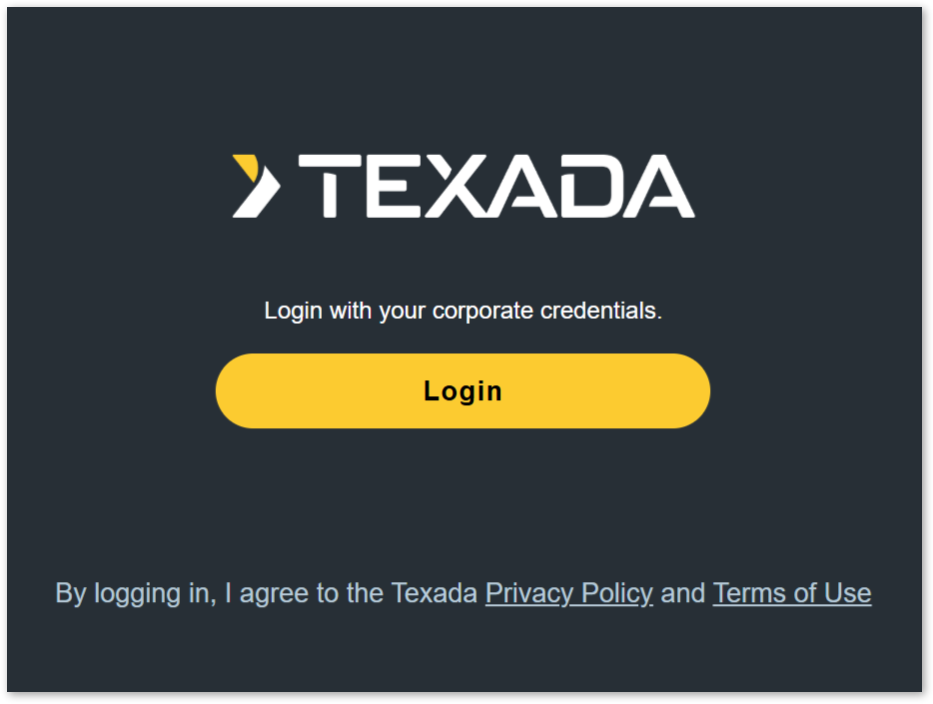
- Follow the on-screen prompts to complete the login process.
- Open your web browser and navigate to:
- Tips for navigating the Global Landing Hub:
- The current user and tenant are displayed in the top-right corner of the screen. Click the user profile icon to access the User Menu:
- Switch Theme: Switch between light and dark themes.
- Change account: Change your current tenant and environment.
- Logout: Log out of the Global Landing Hub.
- The applications to which you have access are displayed as tiles organized into three columns: sales, service, and rental. Click an application’s name to launch it.
- The current user and tenant are displayed in the top-right corner of the screen. Click the user profile icon to access the User Menu:
-
- Additional tools, such as Texada’s API center, can be found in the left navigation menu.
Introduction

The Global Landing Hub is Texada’s new post-login landing page, available to Texada customers who have enabled the Texada Identity Service (TIS). Replacing and expanding on the functionality offered by the CloudLink My Applications page, the Global Landing Hub is designed to present all of your available Texada applications - including sales, service, rental, and additional administration tools - in one place.
Accessing the Global Landing Hub
No action is required to start using the Global Landing Hub. Once your organization is on TIS, your current login method and any bookmarked URLs will continue to function seamlessly, automatically directing you to the new hub.
You can also access the Global Landing Hub directly by following the steps below.
- Open your web browser and navigate to:
- United States: use.app.texadasoftware.com
- Europe: euc.app.texadasoftware.com
- Australia: au.app.texadasoftware.com
- Enter your email address on the following page, then click “Next”.
- Select the tenant and environment to which you are logging in, then click “Next”.
Depending on your role and organization, you may only have access to a single tenant, or multiple tenants may be available. Each tenant generally comprises a Production (live) environment and a Sandbox (testing) environment, though exceptions do exist. If you are unsure which tenant or environment to select, contact your manager or IT administrator. - The login process will now differ based on whether or not your organization uses a third-party identity provider (IdP) to manage Texada accounts: you may be immediately prompted to enter your password, or you may be redirected to your IdP’s login page. Follow the on-screen prompts to complete the login. Once you have done so, you will be automatically redirected to the Global Landing Hub.

Global Landing Hub

- Environment Indicator
Indicates the environment you are currently in (Sandbox or Production). Unlike the existing CloudLink My Applications page, different environments no longer have separate URLs, so this element can be used to verify your current environment instead. - User Information
The current user and tenant are displayed here. Click the user profile icon to open the User Menu. - Application List
The Texada applications to which you have access are listed here. Applications are organized in three columns: Equipment CRM, Equipment Service Management, and Connected Rental Management. Click on an application’s name to launch it. - Additional Tools
Additional tools, such as Texada’s API center and CloudLink Console, can be found in the left menu. - Switch Theme
Click to switch between light and dark themes. - Change account
Click to change your current tenant and environment. - Logout
Click to log out of the Global Landing Hub.