Describes how to complete the checkout process on the company’s ecommerce website as a guest user.
Type
How to
Audience
GateWay Customer, Salesperson
Products
GateWay ecommerce, customer access portal
Context
Check out your products on the company’s ecommerce website when you are done shopping and need to complete your transaction and receive your products.
The checkout process is a linear series of steps that must be completed in sequence:
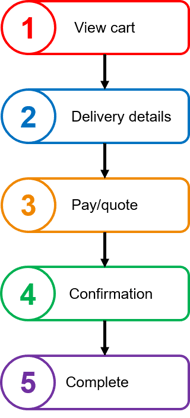
In the first step, you view your shopping cart, and can make any adjustments to the quantities, rental dates and items in your cart. Next you proceed to the checkout and confirm whether the order is for delivery or pickup. If it is for delivery, you enter your delivery information, such as the job site address, and any special instructions. Next, you enter your payment information, such as payment on account or your credit card information, and then complete the transaction.
All the steps must be successfully completed to complete the checkout process.
Rental Dates
The contents of your cart are considered to be a single order/contract, regardless of the type and/or quantity of products in the cart.
For rental orders, each order/contract has a single rental date range that applies to all products within the order/contract. If you have multiple products that each require different rental dates, you must do one of:
- Complete the checkout process for separate orders/contracts for each product, and set the rental dates separately for each order/contract.
- Complete the checkout process for the entire order/contract, and then adjust the rental dates for each product on the order/contract separately in the customer access portal. See: “Change the Due Date of a Specific Product on a Rental Contract in GateWay” for more information.
Before You Begin
Required: Internet connection, existing product in your shopping cart, delivery site information (if applicable), payment information
Optional: Rental date range, valid credit card information
Steps
To check out your products, do the following:
- In the header bar, click shopping cart

Note: The number on the cart represents the number of unique products currently in the cart. See: “Add a Product to Your Shopping Cart in Ecommerce” for more information.
The Shopping Cart page opens and displays a list of the products currently in your cart, along with the currently available quantities of those products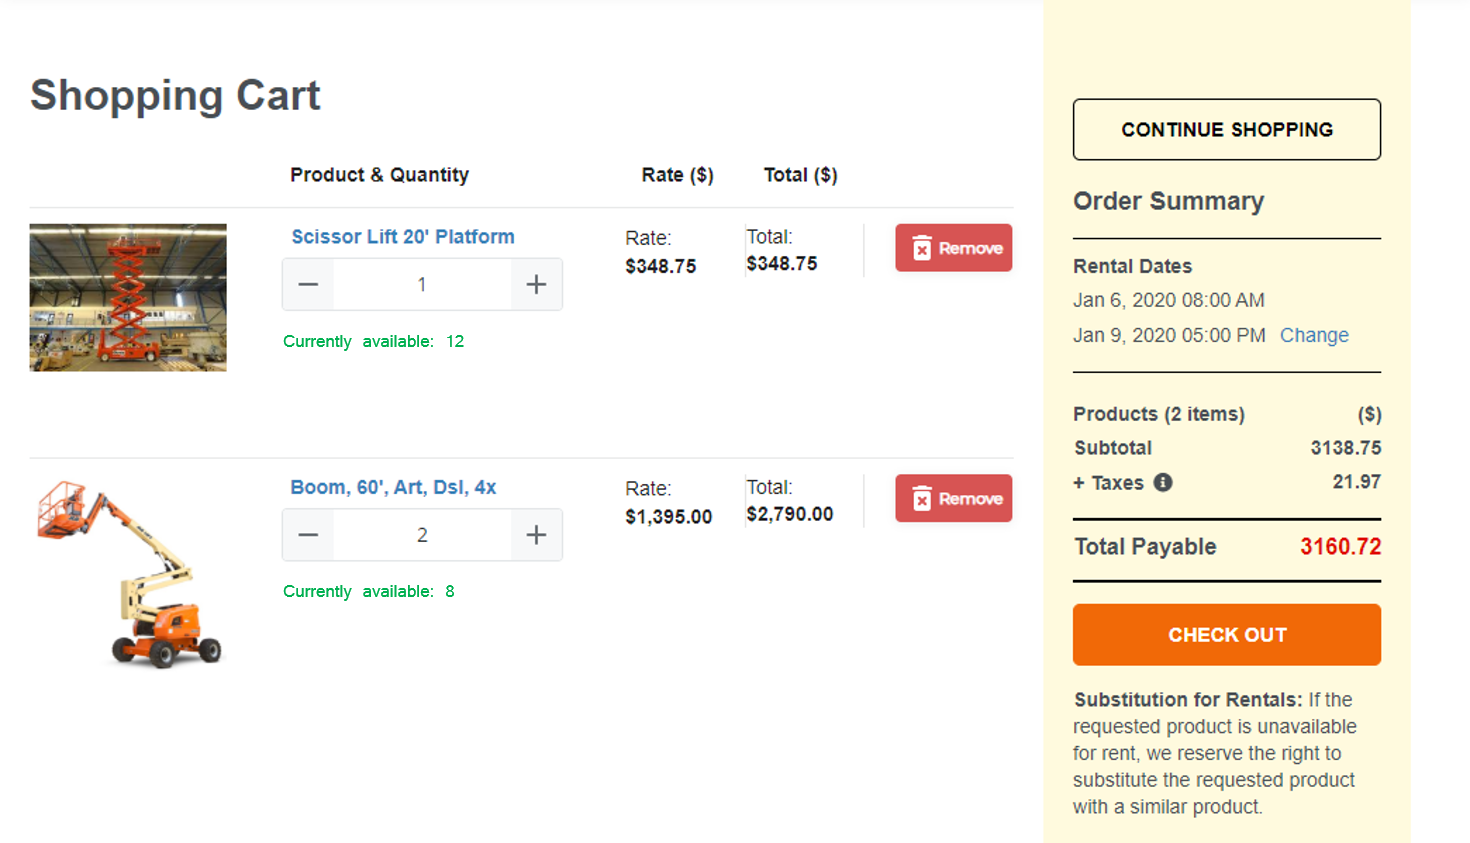
- Optional: Use the quantity selector
 to specify the quantity of the product(s) you need to rent or purchase
 - Optional: For rental products, to adjust the dates for the rental period, in the Order Summary section under Rental Dates, click Change, and do the following:
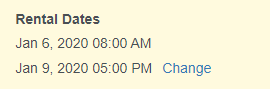
- In the Select Rental Dates popup, use the right hand calendar and time dropdown to select the date for the rental to begin, and use the left hand calendar and time dropdown to select the date for the rental to end
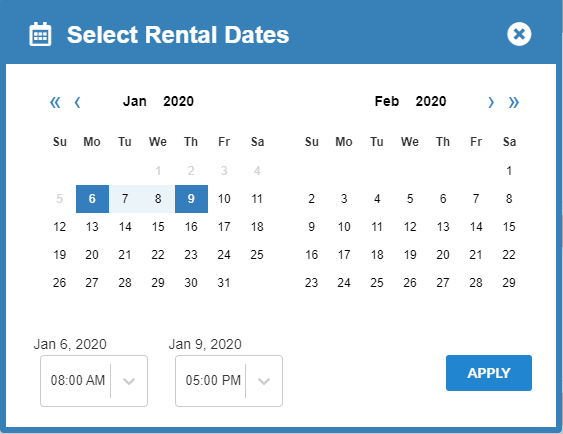
- Click APPLY
The dates for the rental period are updated - In the Select Rental Dates popup, use the right hand calendar and time dropdown to select the date for the rental to begin, and use the left hand calendar and time dropdown to select the date for the rental to end
- Click CHECK OUT
The Delivery Details page opens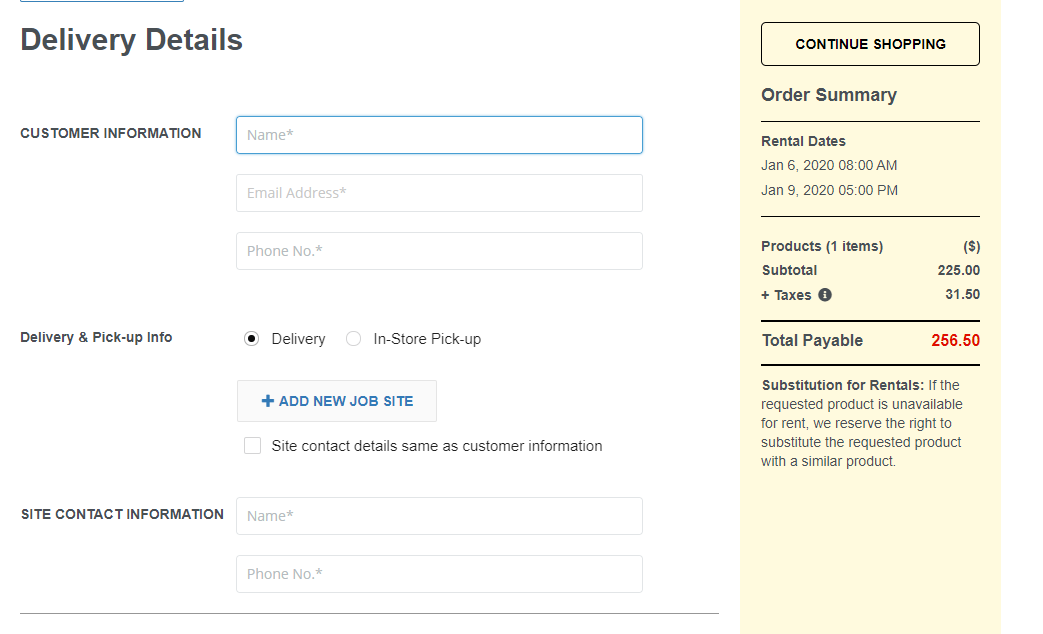
- Do one of the following:
- If you need to pick up the products at the company’s store, click In-Store Pick-up
- If you need to have the products delivered to you, click Delivery
- Use the Select Job Site dropdown to select the site you need the products delivered to
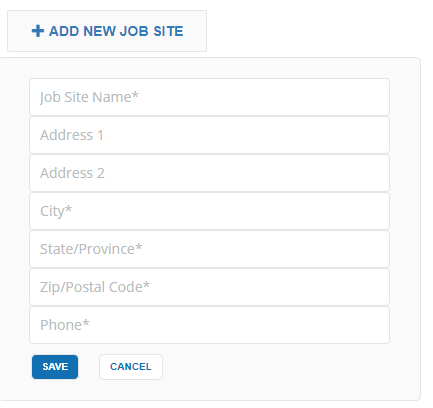
- Optional: If you do not see the appropriate site in the Select Job Site dropdown, click +ADD NEW JOB SITE and do the following:
- Type a name for the job site that clearly identifies the site in the Job Site Name field
- Optional: Type the address of the site in the Address 1 and/or Address 2 fields
- Type the name of the city for the job site in the City field
- Type the name of the state or province for the job site in the State/Province field
- Type the zip or postal code of the job site in the Zip/Postal Code field
- Type the phone number for the job site in the Phone field
- Click SAVE
The job site information is added to the list of job sites - Optional: If the site is the same as your customer contact information, check Site contact details same as customer information
- In the SITE CONTACT INFORMATION section, type the name of the contact for the delivery in the Name field
- Type the phone number of the contact for the delivery in the Phone No. field
- Optional: In the ORDER INFORMATION section, type the Purchase Order that applies to this order in the PO No. field
- Type any special instructions, such as a specific location at the site, or hazards to be aware of, in the Special Instructions field
- Click PROCEED TO PAY
The Select the Payment Option page opens
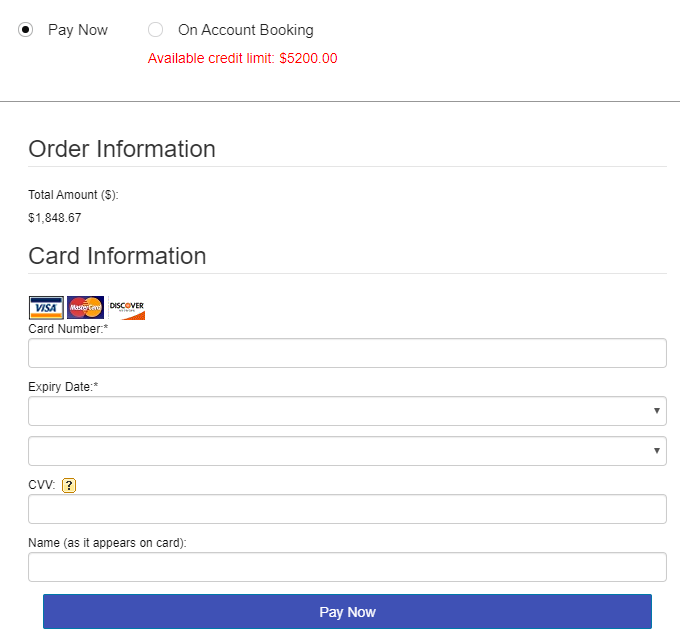
- Do one of the following:
- Click On Account Booking if you are paying for the products on account at a future date, and then click REQUEST RESERVATION
- Click Pay Now and do the following if you are paying immediately on the website using a credit card:
- In the Card Information section, type the number of the credit card in the Card Number field
- Use the Expiry Date dropdowns to select the month and year that the card expires
Note: The top menu is the month, the bottom menu is the year - Type the CVV/security number on the card in the CVV field
- Type the name as it appears on the card in the Name field
- Click Pay Now
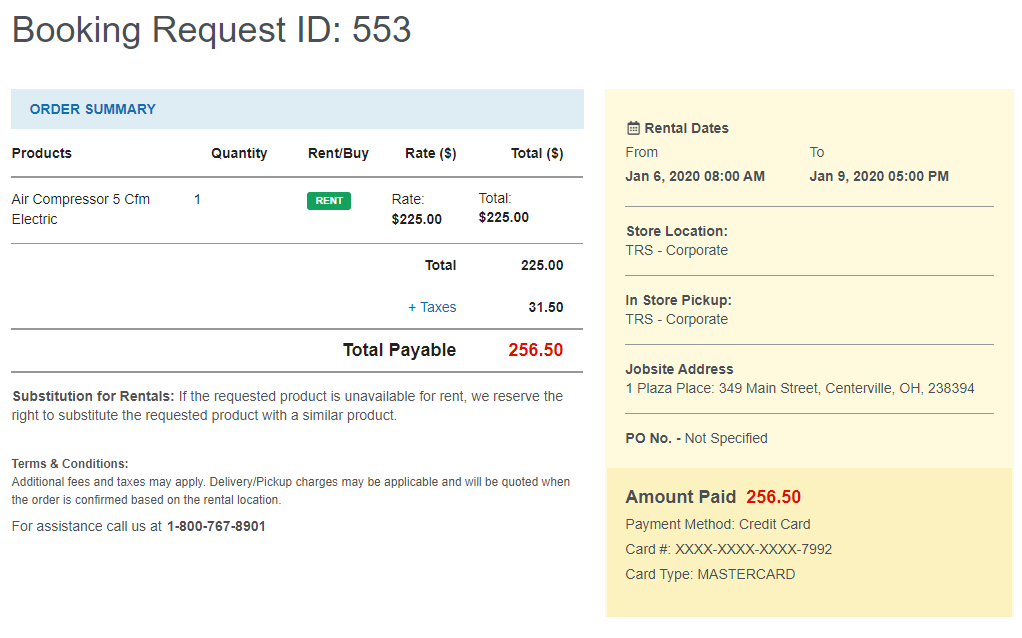
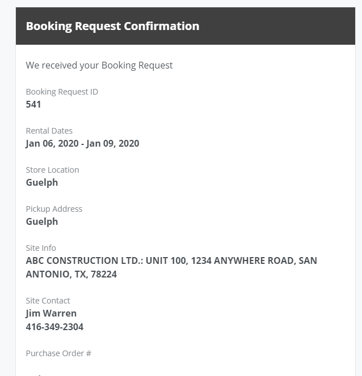
Your order is placed with the company
An email confirmation is sent to the email address associated with your user account