
Type
Conceptual/How to
Audience
GateWay Administrator
Products
GateWay Administration Panel, ecommerce
In This Article
- Enable or disable the Rent and Buy navigation menu items
- Create a navigation menu item
- Create a navigation menu web link
- Create a navigation menu sub-item
Context
Create a navigation menu item, link item, or sub-menu item for your ecommerce website, when you need to make a page you created, or a link to another page or website available to your customers on your website.
See: “About the Navigation Menu Builder” for more information about what you can create in the navigation menu.
Before You Begin
Required: Valid GateWay account, valid login credentials and access permissions
Optional: Existing page, existing URL address link, existing product page
Steps
Enable or disable the Rent and Buy navigation menu items
- In the Administration Panel menu bar, navigate to CMS > Menu Builder
The Menu Builder page opens in the main area and displays a list of existing navigation menu and sub-menu items
- In the Static Menu Display Settings section, do one of the following:
- To enable or disable the Rent menu, click Edit, and then check or uncheck Rent
- To enable or disable the Buy menu, click Edit, and then check or uncheck Buy
Create a navigation menu item
- In the Administration Panel menu bar, navigate to CMS > Menu Builder
The Menu Builder page opens in the main area and displays a list of existing navigation menu, link, and sub-menu items
- Click Add Menu
The Add Menu/Sub Menu page opens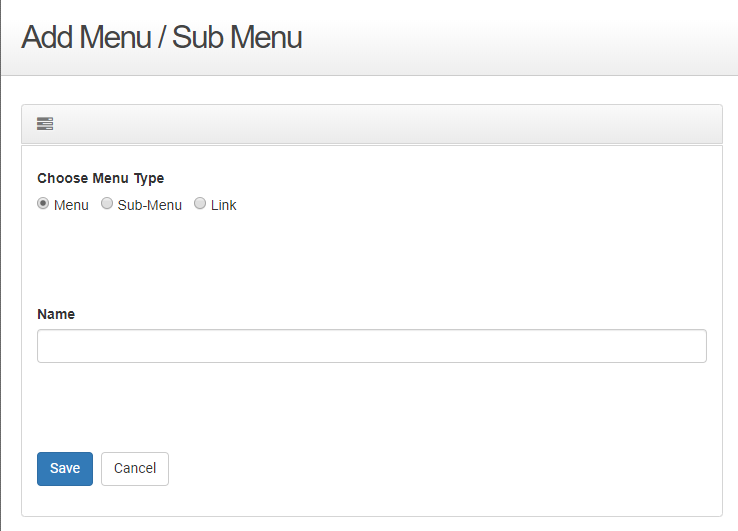
- Under Choose Menu Type, click Menu
- Type the name of menu item as it appears in the navigation menu in the Name field
- Click Save
The menu item is created and immediately appears on your ecommerce website
Create a navigation menu web link
- In the Administration Panel menu bar, navigate to CMS > Menu Builder
The Menu Builder page opens in the main area and displays a list of existing navigation menu, link, and sub-menu items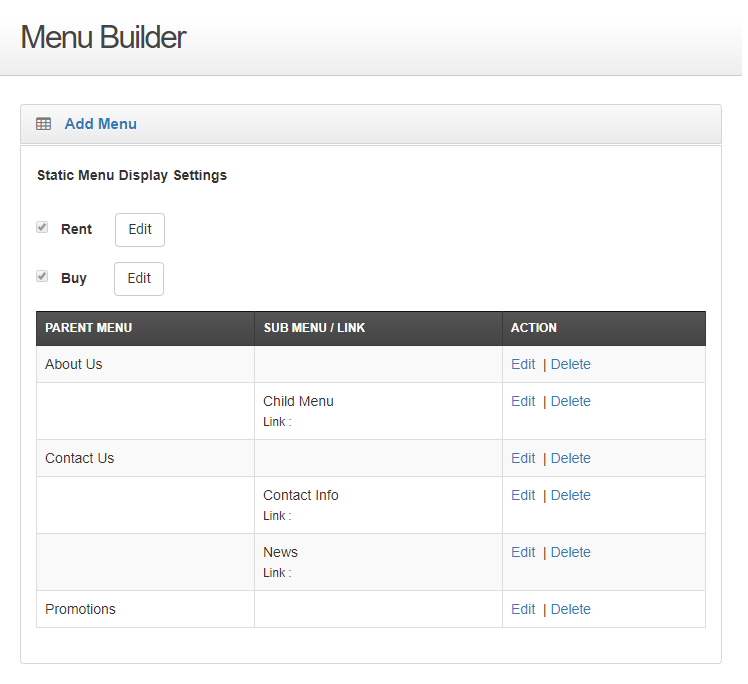
- Click Add Menu
The Add Menu/Sub Menu page opens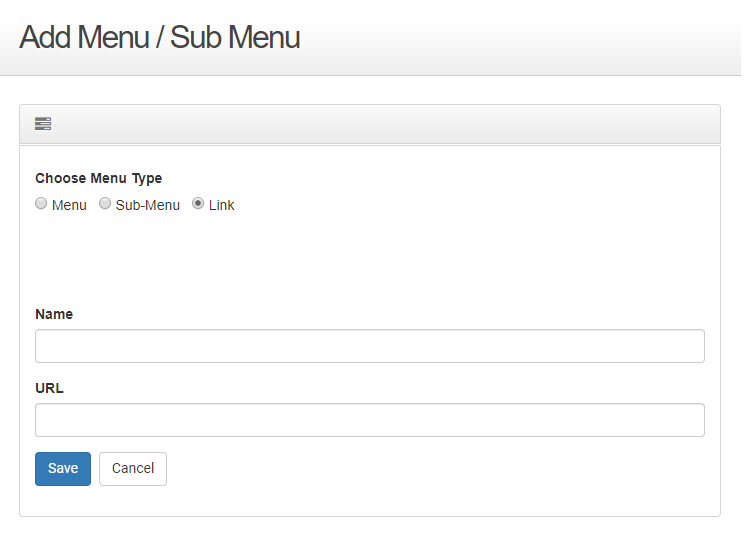
- Under Choose Menu Type, click Link
- Type the name of the link as it appears in the navigation menu in the Name field
- Type the full URL address of the link (including any http:// or https:// prefixes) in the URL field
- Click Save
The link is created and immediately appears on your ecommerce website as would a menu item
Create a navigation menu sub-item
- In the Administration Panel menu bar, navigate to CMS > Menu Builder
The Menu Builder page opens in the main area and displays a list of existing navigation menu, link, and sub-menu items
- Click Add Menu
The Add Menu/Sub Menu page opens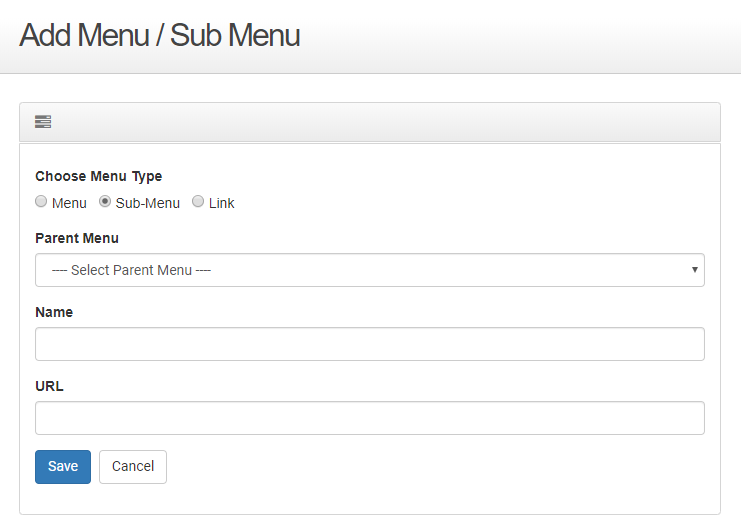
- Under Choose Menu Type, click Sub-Menu
- Use the Parent Menu dropdown to select the navigation menu item to associate the sub-menu with
Note: You must have an existing menu item to create a sub-menu item - Type the name of the sub-menu as it appears on your ecommerce website in the Name field
- Type the full URL address of the page or website you need to direct your customers to when they click the sub-menu item in the URL field
Notes:- You must include any http:// or https:// prefixes or the address will not work
- To obtain the URL address for one of your own pages, see: “Preview an Ecommerce Website Page in the Administration Panel” for more information
- Click Save
The sub-menu item is saved and immediately appears on your ecommerce website