Set Up the Date Range Control in SRM
Describes how to configure and override date range controls in SRM.
Type
How to/Conceptual
Audience
SRM Administrator
Products
SRM
In This Article
- Maintain the date range using the manual administration method
- Maintain the date range using the automatic daily rollover method
- Override the date range control
Context
Your SRM (Systematic Rental Management) application is date sensitive. As such, the date selected for an entry will be the date posted by default. This enables you to control the dates that operators can assign to a document or transaction to ensure date errors do not occur.
You can still make an entry in a prior period if needed. However, if a month or year has been balanced and closed, the date control functionality serves to prevent staff from accidentally posting into a closed period.
There are two methods of maintaining the Date Ranges:
- Manual administration
- Automatic daily rollover
Note: It is recommended that each module be examined, a relevant range be decided on and that you use the automatic daily rollover method. This method simplifies the maintenance and administration of the date range controls, and can be updated at any time if needed.
Overrides
You can enable specific operators override a date range. This enables the operator to ignore any previously configured date range controls.
Note: It is strongly advised that you use overrides as the temporary exception for experienced operators, rather than the permanent rule in your SRM application. An operator with override permissions can create entry transactions with any date. As a result, the operator can deliberately or accidentally create postings in closed financial periods or far into the future.
Before You Begin
Required: Valid SRM account, valid login credentials and access permissions, existing security role with access to Date Range Control
Steps
Maintain the date range using the manual administration method
- In SRM, navigate to System Maintenance > Configure System Settings > Accounting tab > General Ledger
- Next to Date Range Control, click more options
 The Date Range Control popup opens
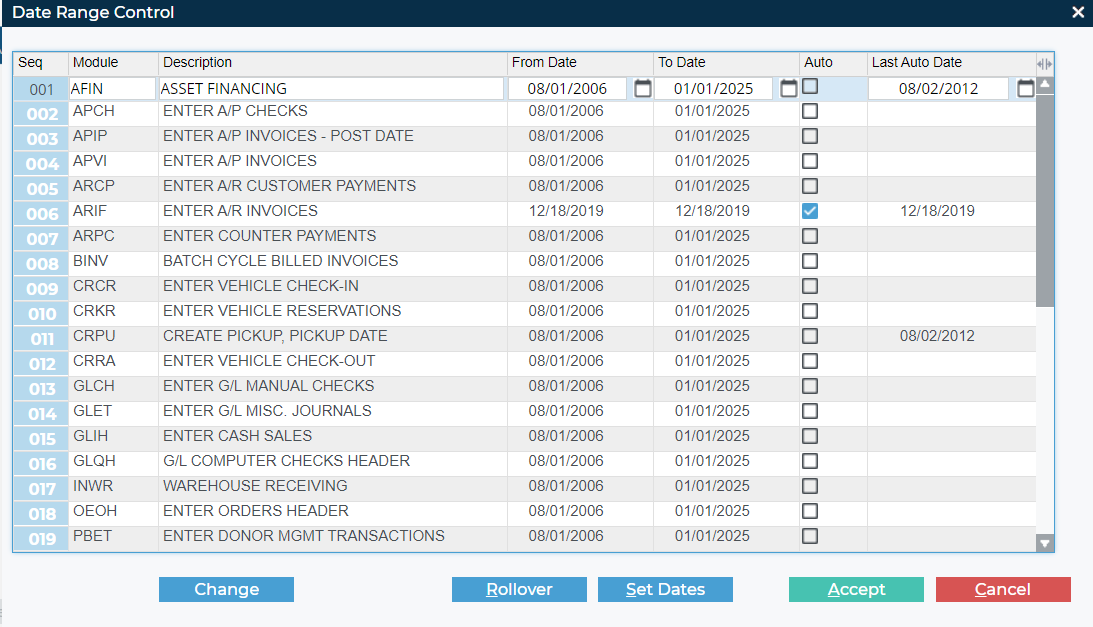
- Optional: To set the date range controls for a single entry, do the following:
- Locate the entry you need to set the date range controls for, and use the From Date calendar menu to select the earliest date in the date range
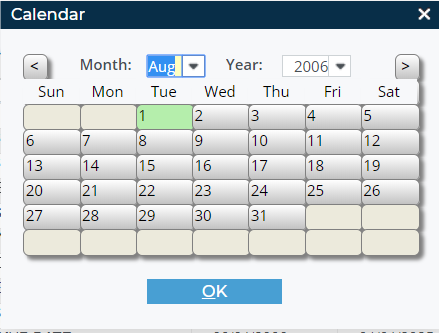
- Use the To Date calendar menu to select the latest possible date in the date range.
Operators are restricted from entering new contracts outside of this date range
For example, RSCH RENTAL CONTRACT HEADER pertains to new Contracts. If a range is set from January 1st, 2020 (01/01/2020) to July 1st, 2020 (07/02/2020) the Operators will be restricted from entering new Contracts to a date within that range.
Note: This date range is static and does not change unless manually updated by an administrator user
- Locate the entry you need to set the date range controls for, and use the From Date calendar menu to select the earliest date in the date range
- Optional: To set date controls for all line items, do the following:
- Click Set Dates
The Set Dates popup opens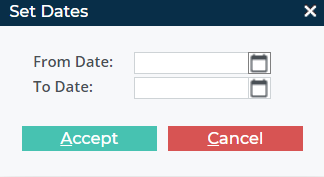
- Use the From Date calendar menu to select the earliest date in the date range

- Use the To Date calendar menu to select the latest possible date in the date range
Operators are restricted from entering new contracts outside of this date range for all line items
Note: This range is static and does not change unless manually updated by an administrator user
- Click Set Dates
- To manually roll the date control range forward exactly one month for any number of line items, do the following:
- Click Rollover
The Month End Date Range Roll-Over popup opens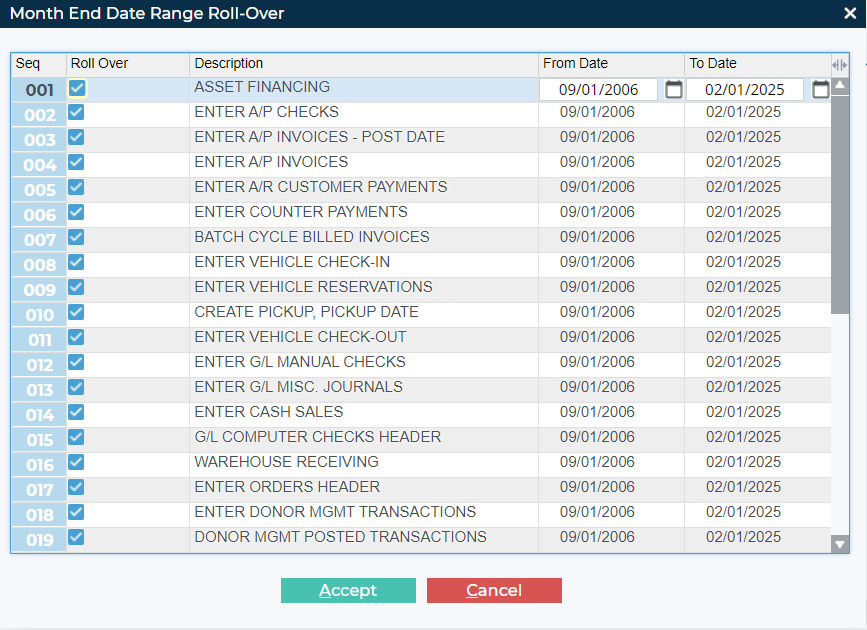
- In the Roll Over column, check any line items whose date range you need to roll forward
- Click AcceptThe selected line items date ranges are rolled forward by exactly one month
Note: Roll over date ranges must be actively maintained by an administrator on a monthly basis, or operators will not be able to enter new transactions
- Click Rollover
6. Click Accept
Your date range controls are saved and immediately applied
Maintain the date range using the automatic daily rollover method
- In SRM, navigate to System Maintenance > Configure System Settings > Accounting tab > General Ledger
- Next to Date Range Control, click more options
 The Date Range Control popup opens
- Locate the line item(s) you need to automatically roll over the date ranges for, and use the Auto column to check the item(s)

- The checked line items will roll over each day indefinitely
For example:
ARPC ENTER COUNTER PAYMENTS refers to payments taken under the Counter Menu. Typically a Counter Payment is a payment being taking "Live" from a Customer who is in-store or otherwise actively providing it. The line item would not need to be dated into the past or future. Instead, you can maintain a rolling date range that would restrict Operators to the current date. SRM then automatically maintains that single "current date" going forward - Click Accept
The automatic roll-over date range(s) are set up for the selected line item(s)
Override the date range control
- In SRM, navigate to System Maintenance > Configure System Settings > Security tab > General Settings
- Next to Operators, click more options

The Operators popup opens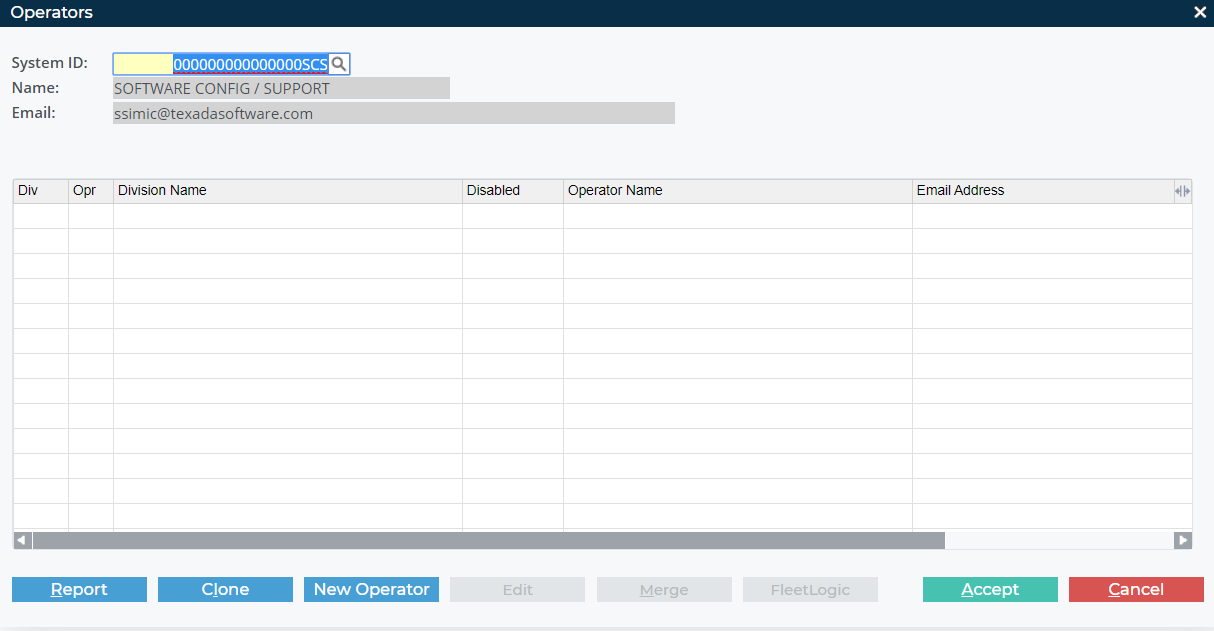
- Locate the operator you need to add the override permission to, and click Edit The Operator popup opens
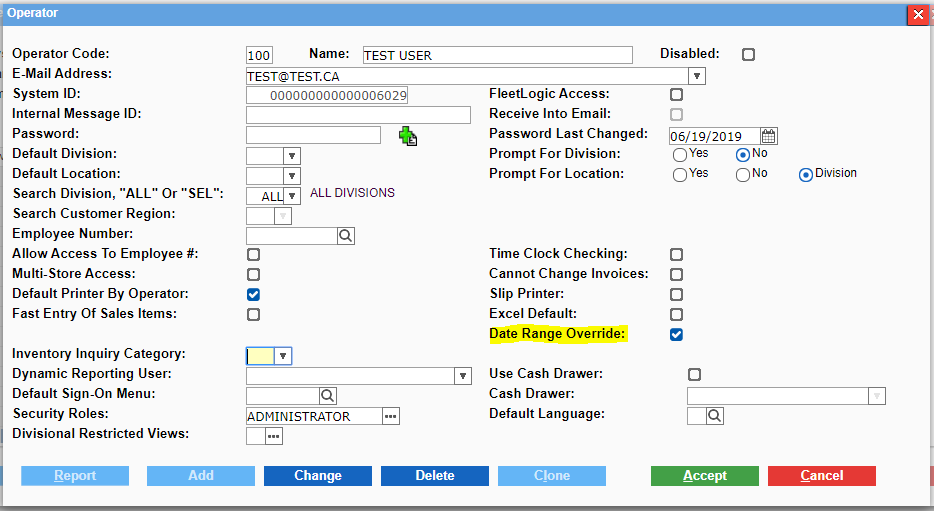
- Check Date Range Override
- Click Accept The date range override permission is applied to this operator profile
.png?width=365&height=50&name=Texada%20Logo%20(Black).png)