.png?width=365&height=50&name=Texada%20Logo%20(Black).png)
Introduction
In order to start using Texada Pay, you must first configure Texada SRM to accept specific types of payments. For example, if your company accepts in-person payments for cash customers and on-file payments for on-account customers, you must set up Texada Pay to accept card reader and on-file payments.
Configure Methods of Payment
To set up payment methods for Texada Pay, do the following:
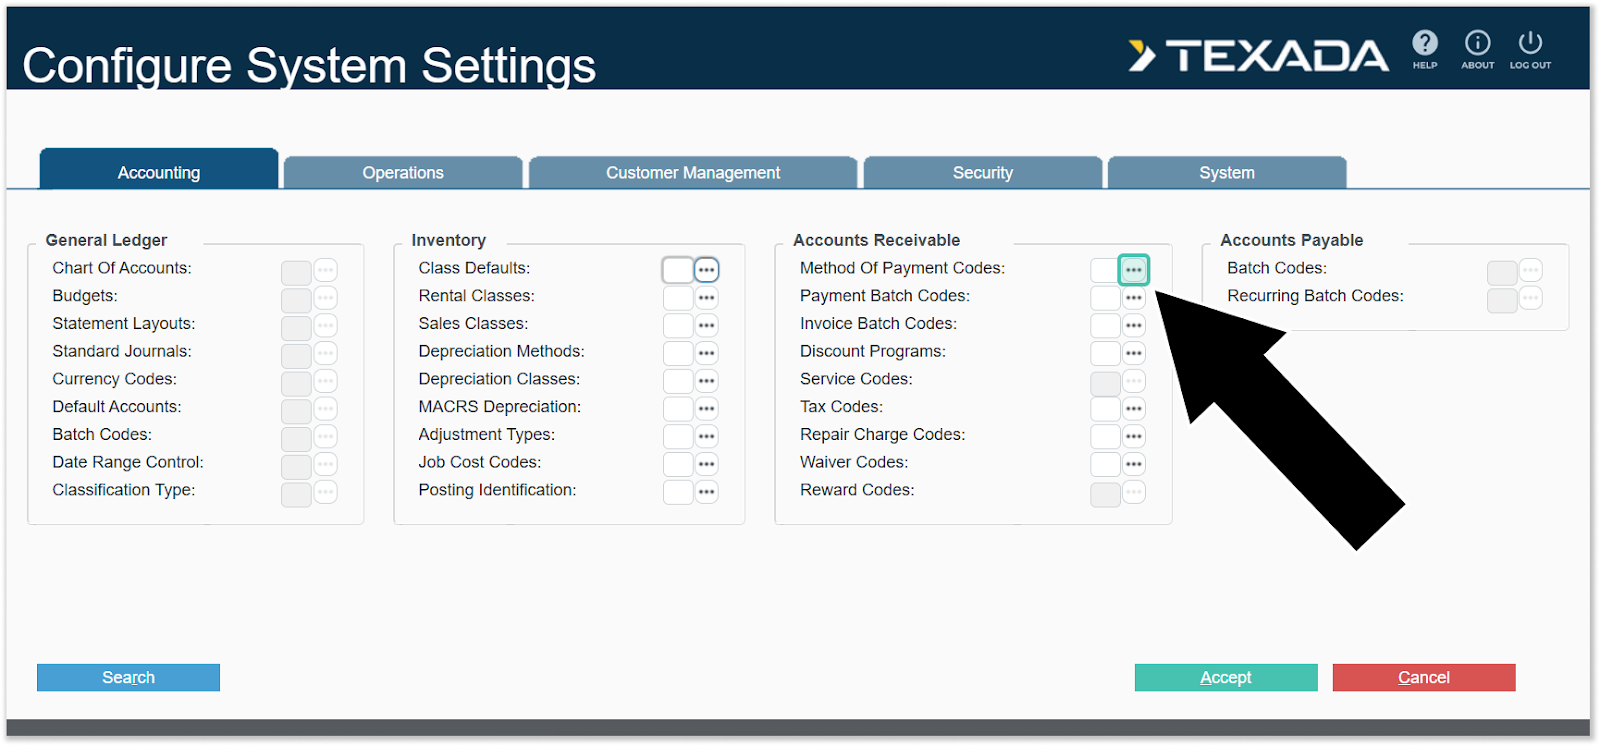
- Log in to Texada SRM and navigate to System Maintenance → Configure System Settings → Accounting → Accounts Receivable → Method of Payment Codes.
- In the Method Of Payment Codes window, click “Add” to add a new row to the table.
- Enter the following information for your new method of payment:
- Code: A unique code for this method of payment, up to 5 characters in length. For example, “CH” for “Check”.
- Description: A brief description of this method of payment, up to 10 characters in length. For example, “VISA” or “INTERAC”.
- Curr: Use this drop-down to select a currency for this method of payment. The currency will default from the currency selected in Company Information.
- C: Canada
- N: Australia / New Zealand
- U: United States
- G/L Acct: The General Ledger account to be debited when payments are made using this method of payment.
- Bal: Check this option to include this method of payment in the cash balance process in Daily Close 1.
- Bal G/L: Click the three horizontal dots
to set up your Cash Balancing payment methods to capture Cash Over/Short information.
- Card: Use this drop-down to select one of the following credit card processing options:
- [Blank] - Not a Card: This is not a credit card method of payment.
- A - Texada Pay Terminal Or By Issuer: Use a card scanner to read debit, Interac, or credit card information, and process the payment automatically through an authorization service with Texada Pay.
- M - Texada Pay Manual Or By Issuer: Enter credit card or banking information manually in cases where this information is required, but the scanner is not available or the card cannot be read.
- S - Scan Credit Card: Use a credit card scanner to read credit card information, but enter the authorization number that processes the payment manually. Credit card information can also be entered manually in cases where the scanner is unable to read the customer's card.
- Y - Credit Card: Enter both credit card information and the authorization number manually.
- Issue: The issuer associated with this method of payment.
When creating a payment in Texada Web, an issuer can be submitted instead of a method of payment. When this option is selected, the system will attribute the Curr and Card values of the method of payment associated with that issuer to the payment.
If a single issuer is associated with multiple methods of payment, only the first match will be used for gateway and Texada Web payments. For this reason, it is strongly recommended having exactly one method of payment associated with each issuer that your organization accepts. In SRM, the user will be asked to select from a list of all method of payments associated with the issuer.
This value is required for methods of payment with a Card value of M - Texada Pay Manual Or By Issuer. This value can still be selected for methods of payment with other Card values for informational purposes, but will not affect the system’s behavior.
Possible Issue values are:- [Blank] - Not Assigned
- A - American Express
- B - Bank
- D - Diner's Club
- E - EBT
- F - FSA
- M - Mastercard
- S - Discover
- V - Visa
- Repeat steps 2 and 3 for each method of payment you would like to add.
- Click “Accept” to save your changes.