
Describes how to set up your GateWay configuration preferences in the GateWay administration panel.
Type
How to
Audience
GateWay Administrator
Products
GateWay administration panel
Context
Use the configuration settings in the GateWay administration panel to control the appearance and company information that displays to your customers in the customer access portal. You can set up the following information:
- Your company divisions
Note: See: “Sync Your GateWay Divisions with SRM”, “Search the List of Divisions in GateWay”, or “Edit a Division in GateWay” for more information.
- Your email server settings
Note: See: “Set Up Your Email Templates in GateWay” for more information.
- Company information such as address and phone number
- Contact information such as recipient email addresses for pickup requests and reservations
- Number of items that display on a page at a time
- Default rental period
- Minimum required days out for rental
- Texada Pay integration
Note: See: “About the GateWay integration with Texada Pay” for more information.
- Credit application website address
- Number of hours’ notice required for a return
Before You Begin
Required: Internet connection, valid GateWay account, valid login credentials and access permissions
Steps
To set up your configuration settings, do the following:
- In the administration panel header bar, navigate to Settings > Config Settings
The Config Settings page opens in the main area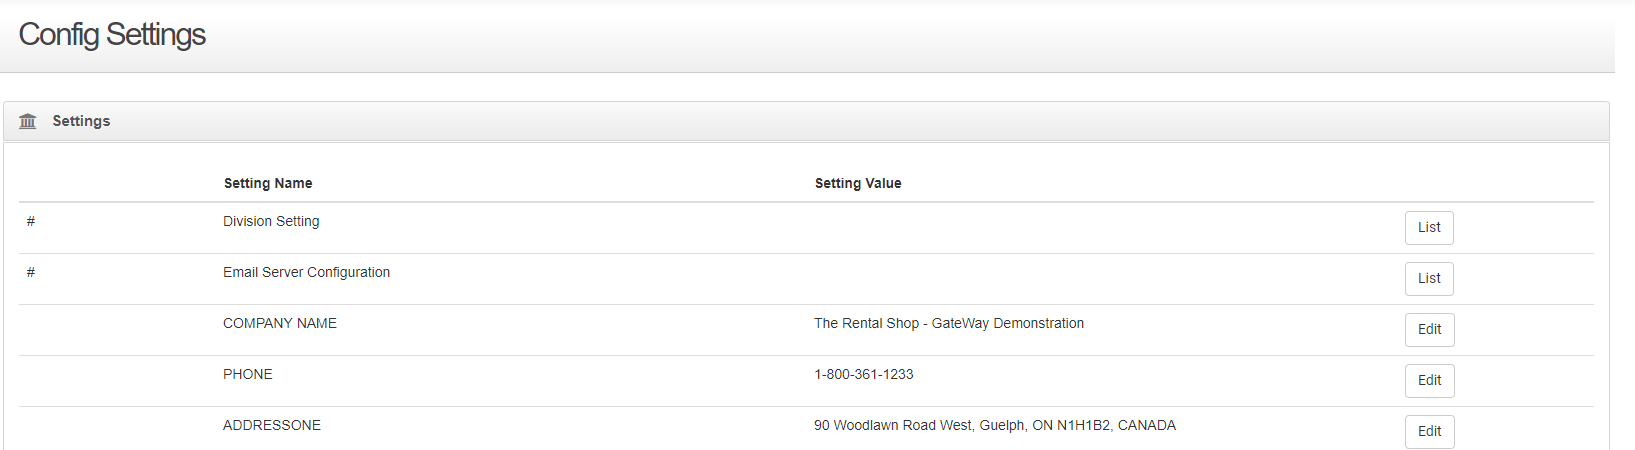
- Optional: To set up your company information as it appears in the customer access portal, do the following:
- Do any of the following that apply to your company:
- To set the company name, click Edit next to COMPANY NAME
- To set the company phone number, click Edit next to PHONE
- To set the company address, click Edit next to ADDRESSONE
- To add additional company address information, click Edit next to ADDRESSTWO
- Type the company information in the available field and click Save
Your company information is set up
- Do any of the following that apply to your company:
- Optional: To set up the default maximum number of items, such as rental contracts that can appear on a single page in a list in the customer access portal, do the following:
- Click Edit next to ITEMS PER PAGE
A field opens in the Setting Value column next to ITEMS PER PAGE - Type the number of items per page in the available field and click Save
- Click Edit next to ITEMS PER PAGE
- Optional: To set up the email contacts for your company, as they appear in the customer access portal, do the following:
- Do any of the following that apply to your company:
- To set the contact email for customers that need to make a pickup request, click Edit next to PICKUP REQUEST EMAIL
Note: the individual with this address is the person at your company that handles all pickup requests - To set the contact email for customers that need to make a reservation request, click Edit next to RESERVATION REQUEST EMAIL
Note: the individual with this address is the person at your company that handles all reservation requests - To set the contact email for customers that need to make a service request, click Edit next to SERVICE REQUEST EMAIL
Note: the individual with this address is the person at your company that handles all service requests - To set the contact email for customers that need to make an accounts receivable/billing inquiry, click Edit next to ACCOUNTS RECEIVABLE EMAIL
Note: the individual with this address is the person at your company that handles all billing inquiries
- To set the contact email for customers that need to make a pickup request, click Edit next to PICKUP REQUEST EMAIL
- Type the email address in the available field and click Save
The contact email information is set up
- Do any of the following that apply to your company:
- Optional: To set the default rental period in days as it will appear in both the customer access portal and ecommerce, do the following:
- Click Edit next to Default Rental Period in Days
A field opens in the Setting Value column next to the appropriate setting - Type the number of days for the default rental period in the available field and click Save
The default rental period in days is set up
- Click Edit next to Default Rental Period in Days
- Optional: To set the default minimum required number of days for a rental as it will appear in both the customer access portal and ecommerce, do the following:
- Click Edit next to Minimum Days out for Rental
A field opens in the Setting Value column next to the appropriate setting - Type the minimum number of days required for a rental in the available field and click Save
The minimum required number of days for a rental is set up
- Click Edit next to Minimum Days out for Rental
- Optional: To set the default credit application website address link as it will appear in both the customer access portal and ecommerce, do the following:
- Click Edit next to Credit Application Url
A field opens in the Setting Value column next to the appropriate setting - Type the website URL address for the credit application website you need in the available field and click Save
The credit application website link is set up
- Click Edit next to Credit Application Url
- Optional: To set the default minimum required hours of advance notice that your company needs for a rental return as it will appear in both the customer access portal and on your ecommerce website, do the following:
- Click Edit next to Notice Required for Returns (hours)
A field opens in the Setting Value column next to the appropriate setting - Type the minimum number of hours’ notice required for a rental return in the available field and click Save
The minimum required hours of advance notice your company needs is set up
- Click Edit next to Notice Required for Returns (hours)