Describes the purpose of divisions and locations in Texada Web and Texada Mobile and the main scenarios for using them.
In This Article
Body
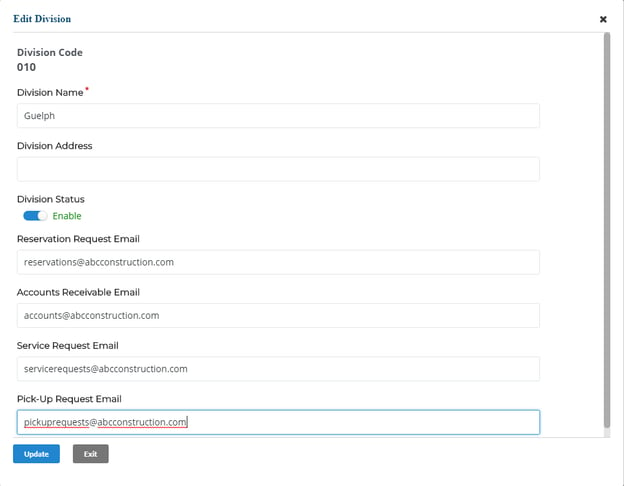
Divisions and locations are important components of how you describe your organizational structure in the Texada Software platform. They determine how your operators, parts, assets, work orders, and tickets relate to one another and are organized.
Note: Divisions and locations are created and managed in your SRM (Systematic Rental Management) application and are primarily read-only in Texada Web and Texada Mobile.
Divisions
Divisions are the financial groups within your business. For example, you might have a construction division, a consulting division, and a service division. Alternatively, you might tie your divisions to physical locations, such as a headquarters division consisting of your main office, a downtown division consisting of several yards, and an uptown division consisting of a yard and a fleet of service trucks.
Divisions allow you insights into the performance of the different aspects of your business by enabling you to section or segment your organizational structure in the Texada Software platform.

There are several advantages to using divisions:
- You can gain insights on the productivity and profitability of each individual division separately, enabling you to see which segments of your business are making money.
- You can add different users to each division based on your business’ needs then give those users different permissions to be able to read and create different documents in Texada Web and Texada Mobile, such as work orders or asset records. This provides you with control and flexibility when it comes to how your organization uses the application.
- Similarly, each can have its own work orders, tickets, operators, and customers associated with it, enabling you to keep the records for each division with that division instead of having to separate them out from a shared list.
- The ability to keep your records well-organized and easily find results benefits your business when looking for records or during audits.
- Your users can have different sets of permissions for different divisions or locations, giving you greater control over what your users can see and do in Texada Web and Texada Mobile depending on what location or division they are currently in.
Locations
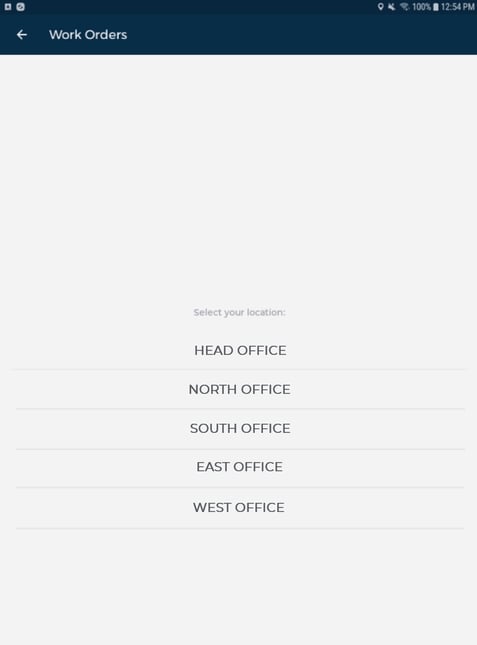
Locations are the physical locations where your inventory is kept. They are contained within divisions. Locations can be your yards, offices, or even individual service trucks depending on your business’ organizational structure.
Note: Divisions can be locations and vice-versa. For example, your head office location can also be your headquarters division.

Locations each contain unique lists of parts and assets, enabling you to organize and track your inventory. As a result, each location has a unique set of information associated with it that is funneled down to your SRM application for use in inventory tracking and reporting.
User Access
It is important to be aware of the division(s) and location(s) you associate a user with. Each user can be associated with as many or few divisions and locations as you require. Most importantly, you can set up a user with a different security role for each division you associate them with, providing you with complete flexibility as to what your users are able to see and do in the application. See: “About Users in Texada” for more information on users.
There are three main scenarios that determine how user access is set up in relation to divisions and locations, and how this affects what users see and do in Texada. Use these scenarios to understand how user setup and divisions and locations are closely connected.
Scenario 1: User has access to a single location or division
All users in SRM and Texada Web and Texada Mobile must have at least 1 operator code. In SRM, you can enable access to a single division or location for that operator code, requiring that you set up a single user profile for that division/location and select a minimum of 1 security role for that user profile. When the user logs into Texada Web and Texada Mobile, they see the data for that division/location only in most cases. This scenario usually applies in situations where you have a limited number of locations/ divisions, or the user role is a very specific one with strictly defined responsibilities.

Scenario 2: User has access to all locations and divisions
As with scenario 1, all users must have 1 operator code. In SRM, you can enable access to ALL divisions for a single user profile with a minimum of 1 security role for that operator code. When the user logs into Texada, they see the data for all divisions/locations. This scenario typically applies when your company has multiple divisions and locations and you have a user role with a relatively narrow range of responsibilities, such as an electrician.

Scenario 3: User has access to multiple, specific locations and divisions
All users must have 1 operator code. If you have more than one, but less than ALL division/location(s) enabled for that operator code, you must create a separate user profile for each division/location you need to enable in SRM. For example, if you have 2 divisions/locations enabled, you must create 2 user profiles under the single operator code.
Note: The number of profiles you create must always equal the number of divisions/locations enabled.

The advantage of creating separate user profiles for each division is that you must assign a minimum of 1 separate security role to each user profile. This means that you can set up the user’s access so that they see the data for one division with one profile, but not the other, and can exercise fine tune control over what the user can see or do in each division.
See “Create a User in SRM” for more information on setting up any of the above.
