.png?width=365&height=50&name=Texada%20Logo%20(Black).png)
As of 2025-02-25, this feature is temporarily disabled.
Please stay tuned for future updates.
Quick Reference
- A User is any person who is able to login and use one or more of Texada’s products, including Texada Web, Mobile, and SRM.
- To create a new User in Texada Web:
- Log in to Texada Web as a User with the Create User permission enabled.
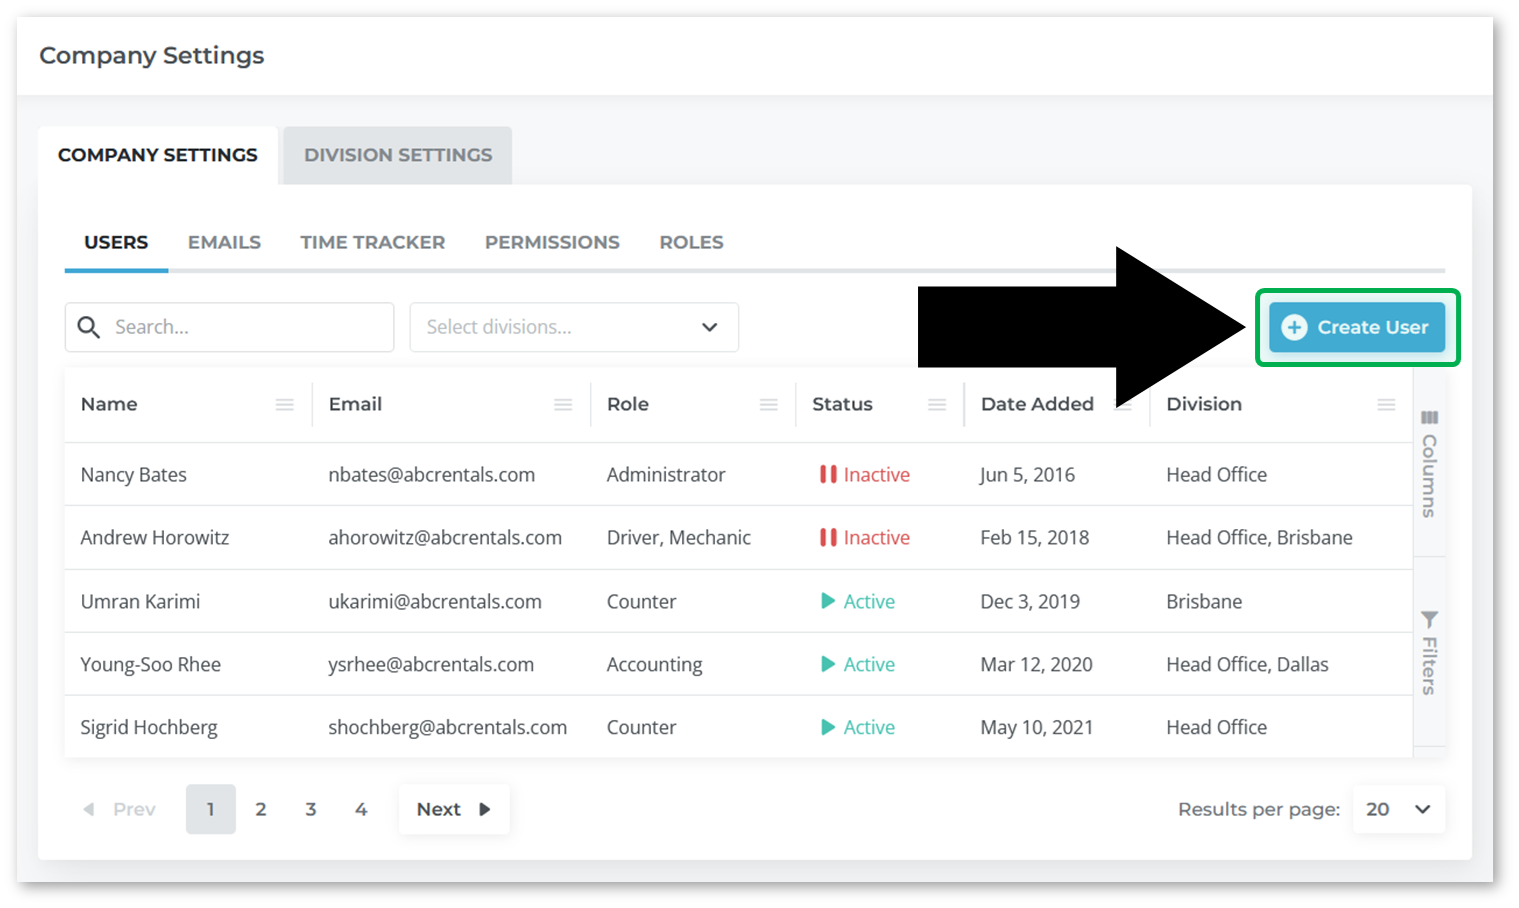
- Navigate to the User Menu (click on your name in the top-right corner of the screen) → Settings → Company Settings → Users.
- Click the Create User button
in the top-right corner of the screen.
- Fill out the User’s information.
- Click “Create User” to finalize creation.
Introduction
A User is any person who is able to login and use one or more of Texada’s products, including Texada Web, Mobile, and SRM (SRM Users are traditionally referred to as Operators). The specific features available to each User will vary depending on their Role or Roles, but all Users are created and managed in the same way.
The following article will detail the process of creating a new User account in Texada Web.
Creating a User
- Log in to Texada Web as a User with the Create User permission enabled. Contact your system administrator if you are unsure whether you have this permission.
- Navigate to the User Menu (click on your name in the top-right corner of the screen) → Settings → Company Settings → Users.
- Click the Create User button
- Fill out all of the necessary information for the new User. In order to create a new User, the following conditions must be met:
- All required fields, as marked with a red asterisk
, must be filled out.
- At least one Division must be selected, and a default Division must be set.
- At least one Location must be selected, and a default Location must be set.
- All required fields, as marked with a red asterisk
- Click the “Create User” button in the bottom-right corner of the screen to create the User.
- If desired, you can now send a password reset email to the new User to prompt them to set a password. See “Reset a Password in Texada Web” for more information.
For more detailed information on the individual elements of the Create User page, see “The Create / Edit User Page”.