- Texada Knowledge Base
- SRM
- Integrations
-
Top Searched Articles
-
Release Notes
-
Support & Troubleshooting
-
Onboarding Programs
-
Equipment CRM
-
Service Management
-
SRM
-
Handle
-
Analytics
-
E-Commerce
- Getting Started
- New Administration Panel
- Administration Panel
- Administration Panel - CMS
- Administration Panel - Products, Categories, and Attributes
- Administration Panel - Users
- Administration Panel - Requests
- Customer Access Portal
- Customer Access Portal - Rentals
- Customer Access Portal - Invoices
- eCommerce Websites
- eCommerce Websites - Ordering
- Integrations
-
Texada Mobile
-
Payments
-
Texada Web
-
Rental Asset Management
-
Order Fulfillment
-
Power Systems Projects
-
Equipment Quoting
-
Condition Monitoring Portal
-
Equipment Monitoring Toolkit
-
Parts and Service Quoting
-
Service Agreement Quoting
-
Equipment CRM - Additional Tools
Use the SRM QuickBooks Integration to Complete Your Daily Close Process
Describes how to use the SRM QuickBooks integration to complete your daily process by syncing from SRM to QuickBooks.
Type
How to
Audience
SRM bookkeeper
Products
SRM
Context
Use the SRM QuickBooks integration to complete your daily close process by syncing your daily close data from SRM to QuickBooks. This process makes up the day-to-day use of the SRM QuickBooks integration.
Many companies do not perform daily closes on a daily basis. Even though the process is called daily close, companies do weekly, bi-weekly, or even monthly closes. How often you perform this process depends on your company's internal processes.
The process adds a fourth step in SRM to the existing three-step process for daily closes found in Backoffice > Daily Close. See "Complete the Daily Close Process in SRM" for more information.
This fourth step is a manual process that causes SRM to upload any postings currently in your General Ledger to QuickBooks.
Note: The SRM QuickBooks integration only applies to SaaS (Software as a Service) SRM customers; the steps in this article do not work for an on-premise installation of SRM.
Before You Begin
Required: Internet connection, active SRM account, active QuickBooks account, active SRM QuickBooks integration, valid login credentials and access permissions, existing General Ledger posting
Steps
To use the SRM QuickBooks integration to complete your daily close process, do the following:
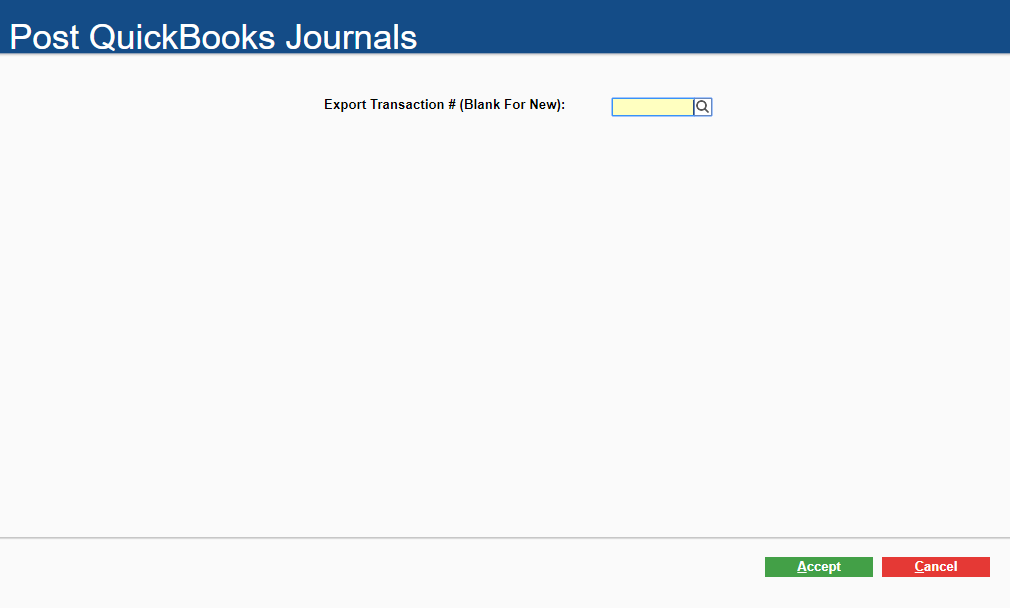
- In SRM, navigate to Backoffice > Daily Close > Post QuickBooks Journals
The Post QuickBooks Journals page opens
- Type a date or click search
 in the Export Transaction # (Blank for New) field to select the date that the postings should sync going forward in time from.
For example: if you need to perform your daily close for August 19, 2019, look up August 19, 2019 and select that as the date. If you need to perform your daily close for the week of August 11 - 17, 2019, select August 11, 2019 as the date - Click Accept
The journals are synced and posted to QuickBooks from the date you selected onward to the present day
The Export Journals popup opens and displays a list of journals along with whether they were successfully created.
Notes:
-This process can take several minutes or hours depending on the number of posts to be synced
-Error messages are provided for any journals that did not successfully post
-Journals with errors are not synced to QuickBooks - Optional: Click a journal in the list of journals to view the details of that journal

