
- Texada Knowledge Base
- E-Commerce
- Administration Panel
-
Top Searched Articles
-
Product Updates
-
Support & Troubleshooting
-
Onboarding Programs
-
Equipment CRM
-
Service Management
-
SRM
-
Handle
-
Analytics
-
E-Commerce
- Getting Started
- New Administration Panel
- Administration Panel
- Administration Panel - CMS
- Administration Panel - Products, Categories, and Attributes
- Administration Panel - Users
- Administration Panel - Requests
- Customer Access Portal
- Customer Access Portal - Rentals
- Customer Access Portal - Invoices
- eCommerce Websites
- eCommerce Websites - Ordering
- Integrations
-
Texada Mobile
-
Payments
-
Texada Web
-
Rental Asset Management
-
Order Fulfillment
-
Power Systems Projects
-
Equipment Quoting
-
Condition Monitoring Portal
-
Equipment Monitoring Toolkit
-
Parts and Service Quoting
-
Service Agreement Quoting
-
Equipment CRM - Additional Tools
Filter the List of Divisions in GateWay
Describes how to filter and sort the divisions in the list of divisions in the GateWay administration panel.
Type
How to
Audience
GateWay Administrator
Products
GateWay administration panel
Context
As your company grows, your list of divisions grows with you. You can sort the list of divisions to make a particular division easier to find.
Before You Begin
Required: Internet connection, valid GateWay account, valid SRM account, valid login credentials and access permissions, existing division
Steps
To filter the list of divisions, do the following:
- In the administration panel header bar, navigate to Settings > Config Settings
The Config Settings page opens in the main area
- Next to Division Setting, click List
The Division Configuration page opens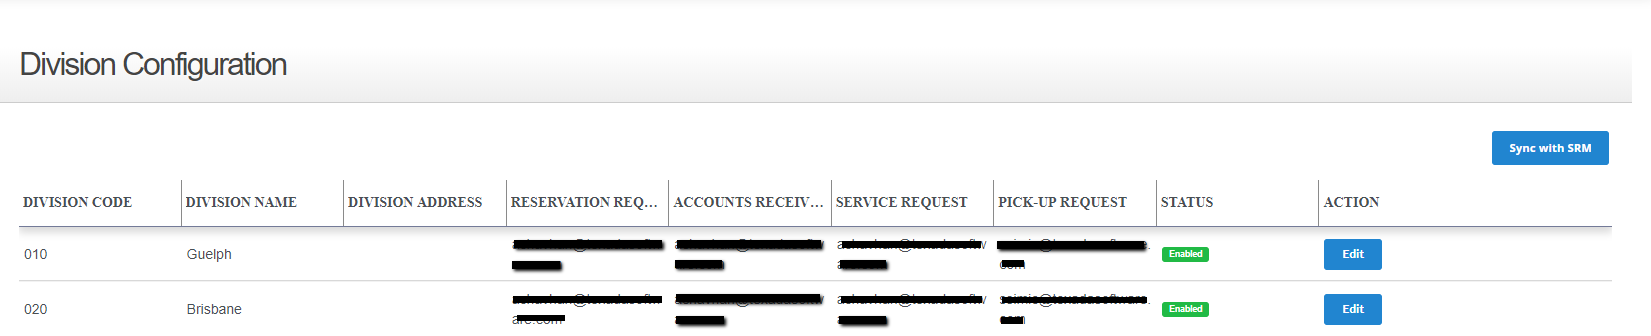
- Optional: Click a column header to sort the list by the column in ascending or descending order
- Optional: Use the rows
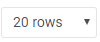 dropdown to set the number of divisions that appear on a single page