.png?width=365&height=50&name=Texada%20Logo%20(Black).png)
Type
How to
Audience
SRM Counter and Bookkeeper
Products
Texada Pay
In This Article
Context
In Australia and New Zealand, Texada Pay is powered by ezidebit and Smartpay and is compatible with the Texada Pay card reader console hardware issued to you by Texada Software.
The card reader connects to your POS computer console through your network/internet. To use the card reader with Texada Pay to take credit and debit card payments in person at your company, you must configure the card reader, and obtain a pairing code. You then add the pairing code to Texada Pay, enabling your POS terminal computer to securely communicate with your card reader over the internet.
One card reader can be paired with multiple POS computers at a time. Pairing with another computer does not unpair the reader from the first computer. If your session ID changes for any reason, then you must re-pair the computer and the reader.
For detailed information on using your card reader, click here.
Note: For information on installing your card reader hardware and software in North America, see: “Install Texada Pay Card Reader Software and Hardware in North America”.
Before You Begin
Required:
- Texada Pay is set up to work with your card reader hardware. See: “Set Up Texada Pay in Australia and New Zealand” for more information
- Available computer to use as a POS payment console
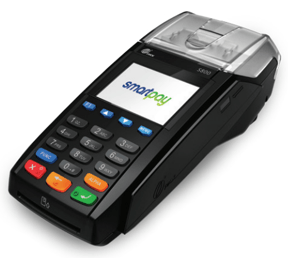
- Available Texada Pay card reader console
- SRM session ID number
- Internet connection
Steps
Obtain a pairing code
- Power on your card reader hardware and ensure it is connected to your network/internet
- Do one of the following:
- If the terminal has not been paired with another POS computer, the display reads: Terminal is not paired. Pair it now? Do the following:
- Press YES
- You see the 8 digit pairing code on the display
- Record the 8 digit pairing code
- If your computer has been paired with another POS computer, press MENU and do the following:
- Select CONFIG
- Type 833767 and press ENTER
- Select POS INTEGRATIONS
- Select AUTHORIZE POS
- You see the 8 digit pairing code on the display
- Record the 8 digit pairing code
- If the terminal has not been paired with another POS computer, the display reads: Terminal is not paired. Pair it now? Do the following:
Pair your card reader with your Texada Pay POS computer
- On the SRM navigation page, navigate to System Maintenance > Configure System Settings > System tab > Company Parameters
The Company Parameters pop-up opens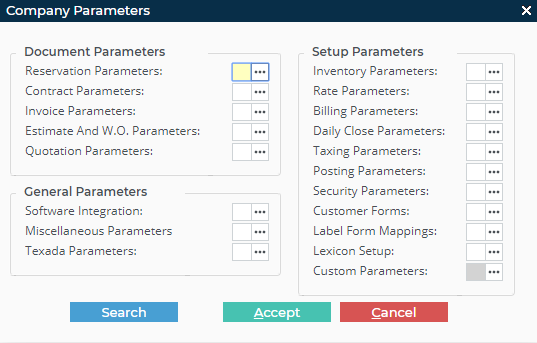
- Next to Software Integration, click more options

The Software Integration Parameters pop-up opens - Click the Texada Pay tab
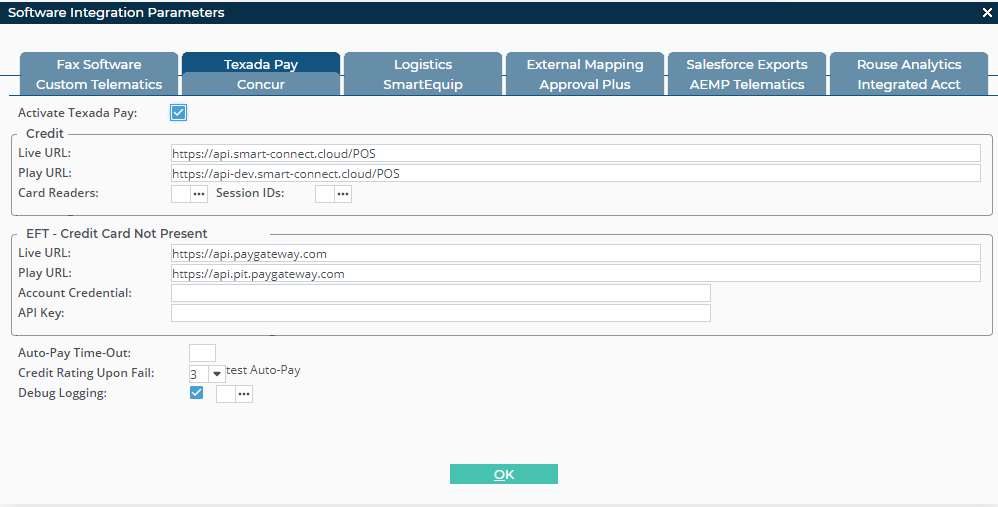
- Next to Session IDs, click more options

The Texada Pay Session ID to Card Reader Mapping popup opens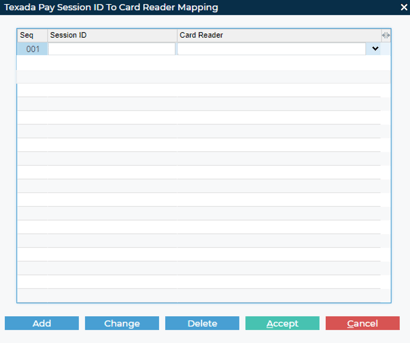
- Click Add
A line is added to the first available space in the list - Type your session ID in the Session ID field
Notes:- Your session ID is an 8 digit code found on your open client landing page, and in the footer bar in SRM
- The format is: XXXX-XXXX
- Use the Card Reader dropdown to select the correct card reader hardware
Note: See: “Set Up Texada Pay in Australia and New Zealand” for more information
The Enter One-Time Pairing Code popup opens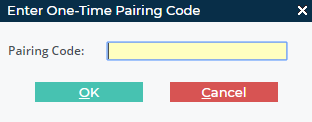
- Type your pairing code in the Pairing Code field
- Click OK
You see the card reader display update to show the device is paired with your POS computer
Your card reader hardware is installed and ready to use with Texada Pay
Next Steps
| Set Up Texada Pay in Australia and New Zealand | ||