
- Texada Knowledge Base
- Rental: SRM
- System Maintenance
-
Top Searched Articles
-
Release Notes
-
Support & Troubleshooting
-
Onboarding Programs
-
Sales: Equipment CRM
-
Service: ServiceLink
-
Rental: SRM
-
Handle CRM
-
Rental: Analytics
-
Rental: GateWay
- Getting Started
- New Administration Panel
- Administration Panel
- Administration Panel - CMS
- Administration Panel - Products, Categories, and Attributes
- Administration Panel - Users
- Administration Panel - Requests
- Customer Access Portal
- Customer Access Portal - Rentals
- Customer Access Portal - Invoices
- eCommerce Websites
- eCommerce Websites - Ordering
- Integrations
-
Rental: Texada Mobile
-
Rental: Texada Pay
-
Rental: Texada Web
-
Rental: WorkFlow
-
Sales: Customer Order to Invoice
-
Sales: iMACS
-
Sales: iQuote
-
Service: Condition Monitoring Portal
-
Service: Equipment Monitoring Toolkit
-
Service: Parts & Service Quoter
-
Service: Service Agreement Quoting
-
Sales & Service: CloudLink
-
Sales & Service: Tools
Assign Permissions and Menu Access to a Role in SRM for a Texada Web and/or Texada Mobile User
Describes how to assign access permissions and menu access to a Texada Web and/or Texada Mobile security role in SRM (Systematic Rental Management) for drivers, logistics managers, service managers, and technicians.
Type
How to
Audience
SRM Administrator
Products
SRM, Texada Web, Texada Mobile
Before You Begin
Required: Valid SRM account, valid Texada Web account, valid login credentials and access permissions, existing security role
Optional: Security roles created for driver, logistics manager, service manager, and technician
Context
Once you create a security role, you can assign permissions and menu access to that role. The permissions and menu access are what dictate what users assigned to a particular security role can see and do in SRM, Texada Web, and Texada Mobile.
For more information on creating the required security roles for Texada Web and Texada Mobile, see “Create a Security Role in SRM for a Texada App User".
For more information on which permissions and menu access to assign to a specific security role, see "About Permissions and Menu Access in Texada Web and Texada Mobile".
Steps
To assign permissions and menu access to a security role, do the following:
- In SRM, navigate to System Maintenance > Configure System Settings > Security > General Settings
- Next to Security Roles, click more options

The Security Roles popup opens and displays the list of existing security roles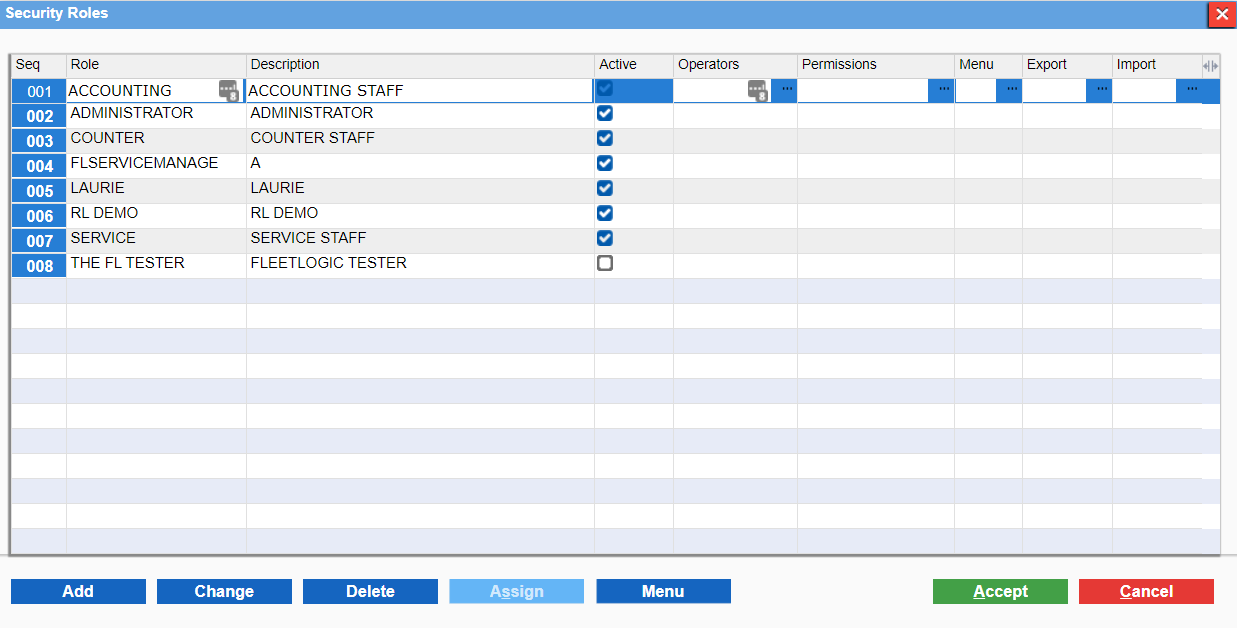
- Select the role you need to add permissions for
- Click more options
 under Permissions
The Security Role Permissions popup opens
- Next to Fleet/RentalLogic, click more options
 (Note: FleetLogic and RentalLogic have been renamed Texada, however, the branding may still appear in a few places in SRM)
The FleetLogic/RentalLogic popup opens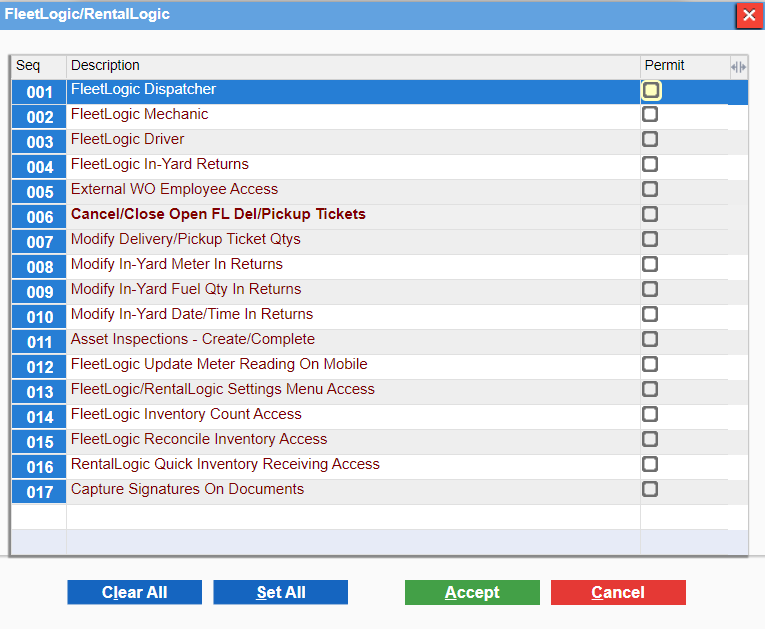
- Check any required/optional permissions you need for this security role
Note: See “About Permissions and Menu Access in Texada” for more information on which permissions you need to set for which security role - Click Accept
- Click OK
- Click more options
 under Menu
The Menu Security popup opens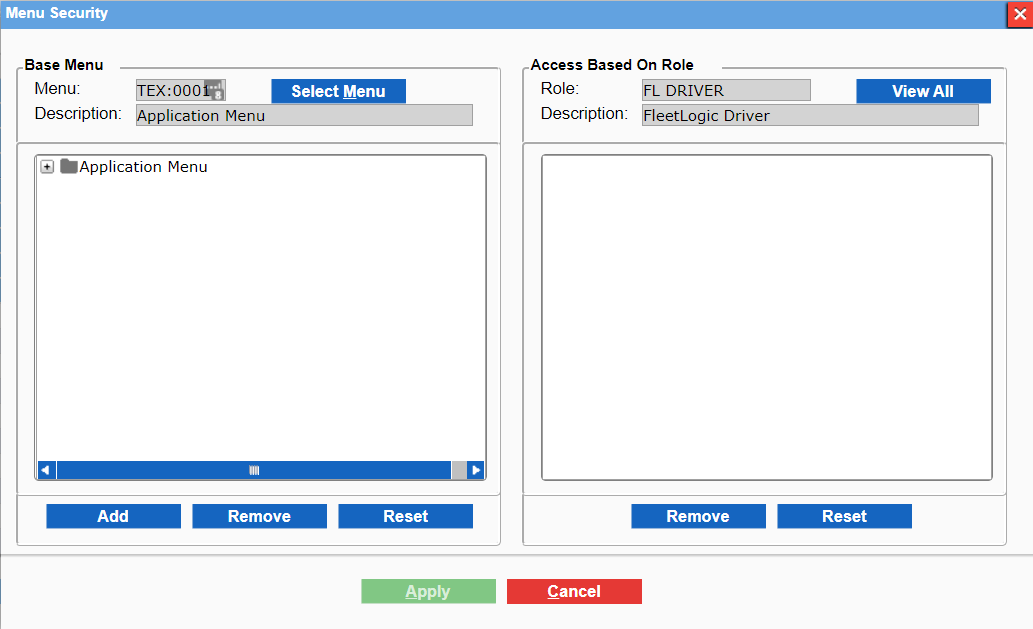
- In the left-hand panel, navigate to the menu option you need to grant access to for this security role
- Click the menu option then click Add
Note: See “About Permissions and Menu Access in Texada Web and Texada Mobile” for more information on which menu access options you need to set up for this security role - Click Apply
- Click Accept
The permissions are created and applied for the security role - Repeat steps 3-13 for as many security roles as you need to assign permissions to
Note: Ensure that you set up permissions for the following roles: Driver, Technician, Service Manager, and Logistics Manager
Next Steps
| Create a Security Role in SRM for a Texada Web and/or Texada Mobile User | Create a Texada Web and/or Texada Mobile User in SRM | |
 |
||
| Create a Texada Web and/or Texada Mobile Driver User in SRM | ||
| Create a Texada Web and/or Texada Mobile Technician User in SRM | ||
 |