
Describes how to search, filter, and customize the list of outstanding invoices in the customer access portal.
Type
How to
Audience
GateWay Customer, Salesperson
Products
GateWay’s customer access portal
In This Article
- Search the list of outstanding invoices
- Filter the list of outstanding invoices by date range
- Filter the list of outstanding invoices by column value
- Customize the list of outstanding invoices
Context
As your list of outstanding invoices grows, you can use the search and filter functionality to quickly locate the outstanding invoice you need to view. You can customize the list of outstanding invoices to only display the information that is relevant to you and your business.
Before You Begin
Required: Internet connection; valid GateWay account; valid login credentials and access permissions; existing outstanding invoice
Steps
Search the list of outstanding invoices
- In the customer access portal menu bar, navigate to Invoices > Outstanding
The list of outstanding invoices opens in the main area
- Type a search term, such as the invoice number in the Search for invoices field
The list of outstanding invoices is narrowed to reflect your search terms
Filter the list of outstanding invoices by date range
- In the customer access portal menu bar, navigate to Invoices > Outstanding
The list of outstanding invoices opens in the main area
- Optional: To filter the list of outstanding invoices by invoice date range, do the following:
- Click the date range field

The Select Date Range popup opens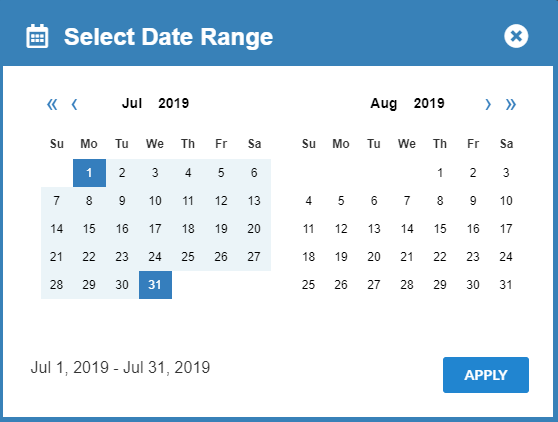
- Use the left hand calendar to select the earliest date in the date range
- Use the right hand calendar to select the latest date in the date range
- Click APPLY
The list of outstanding invoices is narrowed to only include invoices whose invoice date falls within the selected date range
- Click the date range field
- Optional: To filter the list of outstanding invoices by number of days past, do the following:
- In the list of outstanding invoices, do one of the following:
- Click All Outstanding to view all outstanding invoices

- Click Current to view any outstanding invoices whose invoice date is less than 30 days from today

- Click 31 - 60 days to view all outstanding invoices whose invoice date falls 31 to 60 days in the past from today

- Click 61 - 90 days to view all outstanding invoices whose invoice date falls 61 to 90 days in the past from today

- Click 90+ days to view all outstanding invoices whose invoice date falls more than 90 days in the past from today

- Click All Outstanding to view all outstanding invoices
- In the list of outstanding invoices, do one of the following:
Filter the list of outstanding invoices by column value
- In the customer access portal menu bar, navigate to Invoices > Outstanding
The list of outstanding invoices opens in the main area
- Click the hamburger menu
 in the header of the column you need to filter
 - Click filter

The column filter menu opens and displays a list of values that apply to that column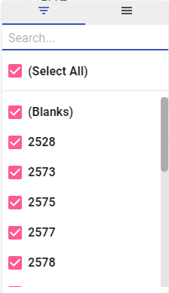
- Optional: Type a search term in the Search field to locate a specific column value
The list of values is narrowed to reflect your search term - Optional: Check (Select All) to select or to deselect all column values
- Optional: Check a column value to only display list rows that contain that value
Customize the list of outstanding invoices
- In the customer access portal menu bar, navigate to Invoices > Outstanding
The list of outstanding invoices opens in the main area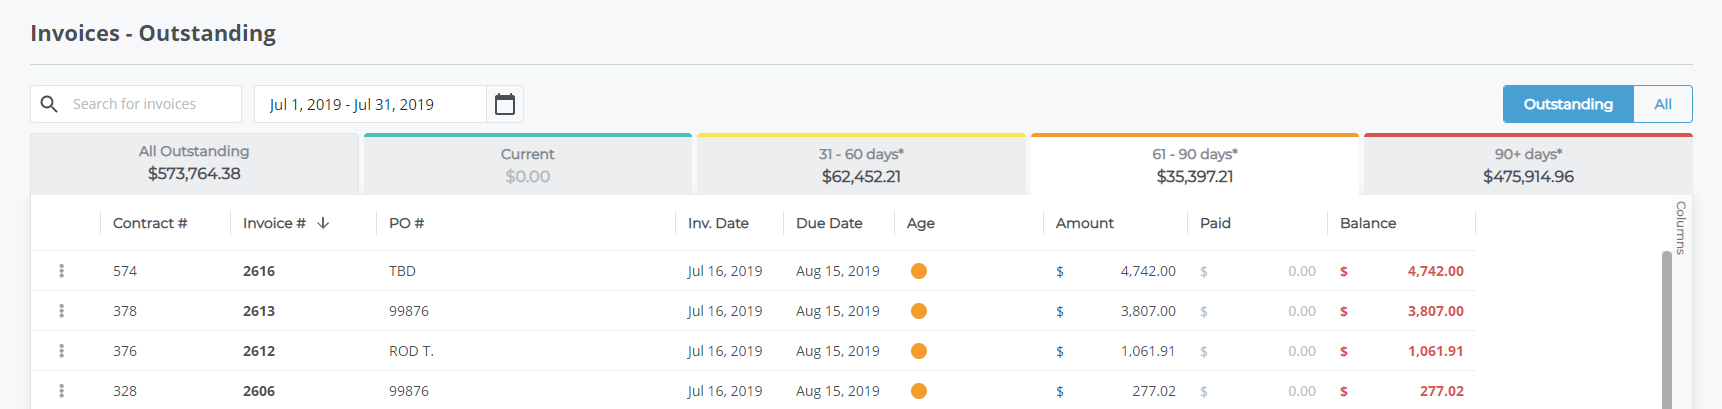
- Optional: In the list of outstanding invoices, click Columns

The columns menu opens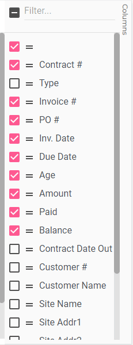
- Optional: In the columns menu, do one of the following:
- Check the columns you need to include in the list of outstanding invoices
- Drag and drop the columns from the list of outstanding invoices into the columns menu to remove them
- Check Filter… to remove all columns from the list of outstanding invoices
The list of outstanding invoices is updated to reflect your selections
- Optional: Drag and drop the column headers in the list of outstanding invoices to reorder the columns
- Optional: Do the following to set a column in a particular location:
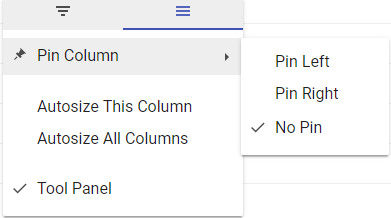
- Click the hamburger menu
 in the header of the column you need to set
 - Click the hamburger menu

- Use the Pin Column drop-down to do one of the following:
- Click Pin Left to permanently set the column to the leftmost side of the list
- Click Pin Right to permanently set the column to the rightmost side of the list
- Click No Pin to unset the column and allow users to drag and drop the column
- Click the hamburger menu
- Optional: Do one of the following to resize a column:
- Drag and drop the border of a column until the column is the desired width
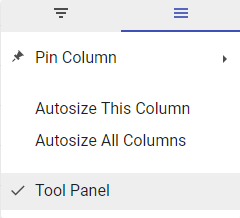
- Click the hamburger menu
 in the header of the column you want to set, then click the hamburger menu
  and do one of the following:
- Click Autosize This Column to automatically resize the currently selected column to the width of the widest value in the column
- Click Autosize All Columns to automatically resize all columns in the list to the widest value in each column
Related Articles
- About GateWay
- About Invoices in GateWay
- Search the List of All Invoices in GateWay
- View the Details of an Invoice in GateWay
- Download an Invoice as a PDF in GateWay